Savory Spring Wild Greens Pie (Torta Pasqalina)
This traditional savory pie is called Torta Pasqualina in Italy and originates in Liguria. My version is filled with wild spring greens including stinging nettle and ramp leaves. The crust can be made with a puff pastry but originally it was made with a strudel-like dough called pasta matta (crazy dough). Legend goes it was originally made with 33 layers of dough to celebrate each year of Jesus' life, but 4 layers works just fine. The magic of it all is when you cut it open to reveal the eggs hidden inside. The whole is rather uncomplicated and makes for a visually stunning and delicious spring lunch. Video of the whole process is below.

The Dough
Ingredients:
300 g all purpose flour
120 g water
5 tbsp olive oil
1 tsp salt
*This is enough for 4 sheets of dough for an 8" baking pan. You'll need to increase the ratio if using a bigger pan.
Directions:
Mix together all of the dough ingredients in a bowl. At first it will be quite shaggy (similar to making pasta dough). Keep working for a few minutes and transfer to a clean working surface. Continue kneading with both hands until smooth and homogenous. It needs to rest for at least 30 minutes before rolling out but can be made up to a day ahead. Store in tupperware and wrap in plastic wrap tightly while resting. Keep in the refrigerator if not using right away.

The Filling:
Ingredients:
1-1.5 cups of blanched stinging nettles (completely squeezed of all excess water - this step is critical otherwise the end result is soggy)
4-6 whole ramp leaves
12-16 oz of whole milk ricotta
1/2 cup of grated pecorino romano
salt and pepper to taste
4 eggs
1/4 tsp ground nutmeg
1. Blanch stinging nettle for 30 seconds and transfer to an ice bath. Remove from the cold water and squeeze all of the excess water out from the leaves. The liquid that is extracted is an amazing green color and filled with nutrients.
2. Chop the ramp leaves and saute in olive oil in a pan on low heat for 20 seconds before adding in the stinging nettle. Salt and pepper to taste. Remove from the heat and allow to cool.
3. Mix together all the ingredients in a bowl and set aside 3 of the 4 eggs.
4. Cover and refrigerate if not using right away.

The Pie:
Directions:
1. Cut your dough into 4 equal sections. Set your oven for 350F.
2. Prepare a clean work surface and gather your tools (rolling pin, pastry brush, large cutting board).
3. Coat each piece of dough with more olive oil.
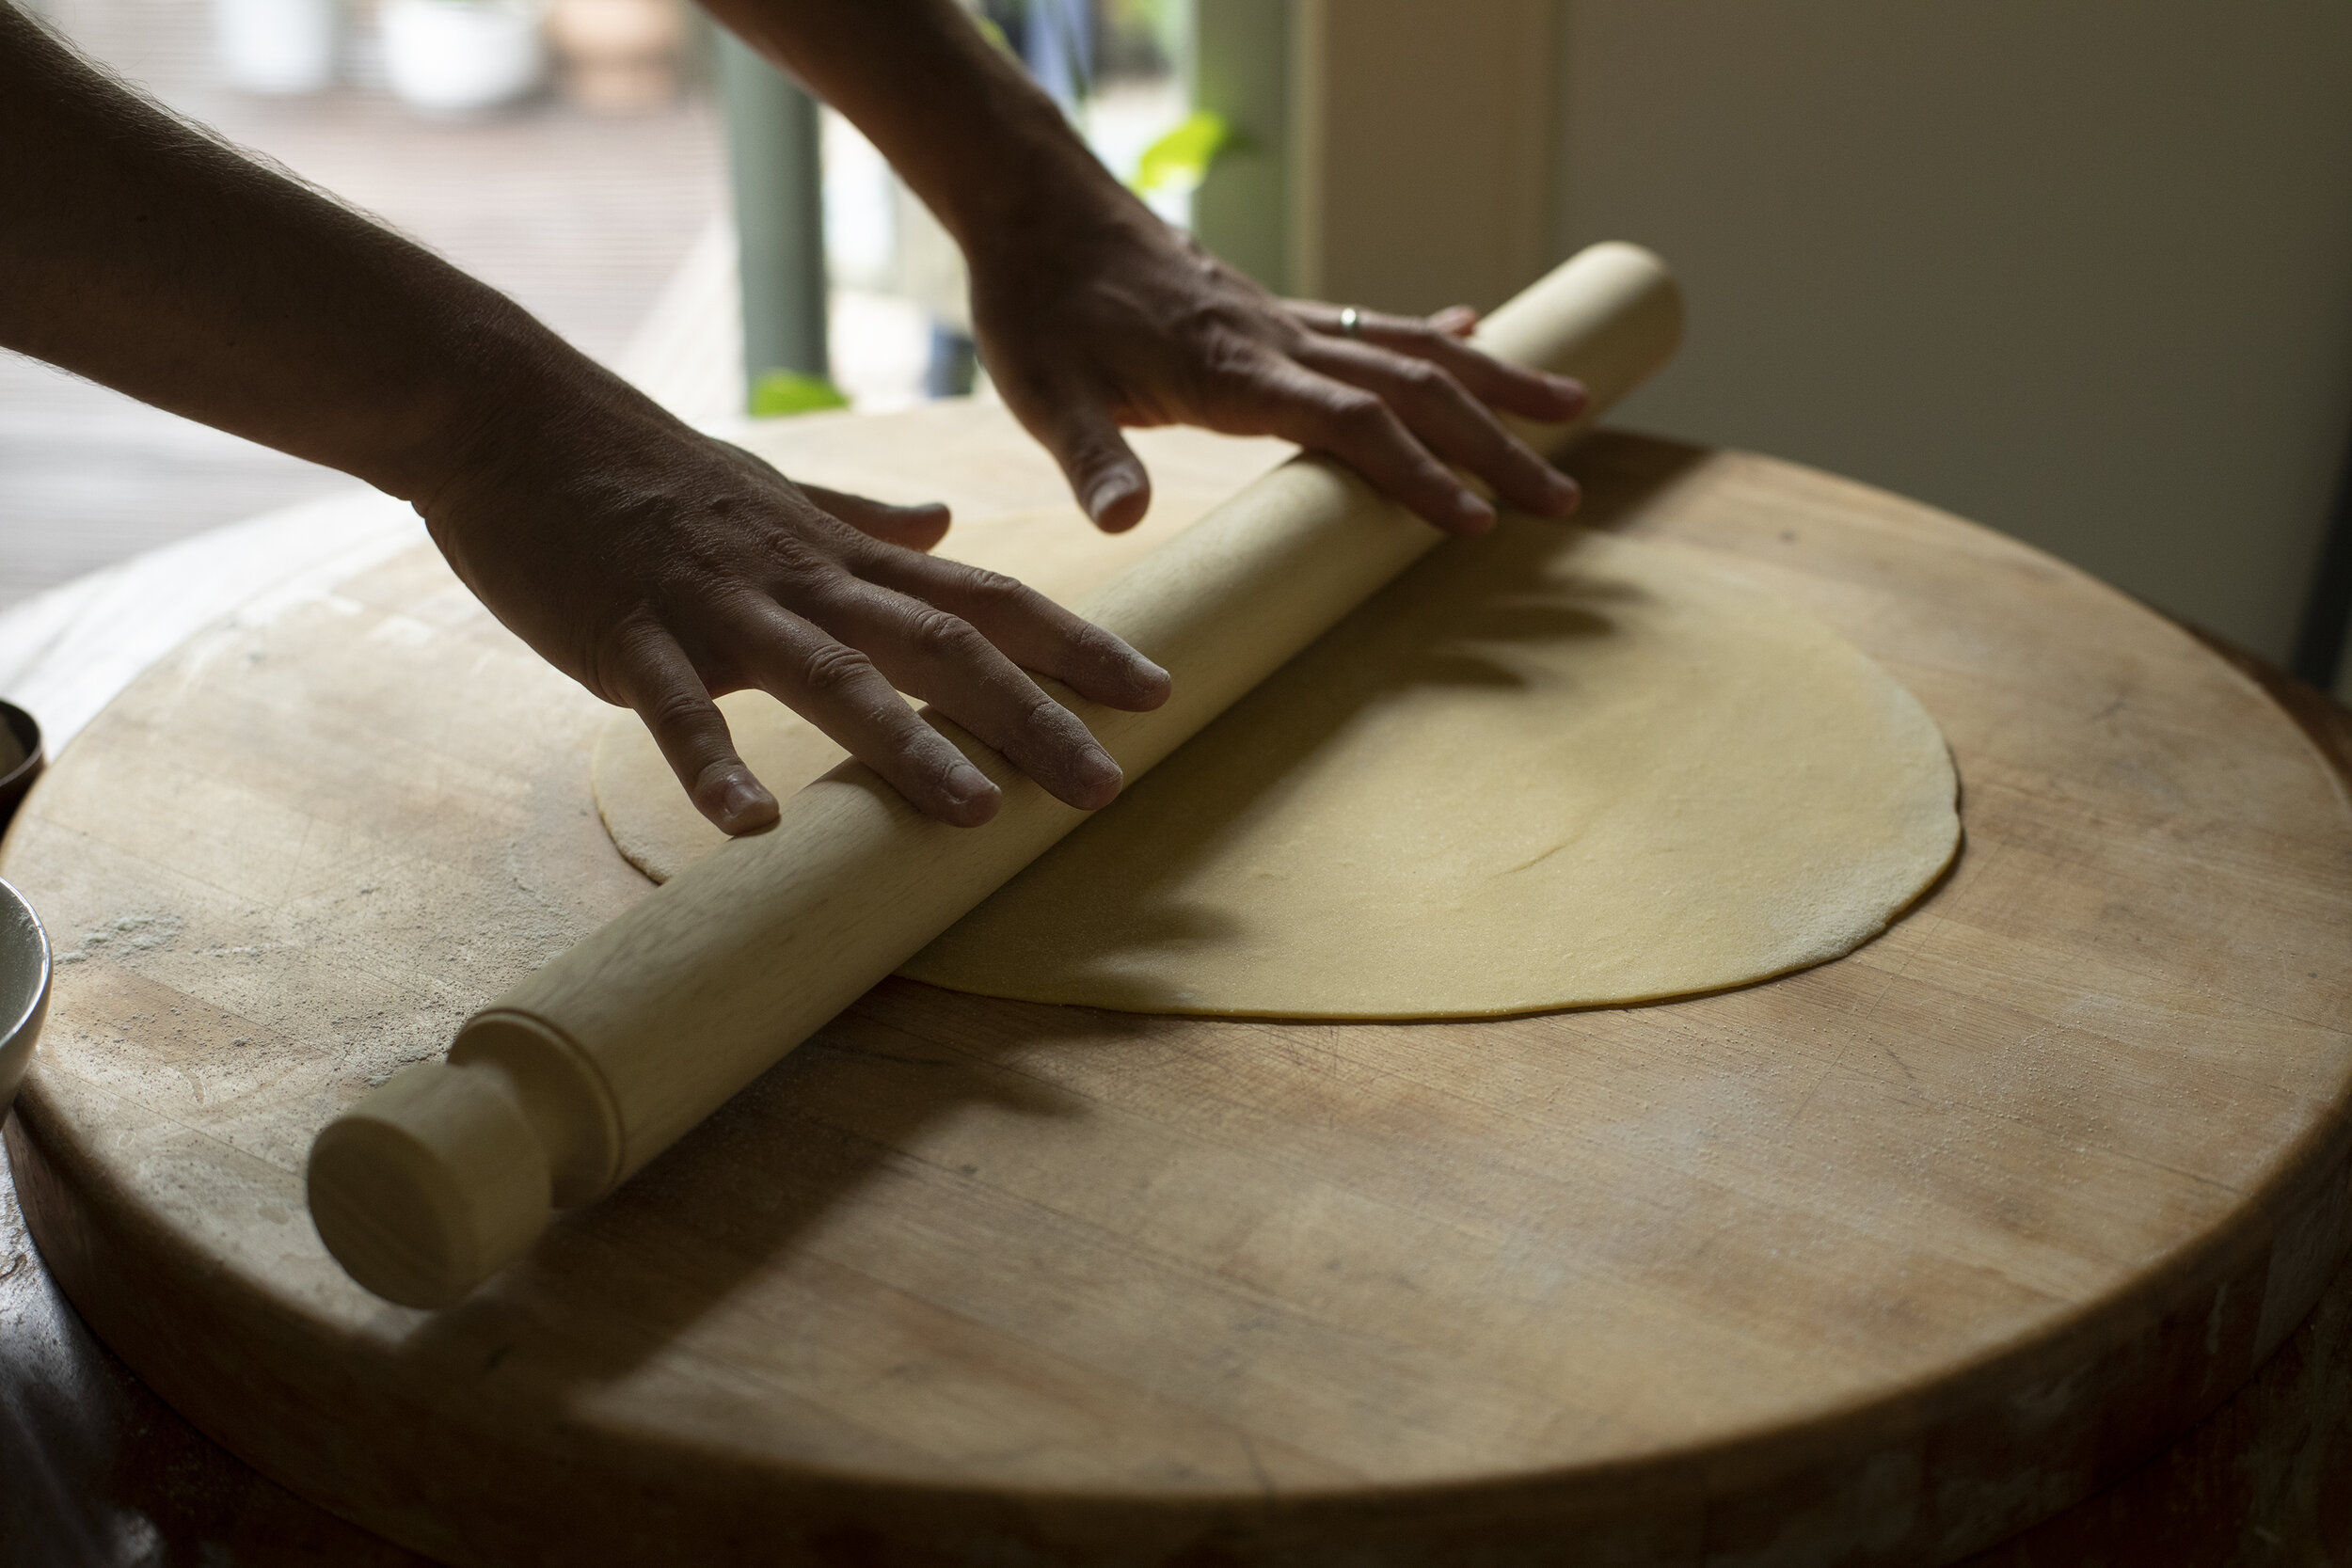
4. Using your fingertips, begin pressing one piece of the dough to begin the stretching process. You'll alternate using your hands to gently stretch and the rolling pin until you have a nice uniform sheet of dough that is approximately 10-12" in diameter.
5. Lubricate the bottom of your 8" baking pan (I use a cast iron skillet) with more olive oil. Don't be shy with it.
6. Gently lay in the first sheet of dough into the pan, using your fingers to press out any air bubbles and to wrap the dough around the top lip of the pan. It doesn't need to be perfect as you'll finess as you go. Brush with olive oil.
7. Roll out the second sheet of dough and lay in on top of the first sheet, again pressing out any air bubbles.
8. Spoon in the filling and spread evenly to fill the entire pan. Use a spoon to create 3 wells where the remaining eggs will go.
9. Carefully crack the 3 eggs into the indentions you just made.
10. Roll out the third layer of dough and carefully drape it on top of the filling and let the edges hang down over the pan. Brush with olive oil.
11. Roll out the final sheet of dough and lay it on top.
12. Use your fingers to carefully roll the edges of the dough upwards, and inwards, to create a sealed edge around the top circumference of the pie. The bottom layers should be stretched and rolled up and around the top layers. Brush with more olive oil and use a knife to create a small hole to steam in the center of the pie.
13. Bake in the oven at 350F for 40-45 minutes or until lightly browned.
14. Allow to cool, slice, and enjoy.