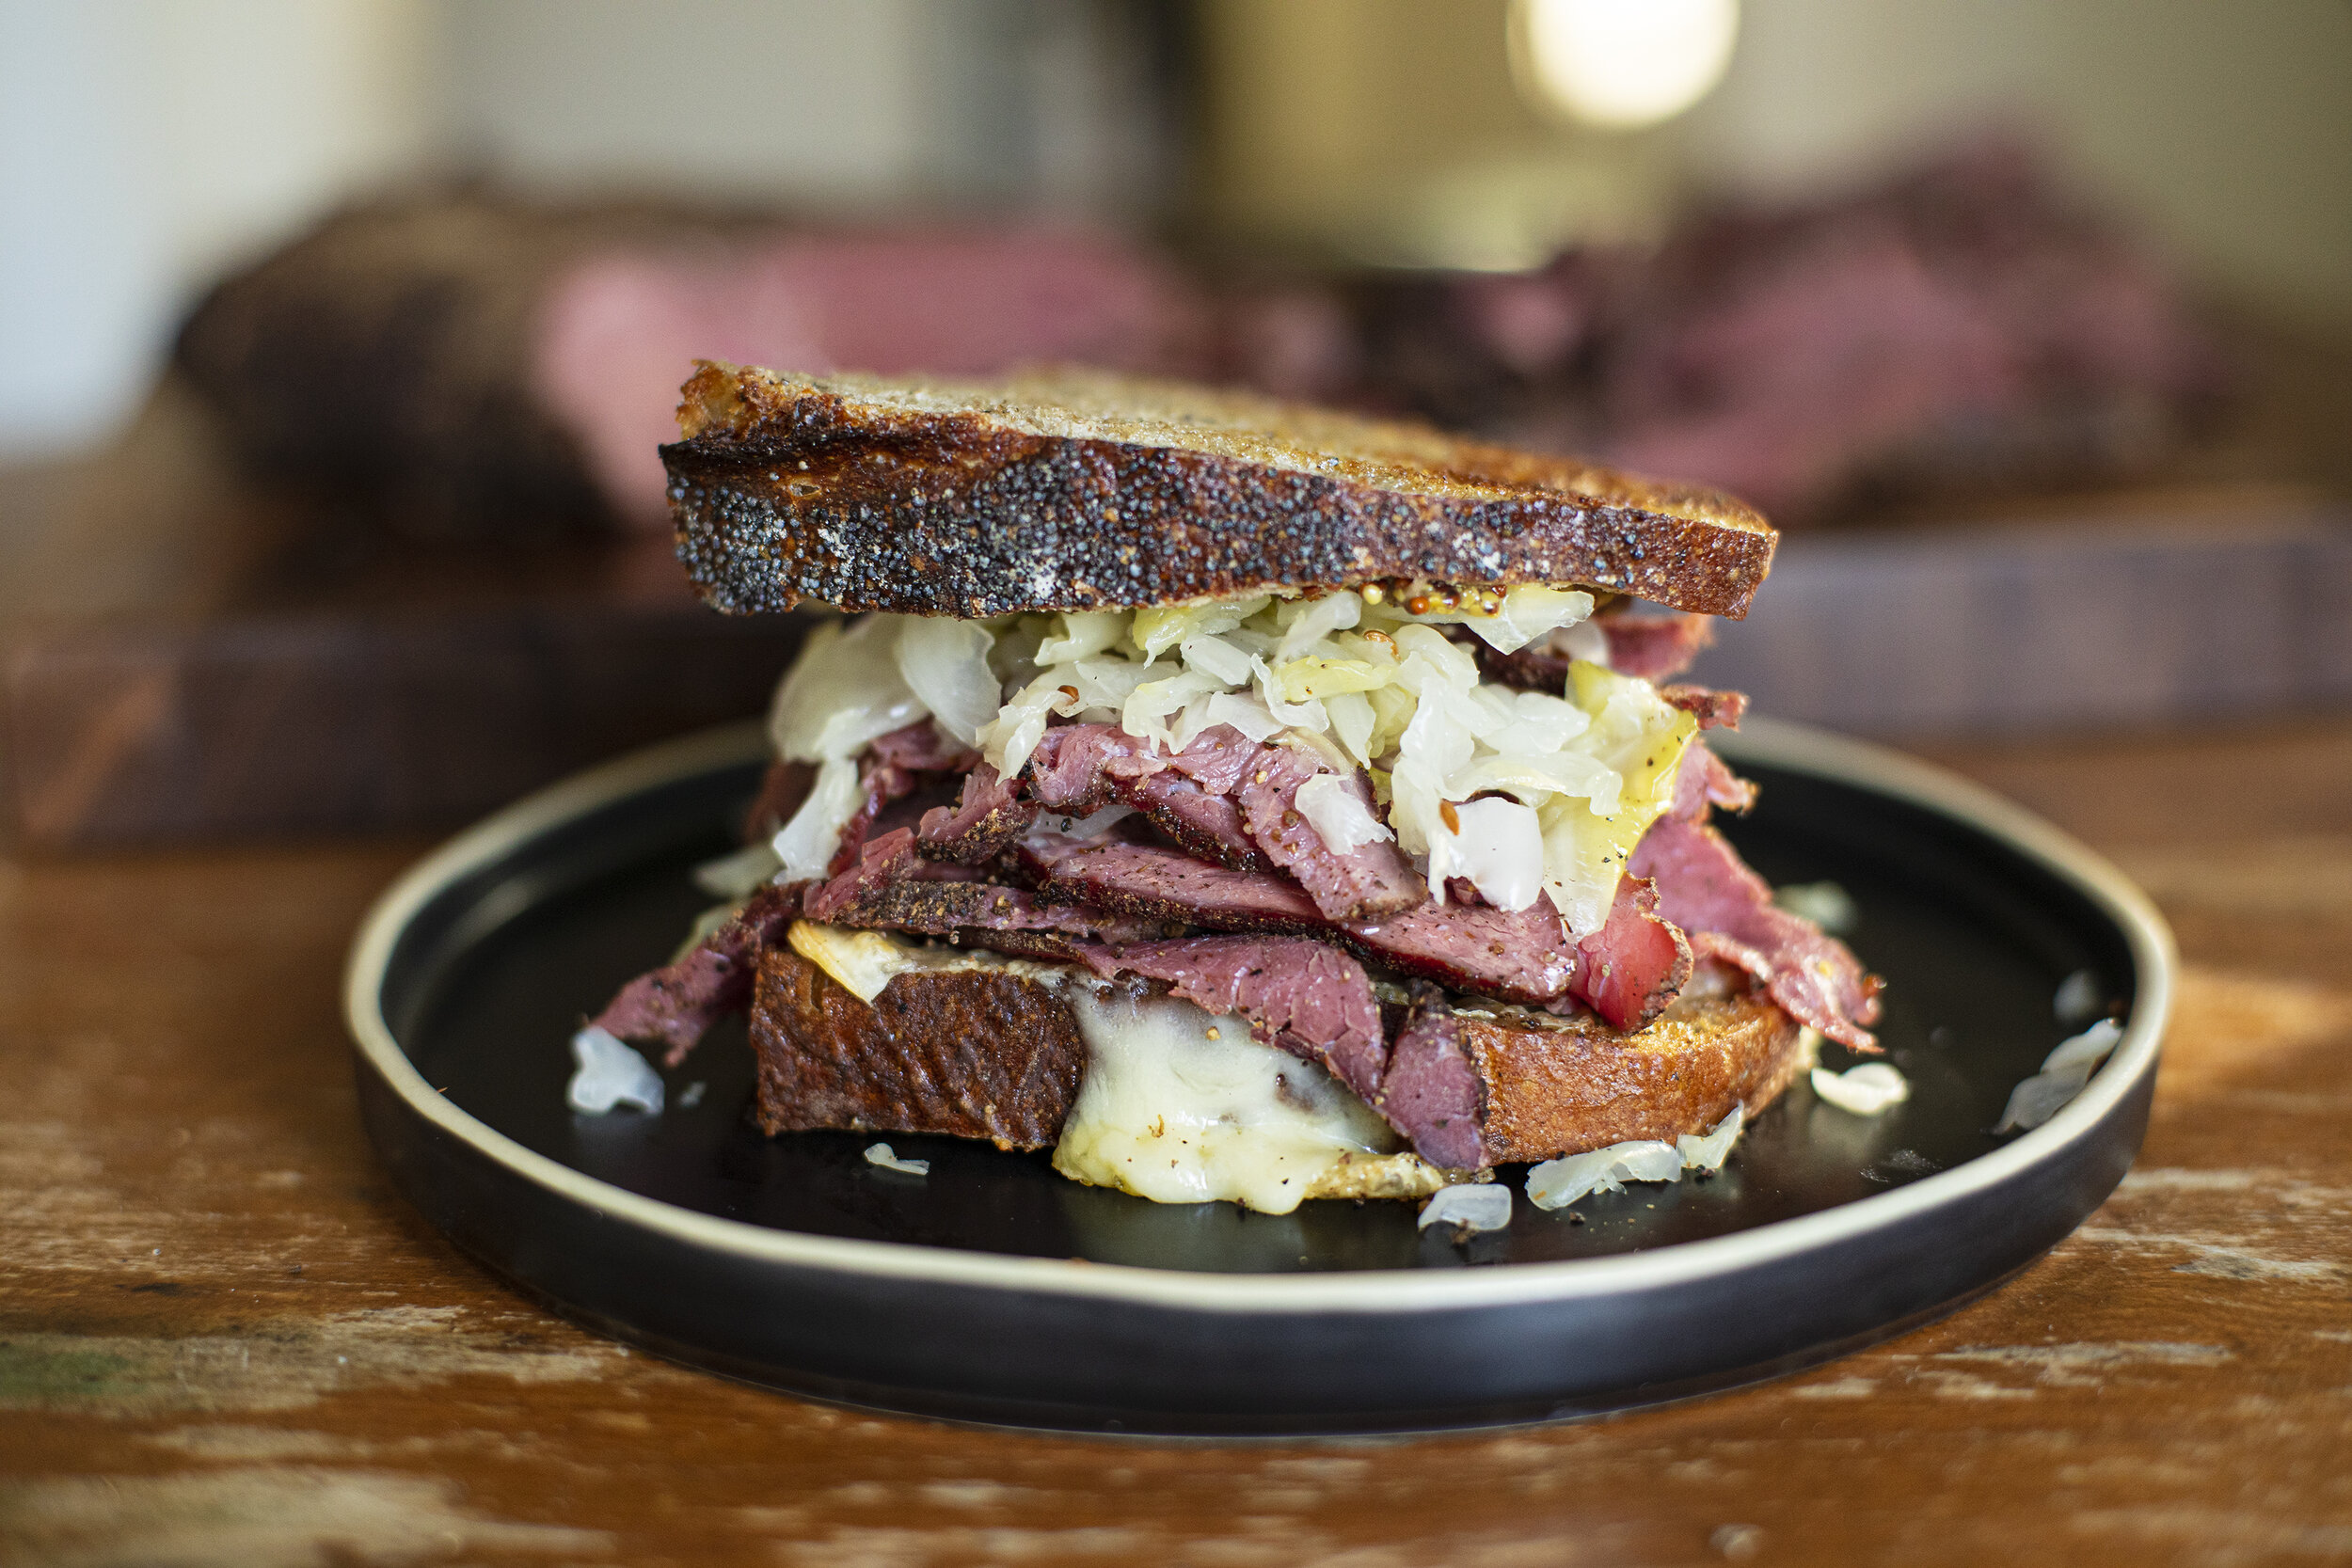
Venison Reuben on Poppy Seed Rye

On the surface, this is just a sandwich. But a lot of labor and love went into the making of it. Months spent scouting the woods trying to find the perfect position. Cumulatively, there were probably dozens of miles walked. Early mornings watching the sun rise and light up the ice encrusted tree canopy as my feet felt like they were going to freeze. Then there was the harvest and the subsequent months of planning how to do justice to every pound of meat. Six more weeks for the sauerkraut and the fine tuning of the sourdough poppy seed rye. Six days for the cure on the pastrami. Three hours in the smoker. And just a few minutes to devour it. Was it worth it? I don’t regret any minute of it. 

Video of the process below.

pastrami sandwich.jpg

The Pastrami

First off I want to credit Hank Shaw for the basis of this recipe. For the most part I followed the fundamentals of his recipe but just tweaked a few ingredients and temperature/timing in the smoker. The cut I used for this recipe was the bottom round, cleaned and trimmed. 

Ingredients

The Cure

A 2 - 4 pound piece of venison (single muscle works best)

Kosher salt (2% of the weight of the meat)

Instacure No. 1 (0.25% of the weight of the meat)

1/4 teaspoon celery seed

1/4 teaspoon caraway seed

1 teaspoon sugar

1/4 teaspoon crushed juniper berries

The Dry Rub

3 tablespoons ground black pepper (1 tbsp per pound)

3 tablespoons coarsely ground coriander (1 tbsp per pound)

1/4 cup dry sherry

packing spices.jpg

Instructions

  1. Weigh your piece of meat. In a spice grinder, mix together all of the ingredients for the cure. Measure your salt and curing salt carefully based on the percentages listed above. 

  2. Using your hands, pack all of the spices and salt onto the meat, massaging it into ass nooks and crevices of the meat. Make sure all sides are equally coated. Transfer into a large ziplock bag, airtight container, or vacuum seal. The meat will now cure in the refrigerator for 4 - 6 days. Hank’s general rule is 2 days per pound of meat. 

  3. Remove the meat and rinse it off in a bowl of cold water to remove the bulk of the cure. Pat the meat dry and place back into the refrigerator uncovered for another 30 mins up to a day. 

  4. Using the spice grinder again, blend together the peppercorns and coriander spinkly it across the bottom of a baking tray, reserving some more to sprinkle on top.  

  5. Place the meat in a bowl and pour the dry sherry all over it and massage it into the meat. 

  6. Transfer the meat, coated in sherry, to the tray of spices and carefully work it around the dry rub so it is coated on all sides. Pack more of the dry rub on top with your hands until every part of the surface is covered. 

  7. Set your smoker temperature to 250F and smoke the meat for 2 - 3 hrs until the internal temperature reaches 145F. Allow the meat to cool and slice very thinly.

sliced pastrami.jpg
rye bread.jpg
saurkraut.jpg

The Sauerkraut

This is a pretty ubiquitous recipe that makes for a simple but delicious kraut. 

Ingredients

1 head of green (or red) cabbage

2% of the weight of cabbage in kosher salt

Caraway Seeds

Instructions

  1. Peel the outer leaves from the cabbage. Wash thoroughly. 

  2. Thinly slice cabbage and weigh it on a scale.

  3. Measure exactly 2% the weight of the cabbage in salt.

  4. In a large bowl using your hands mix together the salt of the cabbage. Massage it. Crush it with your hands until all the liquid from the cabbage starts to be extracted. Continue massaging for 5 - 10 minutes.

  5. Add in a sprinkling of caraway seeds. Mix together again.

  6. Pack all the cabbage and it’s juices into your fermentation vessel of choice. Use the outer leaves as a protective layer on top of the kraut and weigh it down with a glass weight or similar. 

  7. Allow to ferment for 4 - 6 weeks in a cool and dark area of your house. After 4 weeks you can transfer it to the refrigerator. 

  8. That’s it.

Pani ca' Cori : Deer Heart Sandwich

This was the year that we lost my dad. It was also the year that I harvested my first deer after five years of trying. I grew up watching my dad hunt and was witness to the entire process from the forest, to the barn, and eventually to the dinner plate. He never forced it on me and as I became a teenager I grew disinterested. As an adult my appreciation of it returned along with my unease with concentrated animal feeding lots and the factory farm food system. But ultimately it was also a good excuse to get out in the woods with my dad as two adults even as I began to see his health begin to decline. He couldn’t come out the last two years but I persisted and kept him with me in my thoughts this season. I know he’d be smiling right now. This animal will be appreciated in the fullest sense of the word and I hope to transmit a sense of respect and responsibility that comes with it to my own two boys.

deer heart sandwich.jpg

The first meal I wanted to make was a tribute to my dad and his Sicilian origins. Pani ca' Meusa is a Sicilian sandwich traditionally made with stewed organ meats that get cooked over a long period of time in giant pots. It has become one of the most iconic foods in Palermo served at a handful of old school street vendors throughout the city. You’ll find them smothered in freshly grated caciocavallo cheese and served with a squeeze of lemon. The offal is typically spleen and lungs of a cow. Originally this was a sandwich designed for the poor but eventually, like other culinary feats of frugality and ingenuity, it has become widely popularized thanks in part to food fanatics like Palermo Street Food.

deer in snow.jpg
heart in the snow.jpg

For months leading up to this year’s deer hunting season I had been dreaming up different recipes in anticipation. I didn’t want anything to go to waste. What came to me was a spin on the classic Pani ca' Meusa but instead of using the traditional offal I would instead focus the sandwich on the deer heart. The heart was broken down into several beautiful steaks which were marinated with olive oil, garlic, homemade plum vinegar, salt and pepper. I then grilled them quickly on a hot grill and sliced them super thin, smothered them in grated caciocavallo from Jersey Girl Cheese and delivered them on my homemade sesame sourdough rolls. The concept, which I’m calling Pani ca' Cori, is distinctly Sicilian but it takes on new meaning with the notable addition of the deer heart. Video of the whole process below.

sesame rolls.jpg
grilling.jpg
dad with deer.jpg

My dad in the 80’s.

Fermented Hot Sauce

Every year I name my hot sauce something different. Last year, my older son Felix got to choose. But this year, in honor of my dad, I named this batch Caiman Bite which will remind me of a trip we took together to the Peruvian Amazon back in 2005. One evening, as the sun was about to set over the jungle, our guide paddled our small boat along one of the small tributaries near Iquitos. The next thing we knew, the guide casually reached into the water and pulled up a medium sized caiman which he then passed off to another member of our group. In a moment of panic, the woman next to my dad let go of the caiman’s mouth and it dropped to the bottom of the boat. As it thrashed around in anger it ended up sinking it’s teeth into my dad’s knee, giving him a proper souvenir of our trip and a memory that I’ll never forget. This year’s batch of fermented hot sauce was made with homegrown arapahos, hot paper lanterns, and sweet cornito rosso peppers - along with a little garlic, salt, and about 3 months of slow fermentation. Video about the process below.

with bottles.jpg

Recipe

Mix of hot & sweet peppers

2 teaspoons of sea salt

2 - 3 cloves of garlic

Water

White Vinegar

24 oz mason jar

Fermenting lid (Nourished Essentials)

This recipe is designed around having your own home garden. It comes together gradually throughout the summer as the peppers ripen vs doing it all in one big batch. It begins in the early part of the season (for me it was early July) when the first peppers start to ripen. I roughly chop the peppers and garlic in a food processor to make the mash. Depending on the type of peppers, I’ll add water very gradually so that the surface of the mash is covered with a thin layer of liquid (water + pepper juice). The mash is thick so there is not a lot of excess water. Eventually it all gets thinned out in later steps. For each 24 oz mason jar I’ll add approximately 2 - 3 teaspoons of salt. Mix very well to incorporate all of the salt. I like to use 24 oz mason jars with an airlocked fermenting lid to ferment my mash. Once I exceed 24 oz, I’ll just start another jar mostly because of the space available in my refrigerator but if you have the room this can all be done in one large fermenting vessel. 

08AD2A38-EAA4-4D40-9DD2-E5D3CB9ED633.jpg

Set out at room temperature for about a week. You’ll start to see the natural fermentation after a few days as bubbles begin to form in the mash. Stir once a day. After a week move the fermenting jar into the fridge where it will stay for the next three months. 

hot sauce mash.jpg

As more peppers ripen throughout the season, you’ll continue to make your mash and mix it together with the pre-fermented mash already in the refrigerator. Mix together very well. If you are exceeding the 24 oz jar and need to begin a new jar, it is important to first mix together the pre-fermented mash and the new mash in a large bowl before dividing into the fermenting jars. This ensures there is a healthy pre-ferment in each separate batch. It is also important to try to adhere to the same salt to mash ratio as you begin to increase the volume of your mash throughout the season. Some marker and tape on the outside of the jar will make remembering your ratios easy.

food mill.jpg
filling bottles.jpg

At the end of the season which for me is early October I’ll take all the slow fermented mash and pass it through a hand cranked food mill. This process removes all of the pulp and extracts just the pure liquid from the mash. At this point the mixture is quite thin, which will be further cut down with about 30 - 40 % of white vinegar (at room temperature). The blend will be bottled up in small hot sauce glass jars and stored in the refrigerator. The denser parts of the hot sauce will sink so the bottle just needs to be shaken before use. 

For a thicker hotsauce you could simply pass the entire mash through a Vitamix or food processor but this recipe is built around a lighter and more liquidy hot sauce.