Pizza al Fumo

A pizza inspired by the Tuscan pasta dish from Cortona called Pasta al Fumo, which translates to "smoked pasta." The smoke flavor comes from the smoked bacon which is cooked down with rosemary and garlic in a tomato cream sauce. Some folks add vodka, but my preference is to omit it (politics aside). It's traditionally served with a type of eggless pasta called pici, sometimes penne, but I wanted to see how it translated into a pizza format. Spooned on top of a 00 + AP + Maiorca + semola rimacinata cuore dough, and topped with mozzarella ciliegine + grated pecorino and some good EVOO. This came out even better than I could have imagined.

The Sauce

Ingredients:

  • 2 tablespoons olive oil

  • 3 cloves garlic (finely minced)

  • 3 sprigs of rosemary

  • 1/2 cup of smoked bacon (or smoked pancetta) finely minced

  • high quality tomatoes (about 1 cup, crushed by hand)

  • 3 tablespoons tomato paste

  • 1/2 cup heavy cream

  • salt to taste

Directions:

  1. Bring a skillet to medium/low heat and add the olive oil.

  2. Saute the minced garlic, bacon, and rosemary for about 5 minutes until there is a nice color on the bacon and the fat begins to render down. Be mindful not to burn the garlic if the pan is too hot.

  3. Add the tomato paste and incorporate into the mixture.

  4. Add the crushed tomatoes and continue to simmer for another 5 minutes.

  5. Slowly add in the cream, stirring constantly. Simmer for another 5 minutes.

  6. Remove from the heat and remove the rosemary from the sauce. Set aside and allow to cool. Can be made up to 3 days in advance.

The Pizza

Ingredients:

  • Al fumo sauce

  • Good olive oil

  • Pecorino romano

  • Dough of your choice

Directions:

  1. I’m not including the entire dough recipe here yet although I may add it eventually. You can use whatever dough recipe you prefer. For this pizza I am using a combination of King Arthur all purpose flour, and some Sicilian Maiorca and Semola Rimacinata Cuore.

  2. Stretch your dough and prepare for the toppings.

  3. Spoon on a layer of the al fumo sauce evenly across the surface leaving the edges clear.

  4. Break apart the mozzarella with your fingers, tearing little roughly shaped pieces. Distribute evenly across the pizza, being mindful not to overload it. Leave plently of space for the cheese to melt together with the sauce.

  5. Grate on some Pecorino romano across the top and drizzle with a high quality olive oil

  6. Slide the pizza on your peel and launch directly into your oven.

  7. If baking at high temperatures in a wood fired oven, the pizza should be done in about 2 minutes.

  8. If baking indoors in a conventional oven, at 500F, this will take roughly 7-8 minutes.

The Tiktok Baked Feta Craze as a Pizza

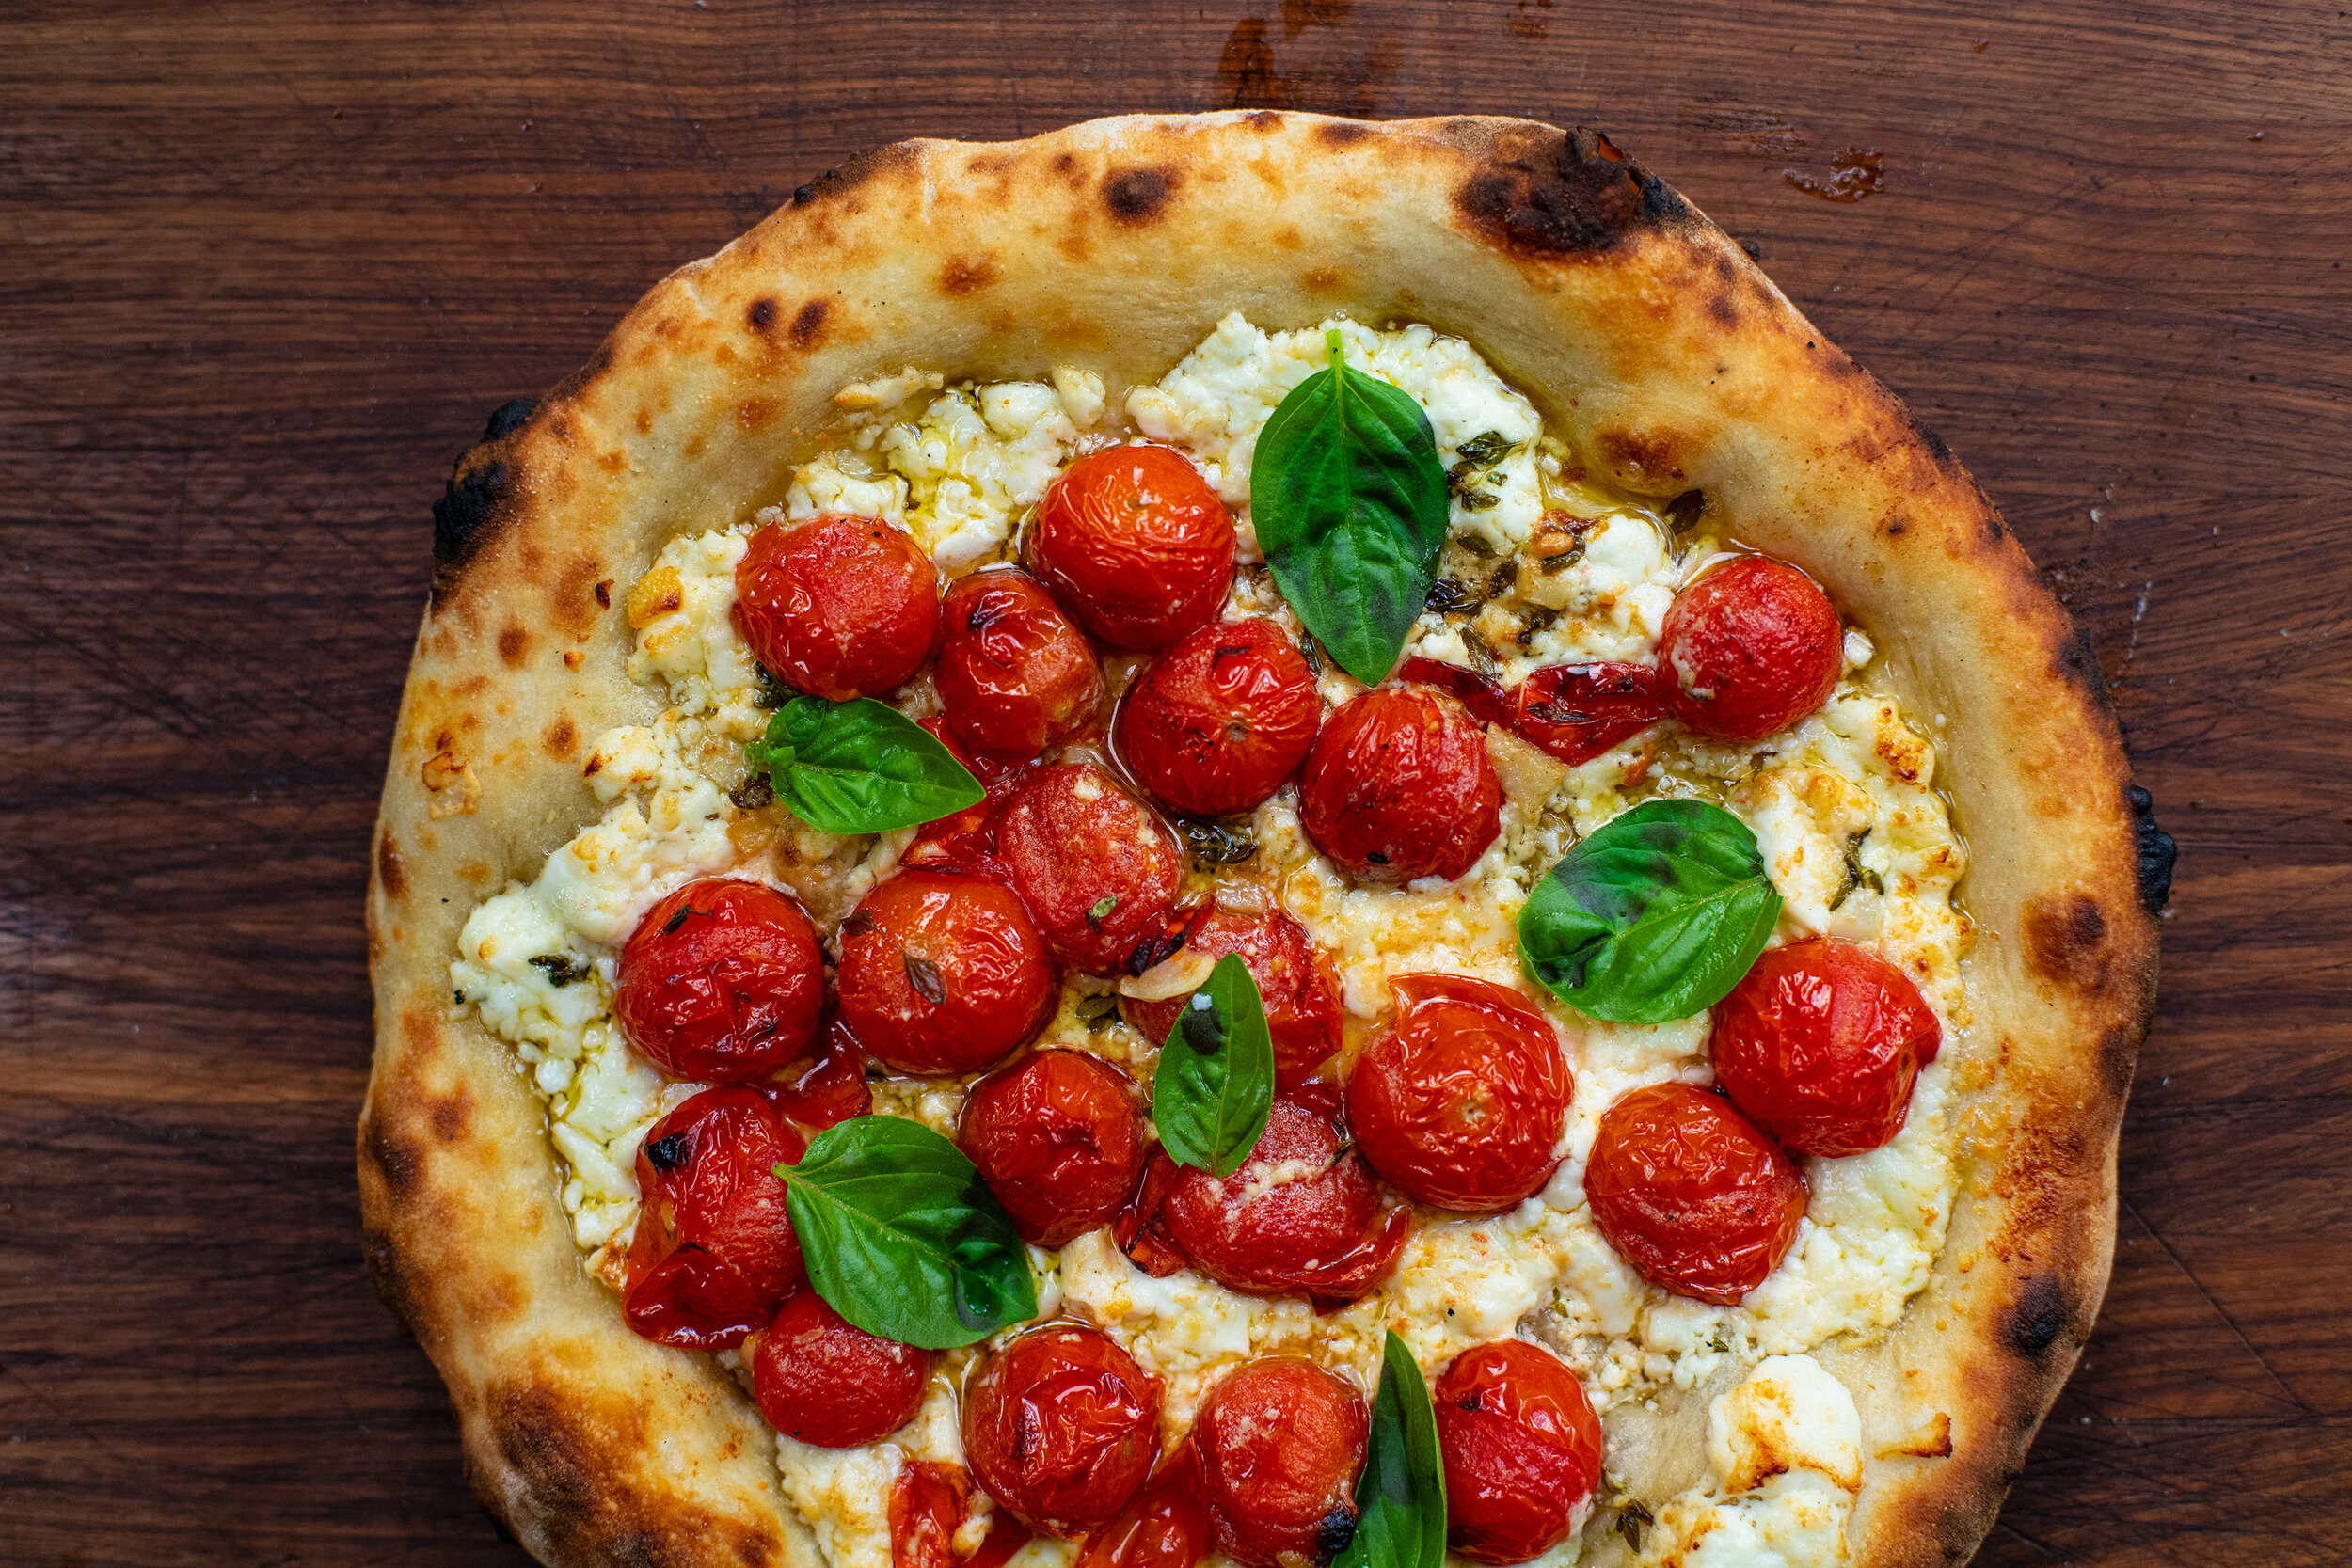
Here’s a little riff on the insanely popular baked feta pasta trend that went around this past year. It’s perfect for those amazingly sweet summer cherry tomatoes that are just around the corner. This was baked in an Ooni Pro using wood as the fuel source. Part of the appeal with the baked feta craze was how easy it was. Throw it all in a pan, bake it, and mix it with the pasta. The pizza version requires a little more finessing but at the end of the day, it’s still remarkably simple. Video of the process below.

baked feta whole pie.jpg

Ingredients:

Ripe cherry tomatoes

A block of feta cheese

Thyme

2-3 cloves of garlic, sliced

Basil for garnish

High quality olive oil

Salt to taste (the feta is already very salty, so this might not be necessary)

Your dough of choice (I’m using a naturally leavened 67% hydration overnight dough)

dough balls.jpg
ingredients in skillet 2.jpg

Directions:

  1. In a heavy duty skillet (I like to use cast iron), arrange your tomatoes, feta cheese, garlic, herbs, and a generous pour of olive oil over the entire surface.

  2. Heat your oven. I’m using a wood fired Ooni pro that I bring up to about 600F. If using a conventional oven, set it to 450F.

  3. Bake the tomatoes and feta until the tomatoes begin to blister and their juices start to bubble out. The feta will begin to soften and slump down in the skillet. At higher temperatures (600F) this takes approximately 10 minutes. At a lower temperature this part may take about 20 minutes. If using a wood fire, be careful that the cheese does not become burnt on the top - adjust the fire accordingly.

  4. Remove from the heat and set aside to cool down a little.

  5. Shape your pizza dough and drizzle a light coating of olive oil in the middle.

  6. Using a peel, slide the dough into your oven. My Ooni Pro was set to about 750F when the dough goes in. Bake for about 2 minutes, carefully rotating the dough with a turning peel so it gets evenly baked on all sides. The key here is that you only want to go half-way so you’ll remove it before you start to see blisters on the cornicione. If using a conventional oven at a lower setting (500F), this might take about 5 minutes.

  7. Remove the dough and set onto a work surface. Spoon on a layer of the softened feta followed by spoonfuls of the blistered tomatoes. Finish it off with a spoonful of the amazing juice in the bottom of the pan. Return to the oven and cook until finished (another 1-2 minutes) when you have a perfected leoparded crust.

  8. Garnish with some fresh basil and allow to cool. The cherry tomatoes retain their heat for a long time and you’ll be sorry if you take a bite too quickly. For me, the best part of this pizza is dunking the crust in the leftover juices in the pan - it’s pure heaven.

baking cheese.jpg
baked feta pizza 1.jpg

Stinging Nettle & Ramp Leaf Oil Pizza

Always a thrill stumbling into new areas- creeks lush with watercress and nettles and unfamiliar hillsides with healthy populations of ramps. It was still a little early for morels but I came home with plenty. We fired up a bunch of pizzas but I was most excited about this nettle, ramp leaf oil, sausage, and lemon zest pie. It was a good day. Video of the process below.

nettle pizza 1.jpg

Ingredients:

Fresh stinging nettle tips (handle with care)

Fresh ramps (leaves only) *please leave bulbs in the ground

Shredded mozzarella

Crumbled sausage (sauteed in advance)

Lemon (to zest)

Good olive oil

Pecorino Romano

Pizza dough

The Nettles

  1. Bring a large pot of water to a boil.

  2. Prepare a large ice bath in a bowl.

  3. Using tongs, drop your stinging nettle into a pot of boiling water for 1 minute. Blanching will immediately nullify the stinging power of the nettle and you’ll then be able to handle it without concern.

  4. Transfers the blanched nettle to the ice bath to shock them.

  5. Drain, and squeeze out as much water as you can. Allow to air dry to remove even more water.

  6. Drizzle with olive oil and set aside.

The Ramp Oil

  1. Clean your ramp leaves in a cold bowl of water to remove any bits of dirt.

  2. Trim the stems off completely leaving only the leaves behind.

  3. Lay in the ramp leaves into your food processor (or blender) and add in good quality olive oil. You’ll have to use your best judgement on the amount depending on how many ramps you’re using. The consistency should be thinner than pesto.

  4. Add a little dash of salt, and blitz for about a minute.

  5. Transfer the puree into a fine mesh sieve and use a rubber spatula to press the oil down into a bowl. What’s left behind is a fragrant mash of ramp leaves with some traces of oil. This can be saved / frozen / and incorporated into countless other dishes. For now, you’re focusing on just the extracted oil that comes out of the sieve.

  6. Transfer the oil into a container, ideally a squeeze bottle with cap. It’s ready to go. Store in the refrigerator.

The Dough

For the pizza dough I have been very happy using a Ken Forkish recipe from Flour Water Salt Yeast for an overnight dough (67% hydration) with levain. It’s one of the few recipes that I have decided not to mess with as it always yields great results.

The Assembly & Finishing

  1. Stretch your dough and drizzle first with a little bit of olive oil.

  2. Layer on your shredded mozzarella cheese.

  3. Now evenly distribute the blanched nettles (in olive oil).

  4. Spread out the cooked sausage crumble evenly.

  5. Grate fresh Pecorino Romano over the top of the pie.

  6. Bake your pizza. I use a wood fired Ooni Pro but use whatever works for you.

  7. Drizzle on a generous amount of ramp oil.

  8. Add fresh lemon zest.

  9. Enjoy!

nettle and feather.jpg
ramp patch.jpg
pie in oven.jpg

Sfincione 2.0

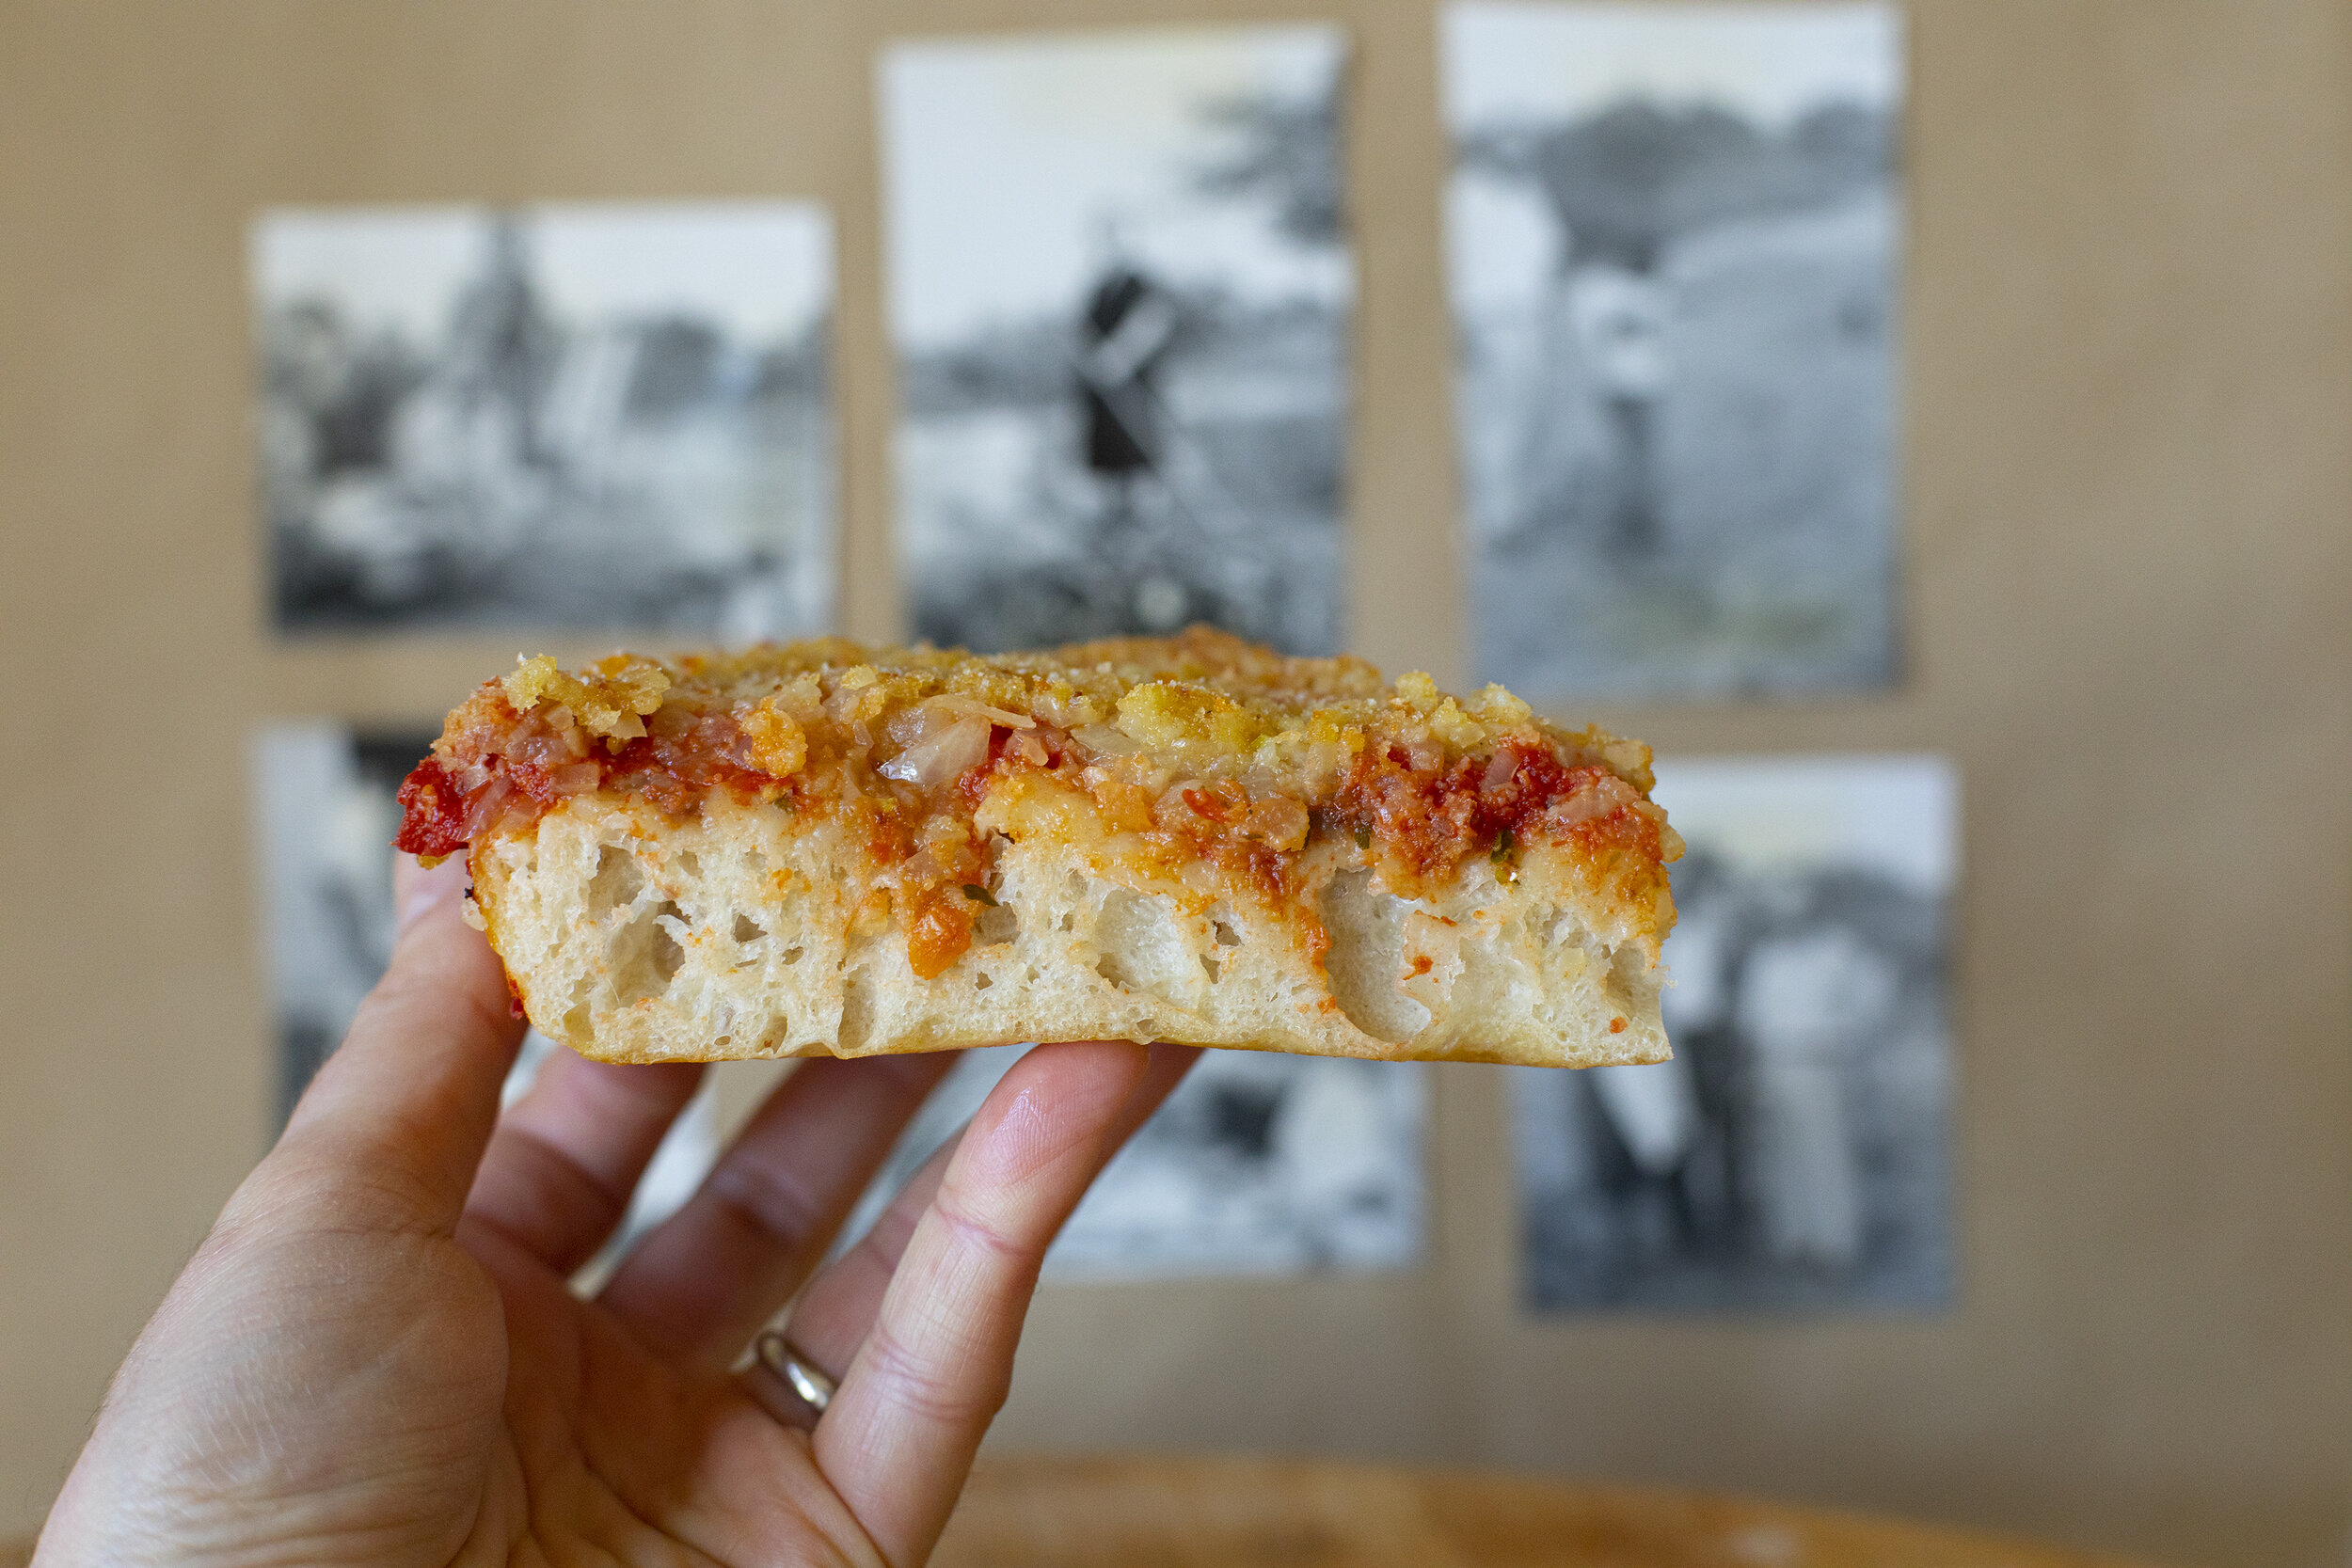
An updated sfincione recipe with a few small tweaks. I find this version to be superior than it’s predecessor in a few key ways. The onions are finely diced (after sauteing) so they melt in your mouth. I add more sauce in this version giving it a sweeter, saucier bite. And I’ve added two layers of grated cheese which melds it all together.

sfincione v2 3.jpg
sfincione v2 2.jpg
sfincione v2 1.jpg

Ingredients:

2 large onions 

1 x 16 oz can of high quality tomatoes - crushed

Grated pecorino or caciocavallo

Anchovy fillets mashed into small pieces to taste

Dried oregano to taste

High quality olive oil

Toasted breadcrumbs preferably coarse and unseasoned

Salt and pepper

Pizza dough (see recipe here)

Directions:

Oil a rectangular pizza pan liberally. Spread the dough out with your fingers so that it covers the bottom evenly. Press into the dough to ensure you’re spreading it evenly across the pan. Allow it to relax a little if it’s pulling back into the center. Cover with a cloth and allow it to rest while you prepare the other ingredients.

Finely dice 2 yellow onions. Saute onions in olive oil on medium heat until golden and soft. Allow to cool down. Now mince the onions down even further so it almost forms a paste like consistency.

Using a spoon or your fingers, sprinkle the mashed anchovies across the surface of the dough, massaging them into the dough. Drizzle some more olive oil over the surface. Sprinkle on a layer of dried oregano evenly across the surface. Add a layer of grated cheese evenly across the surface.

Ladle on the crushed tomatoes evenly across the entire surface. Be generous here.

Add another layer of cheese evenly on top of the tomatoes. Spoon on the onion mixture and spread out evenly across the entire surface. Make sure it completely covers the surface.

Sprinkle on a layer of breadcrumbs, and work into the onions mixture with a spatula or your fingers. Drizzle the entire thing with some more olive oil.

Bake at 425 degrees for about 25 minutes, checking periodically. As it bakes the edges will crisp and the onions and breadcrumbs will be a beautiful golden brown. 

IMG_7753.jpeg

Grandma Style Pan Pizza 2.0

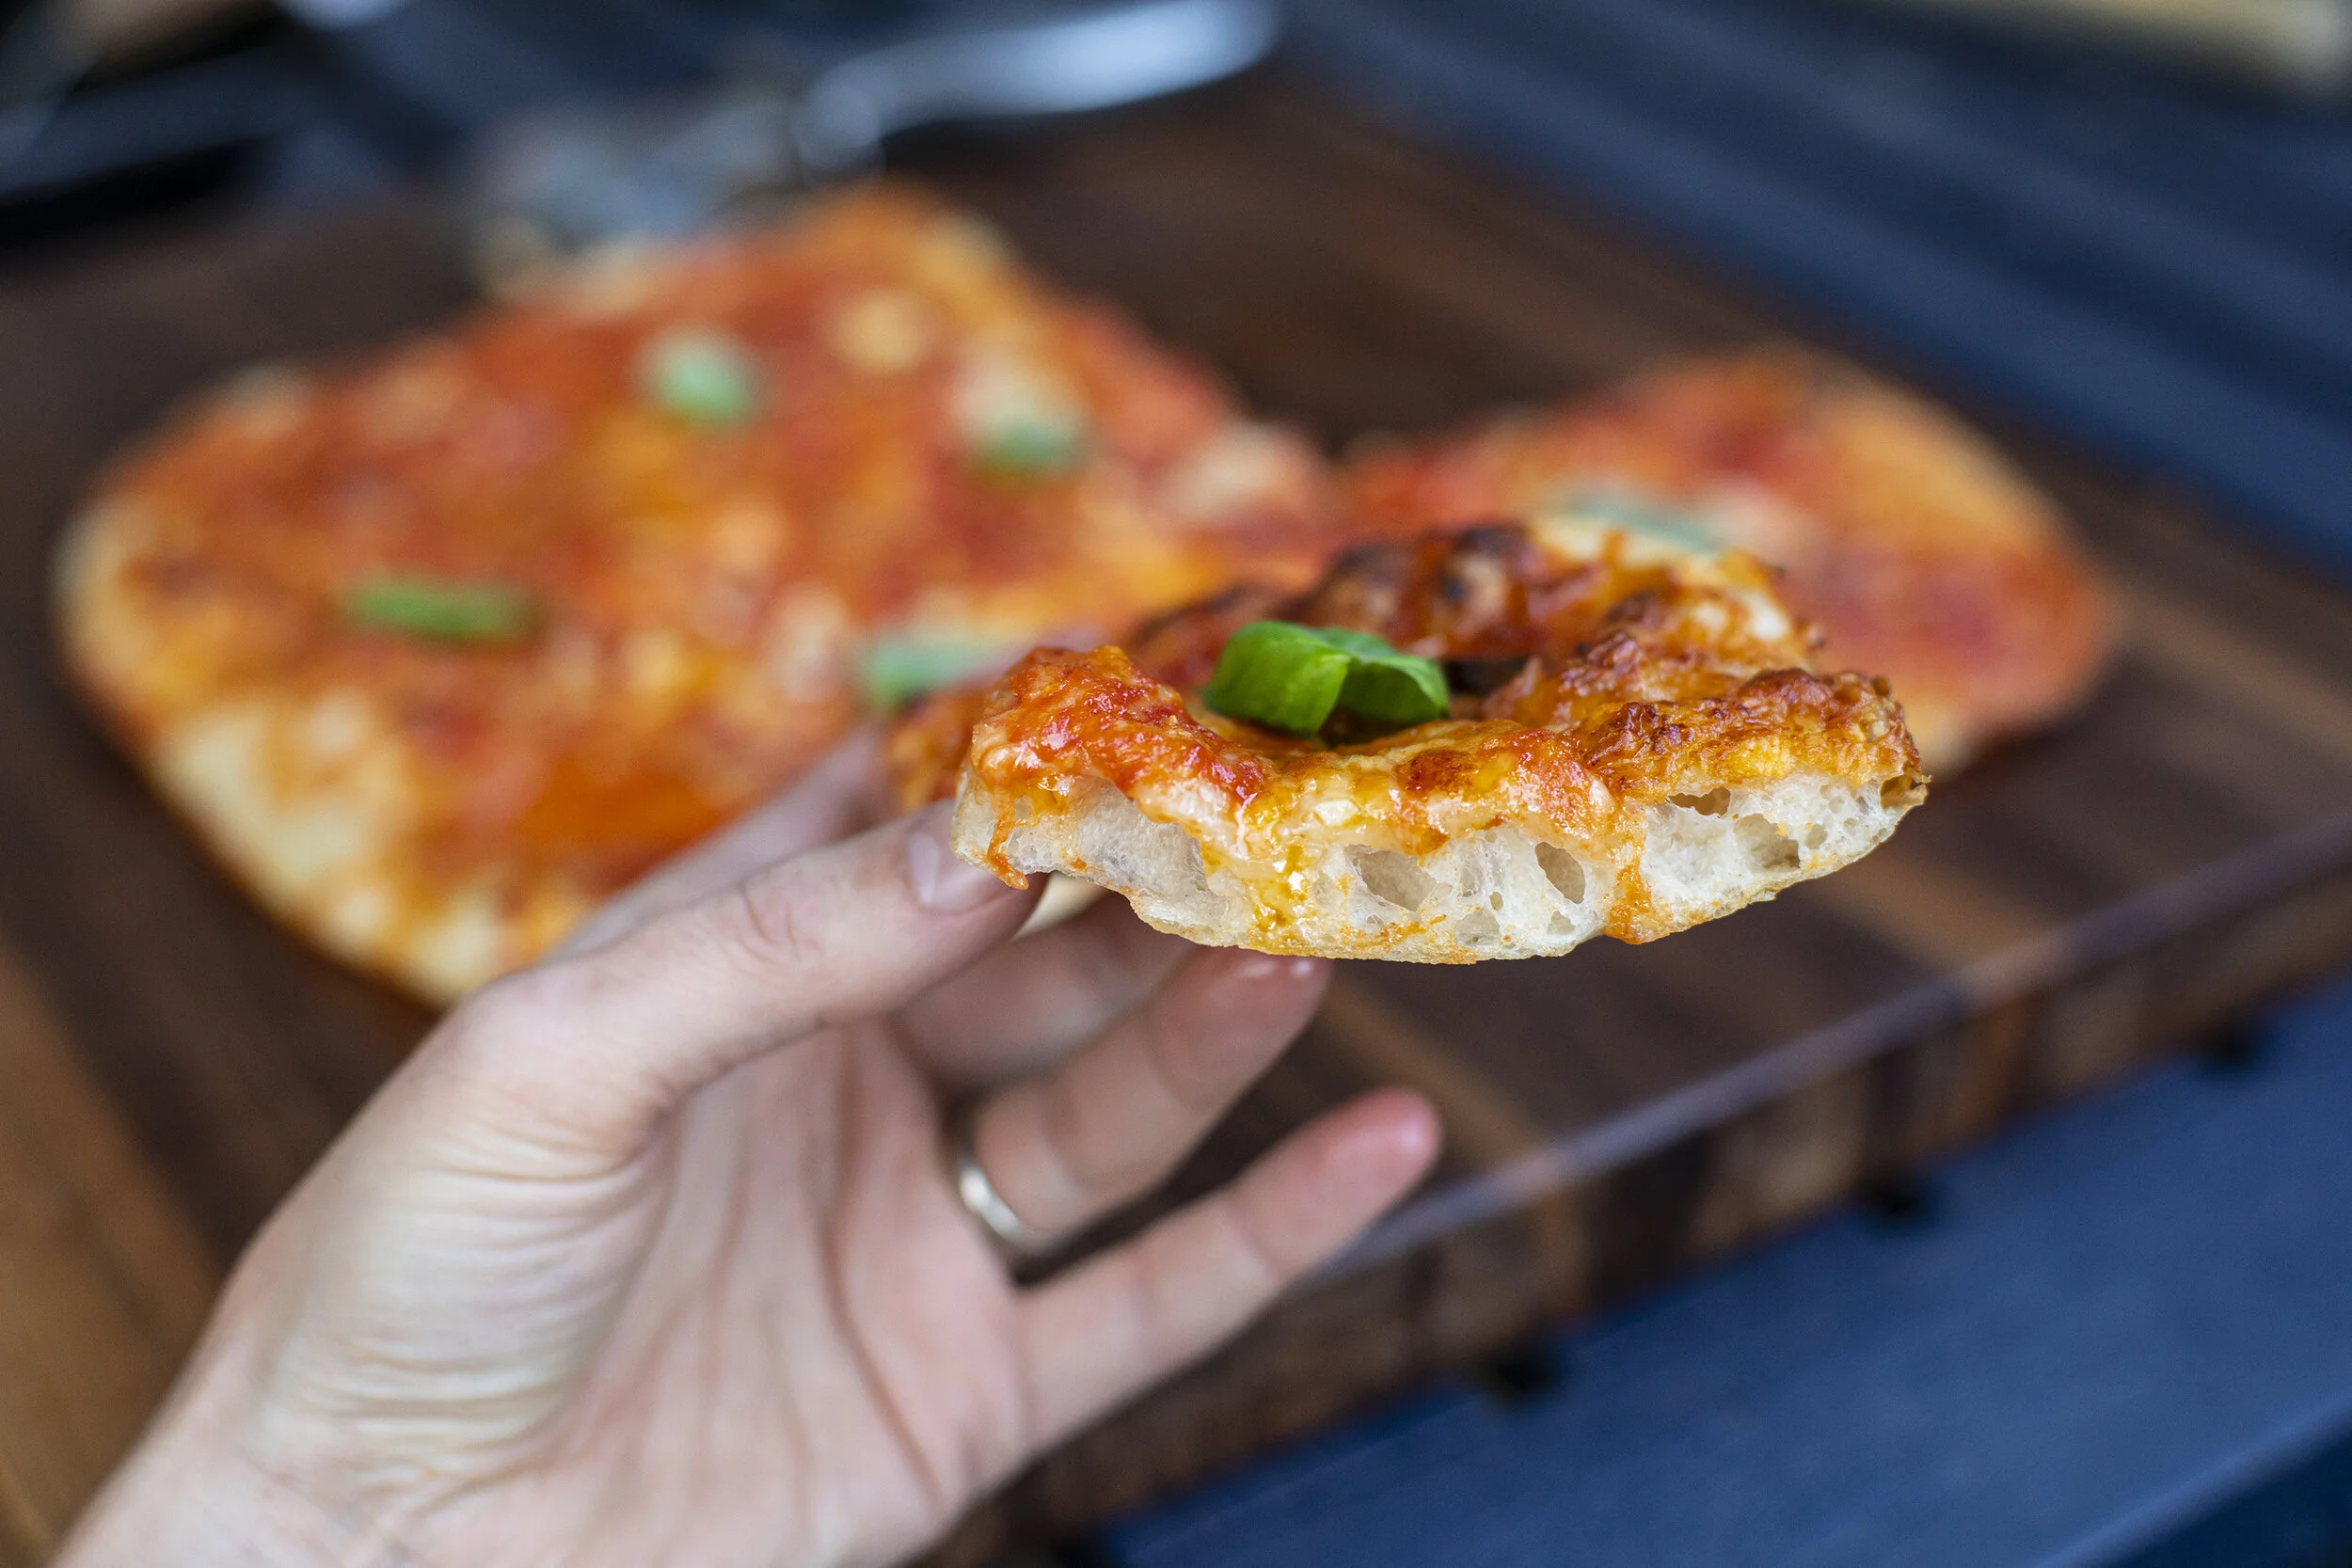
After much trial and error I’ve landed on a Grandma style pan pizza dough formulation that I’m really happy with. The end result is a 75% hydration naturally leavened dough that yields a wonderfully light and thin pizza with crispy edges. It’s a higher hydration pizza dough but because there really is no shaping involved it’s very easy to work with. The fermentation time is very flexible; from 20 hrs up to 36 hrs once it goes into the refrigerator. In my opinion, the key things for a Grandma pie are 1) lots of garlic 2) a classic red sauce on top of the cheese 3) a thin, crispy edged dough baked in a pan vs directly on a stone.

grandma slice.jpg

The Dough

Ingredients

533 grams Type 0 Manitoba Flour

400 grams Water

96 grams Active Starter

10 grams Salt

These quantities are designed for 2 X 11” x 14” pans.

  1. Mix together the water and the flour and set to autolyse for one hour up to six hours.  At about 7 pm add the salt and active sourdough starter and start working into the dough with your hands or with a rubber spatula until more or less homogenous. Let rest for 45 minutes.

  2. You’ll want to fold the dough two more times (with your hands) over the course of the next 1 - 2 hours to develop the gluten. By the end the dough should be very smooth and should not stick to your hands while folding. Cover and rest overnight at room temperature.

  3. In the morning (approximately 7am) divide the dough and keep in air tight containers. Transfer to the refrigerator and take out 30 minutes before you’ll be making your pizza. If making pizza that evening you’re looking at about 12 hours of room temperature fermentation followed by about 10 hours of cold fermentation. I’ve kept the dough in the fridge until the next day and still have been very pleased with the results. If baking early in the day, there’s no need to put it into the fridge. You can transfer directly to your baking pan from the bulk ferment container.

Classic Grandma Recipe

Ingredients

Olive Oil

Red Sauce (see recipe for red sauce here)

Shredded mozzarella cheese

Thinly sliced garlic (2 -3 cloves)

Grated parmesan

Basil

Instructions

  1. Set oven to 425F.

  2. Slice 2-3 cloves of garlic as thin as you can. Cover them with enough olive oil so they are completely submerged in a small bowl.

  3. After the dough has come to room temperature, dump it out into a well oiled pan. Spread the dough out so it has a uniform thickness. Use the tips of your fingers to press down into dough to push it into the edges of the pan. Pop any large bubbles. Grandma is a generally thinner pie, so it should be worked into the pan fairly well. Drizzle a little more olive oil on top.

  4. Cover the entire surface of the dough with shredded cheese.

  5. Ladle on the tomato sauce generously on top of the cheese. For Grandma style pies I like to ladle on dollops of sauce evenly, but leave a little cheese exposed for visual effect.

  6. Spoon on the thinly sliced garlic over the surface along with some of the oil.

  7. Sprinkle freshly grated parmesan or pecorino on top.

  8. Bake for 25 - 30 minutes and serve.

  9. Garnish with fresh basil.

grandma corner.jpg
grandma slice.jpg
grandma booty.jpg

Other Variations

Using this dough recipe as a foundation, the possibilities are endless. Here are a few of my favorites so far.

Marinated artichoke, prosciutto, pickled pepperoncini peppers, mozzarella, grated cacciocavallo, basil.

Marinated artichoke, prosciutto, pickled pepperoncini peppers, mozzarella, grated cacciocavallo, basil.

Nduja, Broccoli rabe, red onion, mozzarella, red sauce base.

Nduja, Broccoli rabe, red onion, mozzarella, red sauce base.

Morel mushrooms, ramp oil, pecorino.

Morel mushrooms, ramp oil, pecorino.

Summer Sun Gold Sfincione

Summer is in full effect and to celebrate the season I wanted to make this variation on the classic Sicilian sfincione. All of the essential flavors are present but modified to fit the season. Fresh oregano, the sweetest sun gold tomatoes, slivers of sauteed onions, beautiful Spanish anchovies and Sicilian olive oil from Baker Street Market , freshly grated caciocavallo, and breadcrumbs. All topped with a dollop of fresh ricotta, just because why not. Naturally leavened, using Caputo Manitoba flour. Light as a cloud and packed with incredible flavor, this will definitely be added to the rotation! Full recipe and video below.

summersfincione2.jpg

Ingredients for the pizza

1 whole yellow onion (sliced in slivers and sauteed until soft)

Sun Gold tomatoes or similar cherry tomatoes (enough to cover surface)

Bread crumbs (1/2 cup)

Anchovies (preserved in oil)

Fresh oregano

High quality olive oil

Caciocavallo cheese

Instructions for the pizza

  1. Set your oven to 425 F.

  2. Liberally oil your pan or cast iron skillet with olive oil. After your dough has come to room temperature dump it out directly into the pan and stretch and press it so it completely fills the entire area. Drizzle with more olive oil. Press into the dough to create dimples all over the surface.

  3. Layer in the anchovies. I like to use high quality Spanish anchovies and pull them apart with my fingers and distribute them evenly across the surface. Alternatively, you can mash the anchovies with a fork, and spread them around as more of a paste if you prefer. Either works well.

  4. Layer on the fresh oregano, and press into the dough with your fingers.

  5. Using a cheese grater, layer on some fresh caciocavallo cheese to cover the surface.

  6. Layer on the Sun Gold tomatoes evenly across the surface and press down so they are incorporated into the dough. Drizzle another thin coat of oil on the surface.

  7. Layer on the onions evenly across the surface but do not completely cover the tomatoes. The onions can be prepared ahead of time - sliced thinly into slivers and sauteed for about 5 - 10 minutes on medium heat. Allow the onions to cool before topping the dough.

  8. Sprinkle a layer of breadcrumbs across the top evenly.

  9. Add another layer of caciocavallo cheese to the top.

  10. Bake in the oven for 30 minutes. The top should be crispy and lightly charred.

  11. Remove from the oven and from the pan, and divide into pieces.

  12. Top each individual piece with a dollop of fresh ricotta.

  13. Enjoy.

sungolds.jpg
summersfincione7.jpg
summersfincione6.jpg

The Dough

Ingredients

Bread Flour

Active Starter

Salt

Water

This is my go-to recipe for focaccia, sfincione, and Sicilian style pizza. Keep in mind that you may need to adjust the quantity depending on your size of pan. This is designed for approximately an 11” x 14” pan.

  1. Mix together 410 g of water and 530 g of bread flour and set to autolyse for up to six hours.  Add 15 g of salt and 90 g of active sourdough starter and start working into the dough with your hands or with a rubber spatula until more or less homogenous. Let rest for 45 minutes.

  2. You’ll want to fold the dough two more times (with your hands) over the course of the next 1 - 2 hours to develop the gluten. By the end the dough should be very smooth and should not stick to your hands while folding. Cover and rest overnight at room temperature.

  3. In the morning transfer the dough to the refrigerator and take out one hour before you’ll be making your pizza.

summersfincione5.jpg
summersfincione1.jpg

Sourdough Bagels, Homemade Cream Cheese, and Gravlax

After a few iterations on this sourdough bagel I am finally happy to share the recipe. The texture and taste fall somewhere in between a New York and Montreal style bagel. Along with the homemade gravlax and cream cheese, this makes for an incredibly satisfying breakfast/brunch combination. A detailed video of the whole process is below.

finished bagels with lax.jpg

The Bagels

The whole process takes about 22 hours from start to finish and a little bit of smart planning. Ultimately it is a very approachable recipe if you have the right ingredients on hand. I typically start my process around noon on day one and bagels will start coming out of the oven around 10am the next morning. These bagels are approximately 55% hydration which seems to be the gold standard when researching recipes.

Ingredients (for 5 bagels)

250 g water

65 g active sourdough starter

450 g bread flour

10 g salt

4 g barley malt syrup (for the dough)

3 g barley malt syrup (for the boiling water)

1 tsp baking soda (for the boiling water)

semolina (for dusting the tray)

Sesame and poppy seeds (for topping)

*The one ingredient you’re most likely not to have in your kitchen is the barley malt syrup. While it is possible to make bagels without it, it does serve a very specific purpose and is what many New York / Montreal bagel makers use in their formulations. It adds color, sweetness, and helps to condition the dough through the enzymatic processes that it contributes. If you don’t have barley malt syrup, you can use honey, brown sugar, or molasses to add a touch of sweetness - but keep in mind they function very differently.

Instructions

  1. Mix all of your ingredients together in a stand mixer with the dough hook (except for the additional 3 g malt syrup, baking soda, and semolina). Mix for about 10 minutes starting at the slowest setting and gradually increase to medium speed. This can be done by hand but it will take a lot longer to get to the right consistency. When fully mixed the dough should be tacky to touch, but not overly sticky. Cover the bowl and let ferment for 3 - 4 hours at room temperature depending on how warm your area is. Cooler ambient temperature will require longer ferment time.

  2. After 3 - 4 hours, dump your dough onto a clean (lightly floured) work surface and divide into 5 equal portions. Use your hands to roll each piece into a cylinder approximate 8 inches long and about an inch in diameter. Wrap the cylinder around your hand, press the two ends together, and gently roll the seam with your fingers to form a circular shape with a hole in the middle. This may take a few times to get it right, where you have uniform size all the way around each bagel.

  3. Transfer the bagels into a tray, lined with parchment paper and dusted with semolina. Cover with plastic wrap, and a light weight cloth or towel. Allow to ferment at room temperature for one more hour.

  4. Transfer the tray into the refrigerator to cold ferment overnight.

  5. In the morning, around 8am, remove the tray and allow to come to room temperature for about 30 minutes. Meanwhile bring a pot of water to a boil, mix in the baking soda and 3 g of additional malt syrup. Set your oven 500 F. Mix together the poppy seeds and sesame seeds (or whatever topping you like) in a medium sized bowl.

  6. Gently drop a few bagels at a time into the pot of boiling water. They may sink at first, but they should rise to the surface relatively quickly. Boil each side for about 1 minute each. Using a slotted spoon, transfer the boiled bagels to your tray for a few seconds, before transferring them into the bowl of toppings. Use your hands to roll the bagels around so there is a nice even coating on both sides. Transfer the bagels back into your tray. Repeat until all bagels are done.

  7. The bagels can be baked right in the tray or directly onto a pizza stone if you have one. Bake for 7 minutes and then flip, and then 7 more minutes - 14 minutes total time.

  8. Allow to cool slightly before enjoying.

Shaped and proofed.

Shaped and proofed.

Bagels will float when properly fermented and proofed.

Bagels will float when properly fermented and proofed.

seeded bagels.jpg

The Gravlax

This recipe is heavily inspired by a recipe from George Lang that my dad always used to make during the holidays. With the exception of a few minor tweaks, it is very similar to his original recipe.

Ingredients

2 pounds salmon with skin on

2 tbsp Aquavit or Vodka

1/3 cup coarse salt

1/3 cup white sugar

2 tbsp crushed black pepper

4 oz fresh dill sprigs (chopped)

Instructions

  1. Pat the salmon dry with a paper towel. Place it in a bowl or tray.

  2. Coat the salmon with the aquavit or vodka, rubbing it evening on all sides of the fish.

  3. In a small bowl, mix together the salt, sugar, pepper, and dill. Using your hands, pack the mixture onto all sides of the fish. Make sure there is an even coat all around. If some area seem like the fish is exposed, you can sprinkle on a little more salt.

  4. Place a piece of plastic wrap on top of the fish. Now you need something heavy to weigh down the fish. I use a small piece of bluestone, but anything will work. Wrap the bowl/tray/weight with another piece of plastic wrap to ensure it is completely sealed. Transfer into the refrigerator.

  5. After 8 - 12 hrs, flip the salmon over onto the other side, put the weight back on, wrap again in the plastic, and put it back into the refrigerator for another 12 - 20 hours. For a thicker piece of salmon, you’ll likely need more time so the salt can properly penetrate the meat.

  6. Remove the salmon and rinse in cold water. I like to leave a little bit of the cure on the outside, but that’s a personal preference.

  7. Now thinly slice the meat, and serve with crackers, on a bagel, or just eat it by itself.

Day 1: Packing the salmon with salt, sugar, pepper, and dill.

Day 1: Packing the salmon with salt, sugar, pepper, and dill.

Best when sliced thinly.

Best when sliced thinly.

bagels and gravlax.jpg

The Cream Cheese

It’s hard to compete with Philadelphia cream cheese, but what you’ll get by making your own is a heavenly and luxurious texture and something that feels a little more wholesome. The flavor is a bit more “farmy,” especially if using farm fresh milk and cream so it’s not for everyone - but for me the whole experience was well worth the effort just to be able to experience the difference between homemade and store-bought.

Ingredients

3 cups whole milk

3 cups heavy cream

1/4 tsp mesophilic culture

3 drops of rennet (dissolved into a tablespoon of water)

Chives/scallions (optional)

*You’re going to need a few obscure items here to make homemade cream cheese, but all are readily available either through Amazon or local distributors. Rennet, mesophilic culture, and butter cloth are all important to ensure you have success. This is a two day process, so you’ll need to plan ahead. I start my process at 2pm on day 1 and finish at about 4pm the following day.

Instructions

  1. Combine the milk and heavy cream into a heavy duty pot.

  2. Set your stove top to the lowest setting and bring the mixture up to 75/76 F. You need to pay close attention here so that it does not overheat.

  3. Once you’ve reached temperature, sprinkle in the mesophilic culture and rennet diluted in water, and stir until well incorporated.

  4. Cover and set aside at room temperature for 12 - 18 hours.

  5. When ready, you’ll notice that the whey has separated and there will be a big block of cheese that has coagulated. Take a spatula or spoon and gently break it apart.

  6. Line a medium sized bowl with a folded piece of butter cloth, and carefully transfer the cheese into it. Pull up the corners of the butter cloth, and tie it together in a tight ball. You’ll need to hang the ball over the bowl for the next 8 hours, so you may need to get crafty with how you do this. Over the 8 hours, all the whey will drain out, leaving you with a super creamy ball of cream cheese.

  7. Open the butter cloth and transfer to a clean bowl. It might seem a little stiff at first, but use a spatula to spread it around and reveal it’s velvety texture. Season with salt to your preference. Add in scallions/chives if you’d like. Enjoy!

After the rennet has done it’s work, this is the moment the coagulated cheese is broken.

After the rennet has done it’s work, this is the moment the coagulated cheese is broken.

Transferring the cheese into the butter cloth.

Transferring the cheese into the butter cloth.

Hanging the cheese for 8hrs to drain the whey.

Hanging the cheese for 8hrs to drain the whey.

The moment the butter cloth is opened.

The moment the butter cloth is opened.

chive cream cheese.jpg

Spring Morel + Ramp Oil Pizza

This is one of those pizzas that only happens once a year. It is spring at its best in pizza form. And after several years unsuccessfully searching for morels I finally had an opportunity to do what I've been thinking about for a very long time. Sauteed morels, ricotta and mozzarella cheese, ramp oil, wild violet flowers, fresh mint, and a little drizzle of honey on a sourdough crust wood fired in my Ooni Pro. Video of the whole process is embedded below.

morel and ramp pie.jpg

Ingredients:

Fresh morels (sauteed in olive oil)

Fresh ricotta cheese

Shredded mozzarella

Ramp Oil (see instructions below)

Fresh mint

Wild Violet Flowers

Honey

close up of pizza.jpg

Instructions:

The Morels

  1. The real heart of this pizza are the morel mushrooms. For this recipe I chose only the ones in most perfect condition and sliced them in half lengthwise.

  2. Saute the morels in olive oil on medium low heat until they begin to brown. This will take about ten minutes to soften them up. It’s important to cook morels thoroughly.

morels on table.jpg

The Ramp Oil

  1. Clean your ramp leaves in a cold bowl of water to remove any bits of dirt.

  2. Trim the stems off completely leaving only the leaves behind.

  3. Lay in the ramp leaves into your food processor (or blender) and add in good quality olive oil. You’ll have to use your best judgement on the amount depending on how many ramps you’re using. The consistency should be thinner than pesto.

  4. Add a little dash of salt, and blitz for about a minute.

  5. Transfer the puree into a fine mesh sieve and use a rubber spatula to press the oil down into a bowl. What’s left behind is a fragrant mash of ramp leaves with some traces of oil. This can be saved / frozen / and incorporated into countless other dishes. For now, you’re focusing on just the extracted oil that comes out of the sieve.

  6. Transfer the oil into a container, ideally a squeeze bottle with cap. It’s ready to go. Store in the refrigerator.

washing ramp leaves.jpg
making ramp oil.jpg
ramp oil bottle.jpg

The Dough

For the pizza dough I have been very happy using a Ken Forkish recipe from Flour Water Salt Yeast for an overnight dough with levain. It’s one of the few recipes that I have decided not to mess with as it always yields great results.

The Assembly & Finishing

  1. Stretch your dough and drizzle first with a little bit of olive oil.

  2. Layer on your shredded mozzarella cheese.

  3. Now evenly distribute the sauteed morels.

  4. Using a spoon, dollop on the fresh ricotta evenly across the pie.

  5. Bake your pizza. I use a wood fired Ooni Pro but use whatever works for you.

  6. Drizzle on a generous amount of ramp oil.

  7. Drizzle on a swirl of honey.

  8. Top with fresh mint and wild violet flowers.

  9. Enjoy!

Same-Day Sourdough Flatbread

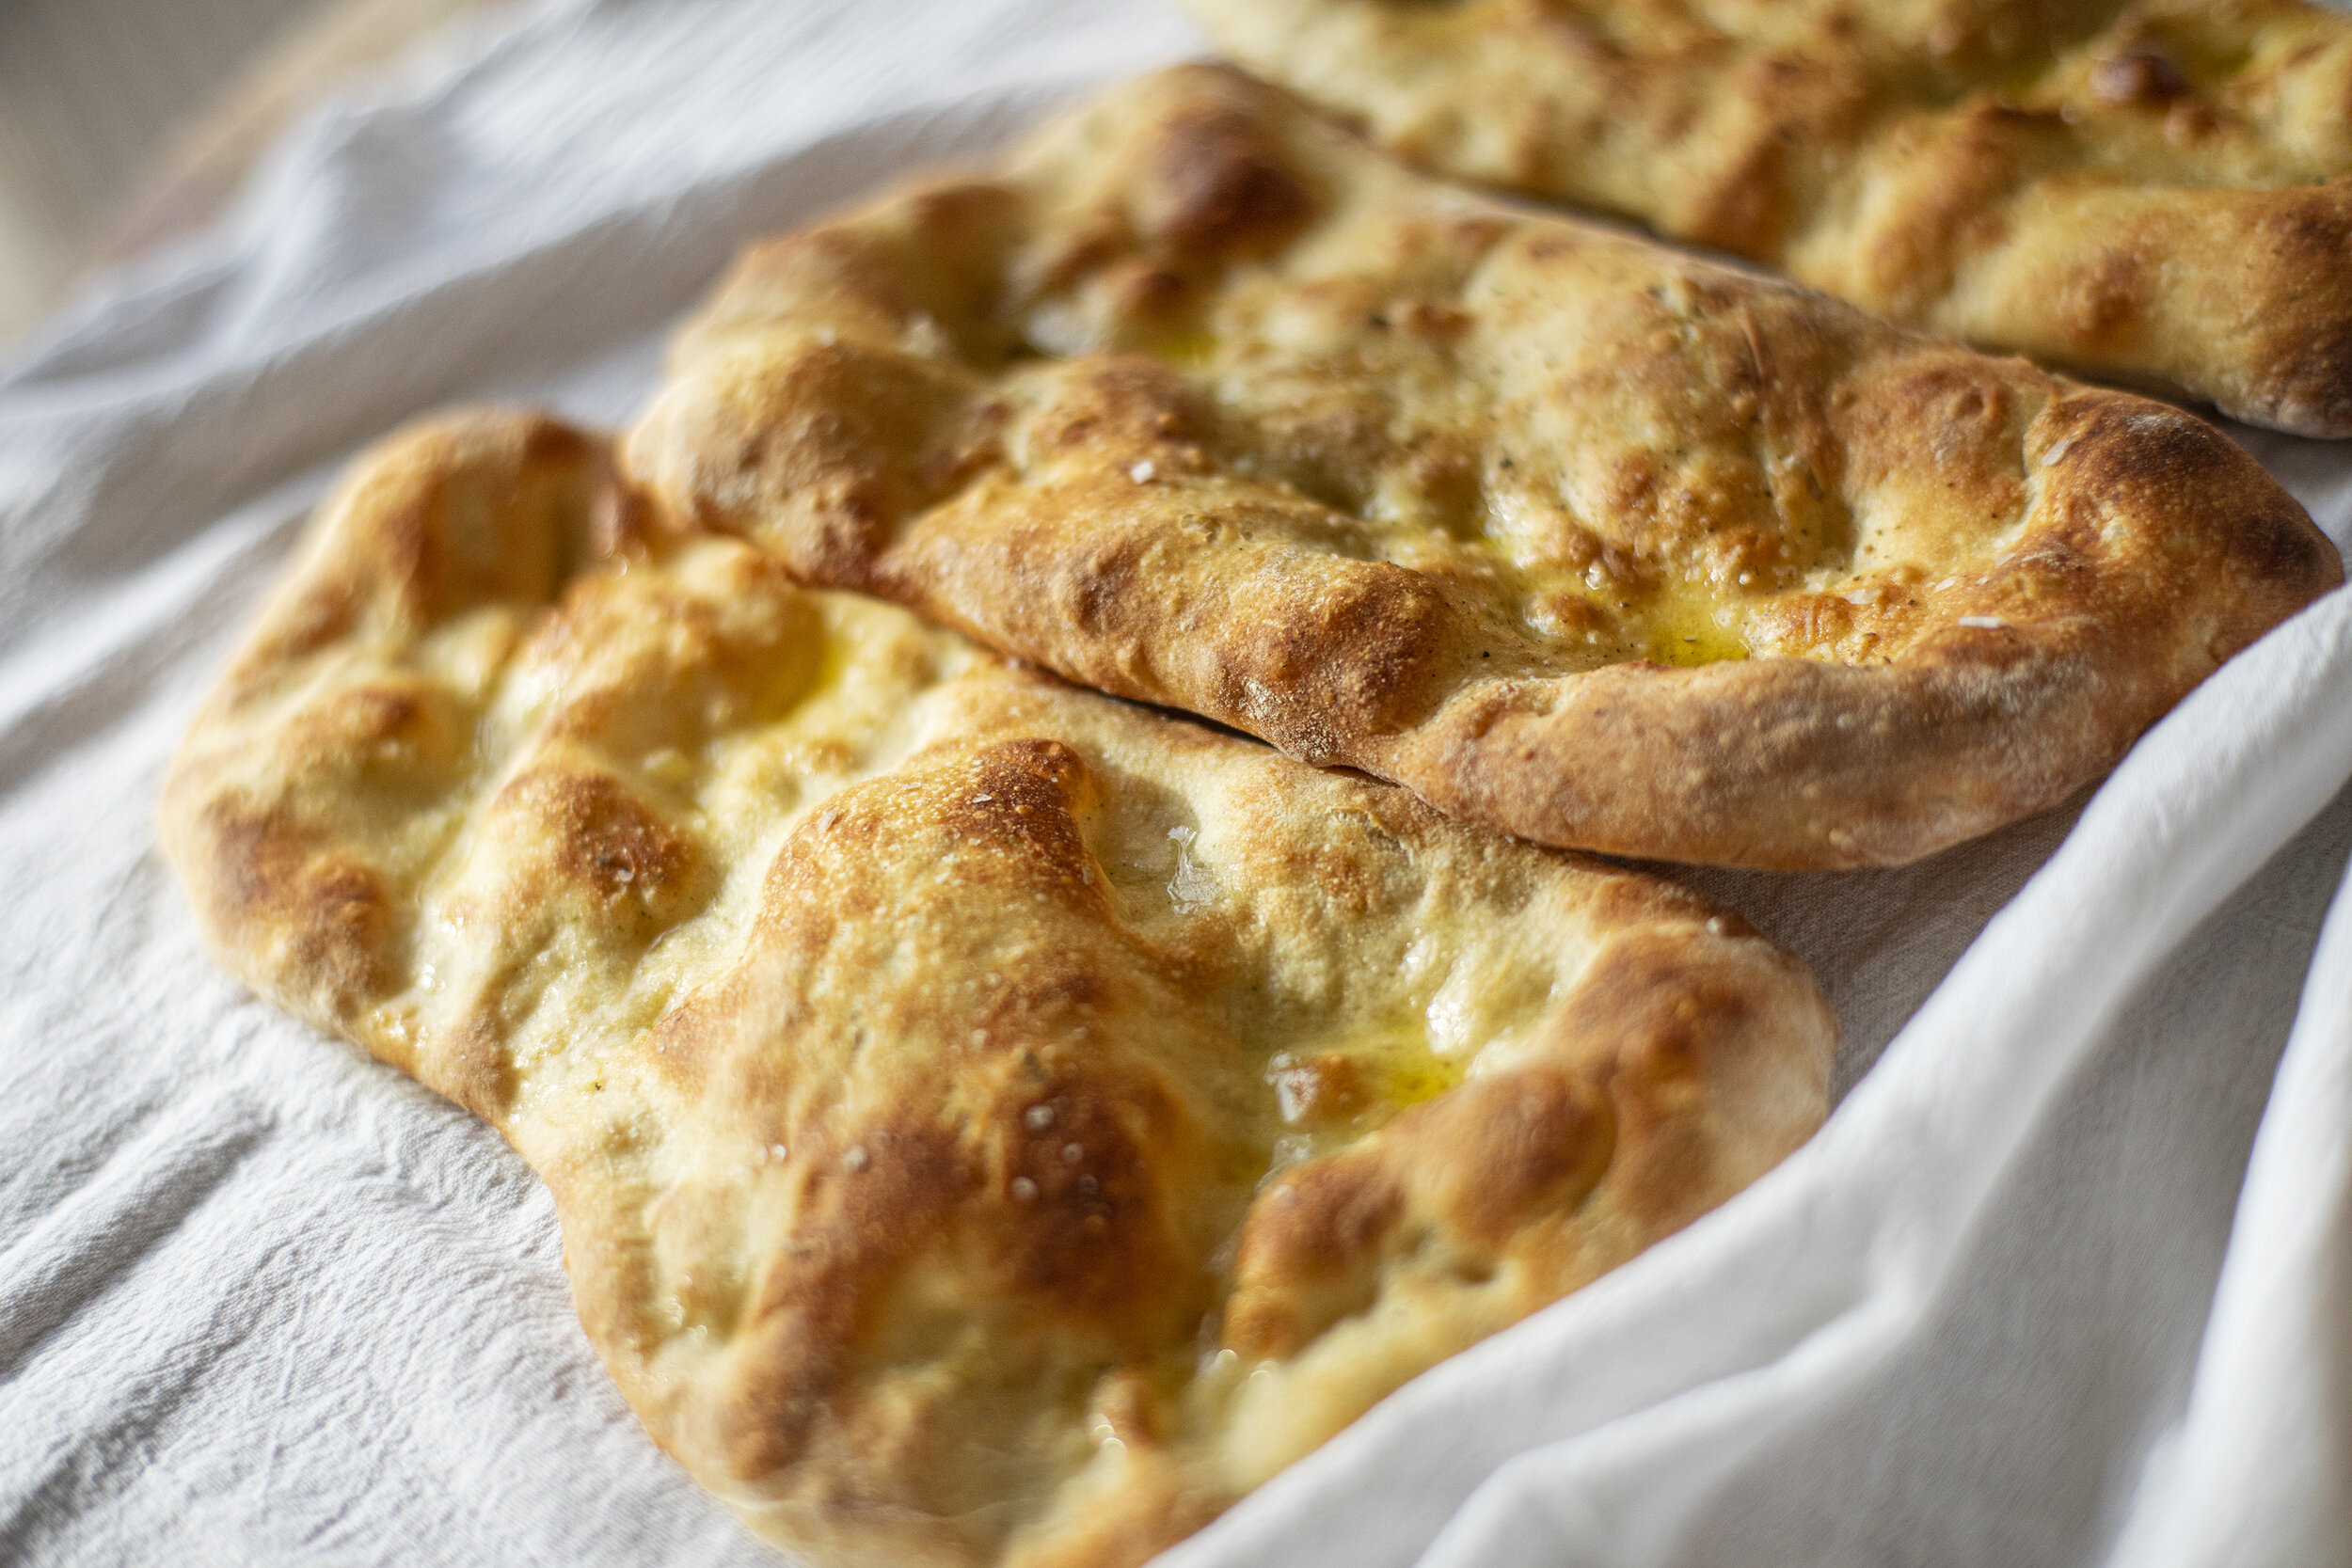
The beauty of this recipe is how versatile it can be. Start it in the morning and you’ll have flatbread for dinner. It can be baked on a pizza stone, or straight in a buttered cast iron skillet. It can be spiced or left plain. The possibilities are really endless and it can conform to whatever meal your making.

baked flatbread.jpg

The Dough

Morning (Around 7am):
Mix together 95g active starter, 2.25 cups all purpose flour, 1 cup warm water, .5 tsp salt and spices if you’re using them. For Indian style flatbread I use .5 tsp tumeric and .5 tsp cumin. Mix well, cover and leave out at room temperature all day.

Afternoon (Around 4pm):

Dust your work surface with flour. Dump out dough and divide into 5 equal balls. Do a quick stretch and fold of each ball to shape as if you were shaping pizza dough. Proof for another 20-30 mins.

On floured surface, one by one, press each ball of dough down with your fingers, gently pulling the edges so it flattens out to about .25 inch. The process is very similar to shaping pizza dough.

Baking in the Oven:

Heat your oven / pizza stone to 500F. Brush each dough with a little olive oil and sprinkle with salt. Using a pizza peel, slide in as many individual doughs as will fit. Bake for about ten minutes, until golden brown and puffy. This method will yield slightly puffier flatbread than the cast iron method.

Baked flatbreads with shakshouka.

Baked flatbreads with shakshouka.

Baking in a cast iron skillet:

Heat up cast iron pan and add a pat of butter for each flatbread you make. Lay down the flatbread in the hot pan and cook for about 5 minutes on each side until it begins to puff up and get blistered in the heat. Some char marks are welcomed here. Make sure to thoroughly clean out the skillet in between each piec

Skillet cooked flatbread, spiced with tumeric and cumin, dusted with ramp powder.

Skillet cooked flatbread, spiced with tumeric and cumin, dusted with ramp powder.

Classic Sicilian Pizza

We made it through another week! We thought we deserved some deeply satisfying Sicilian pizza to celebrate. A kid hosted cooking video is below!

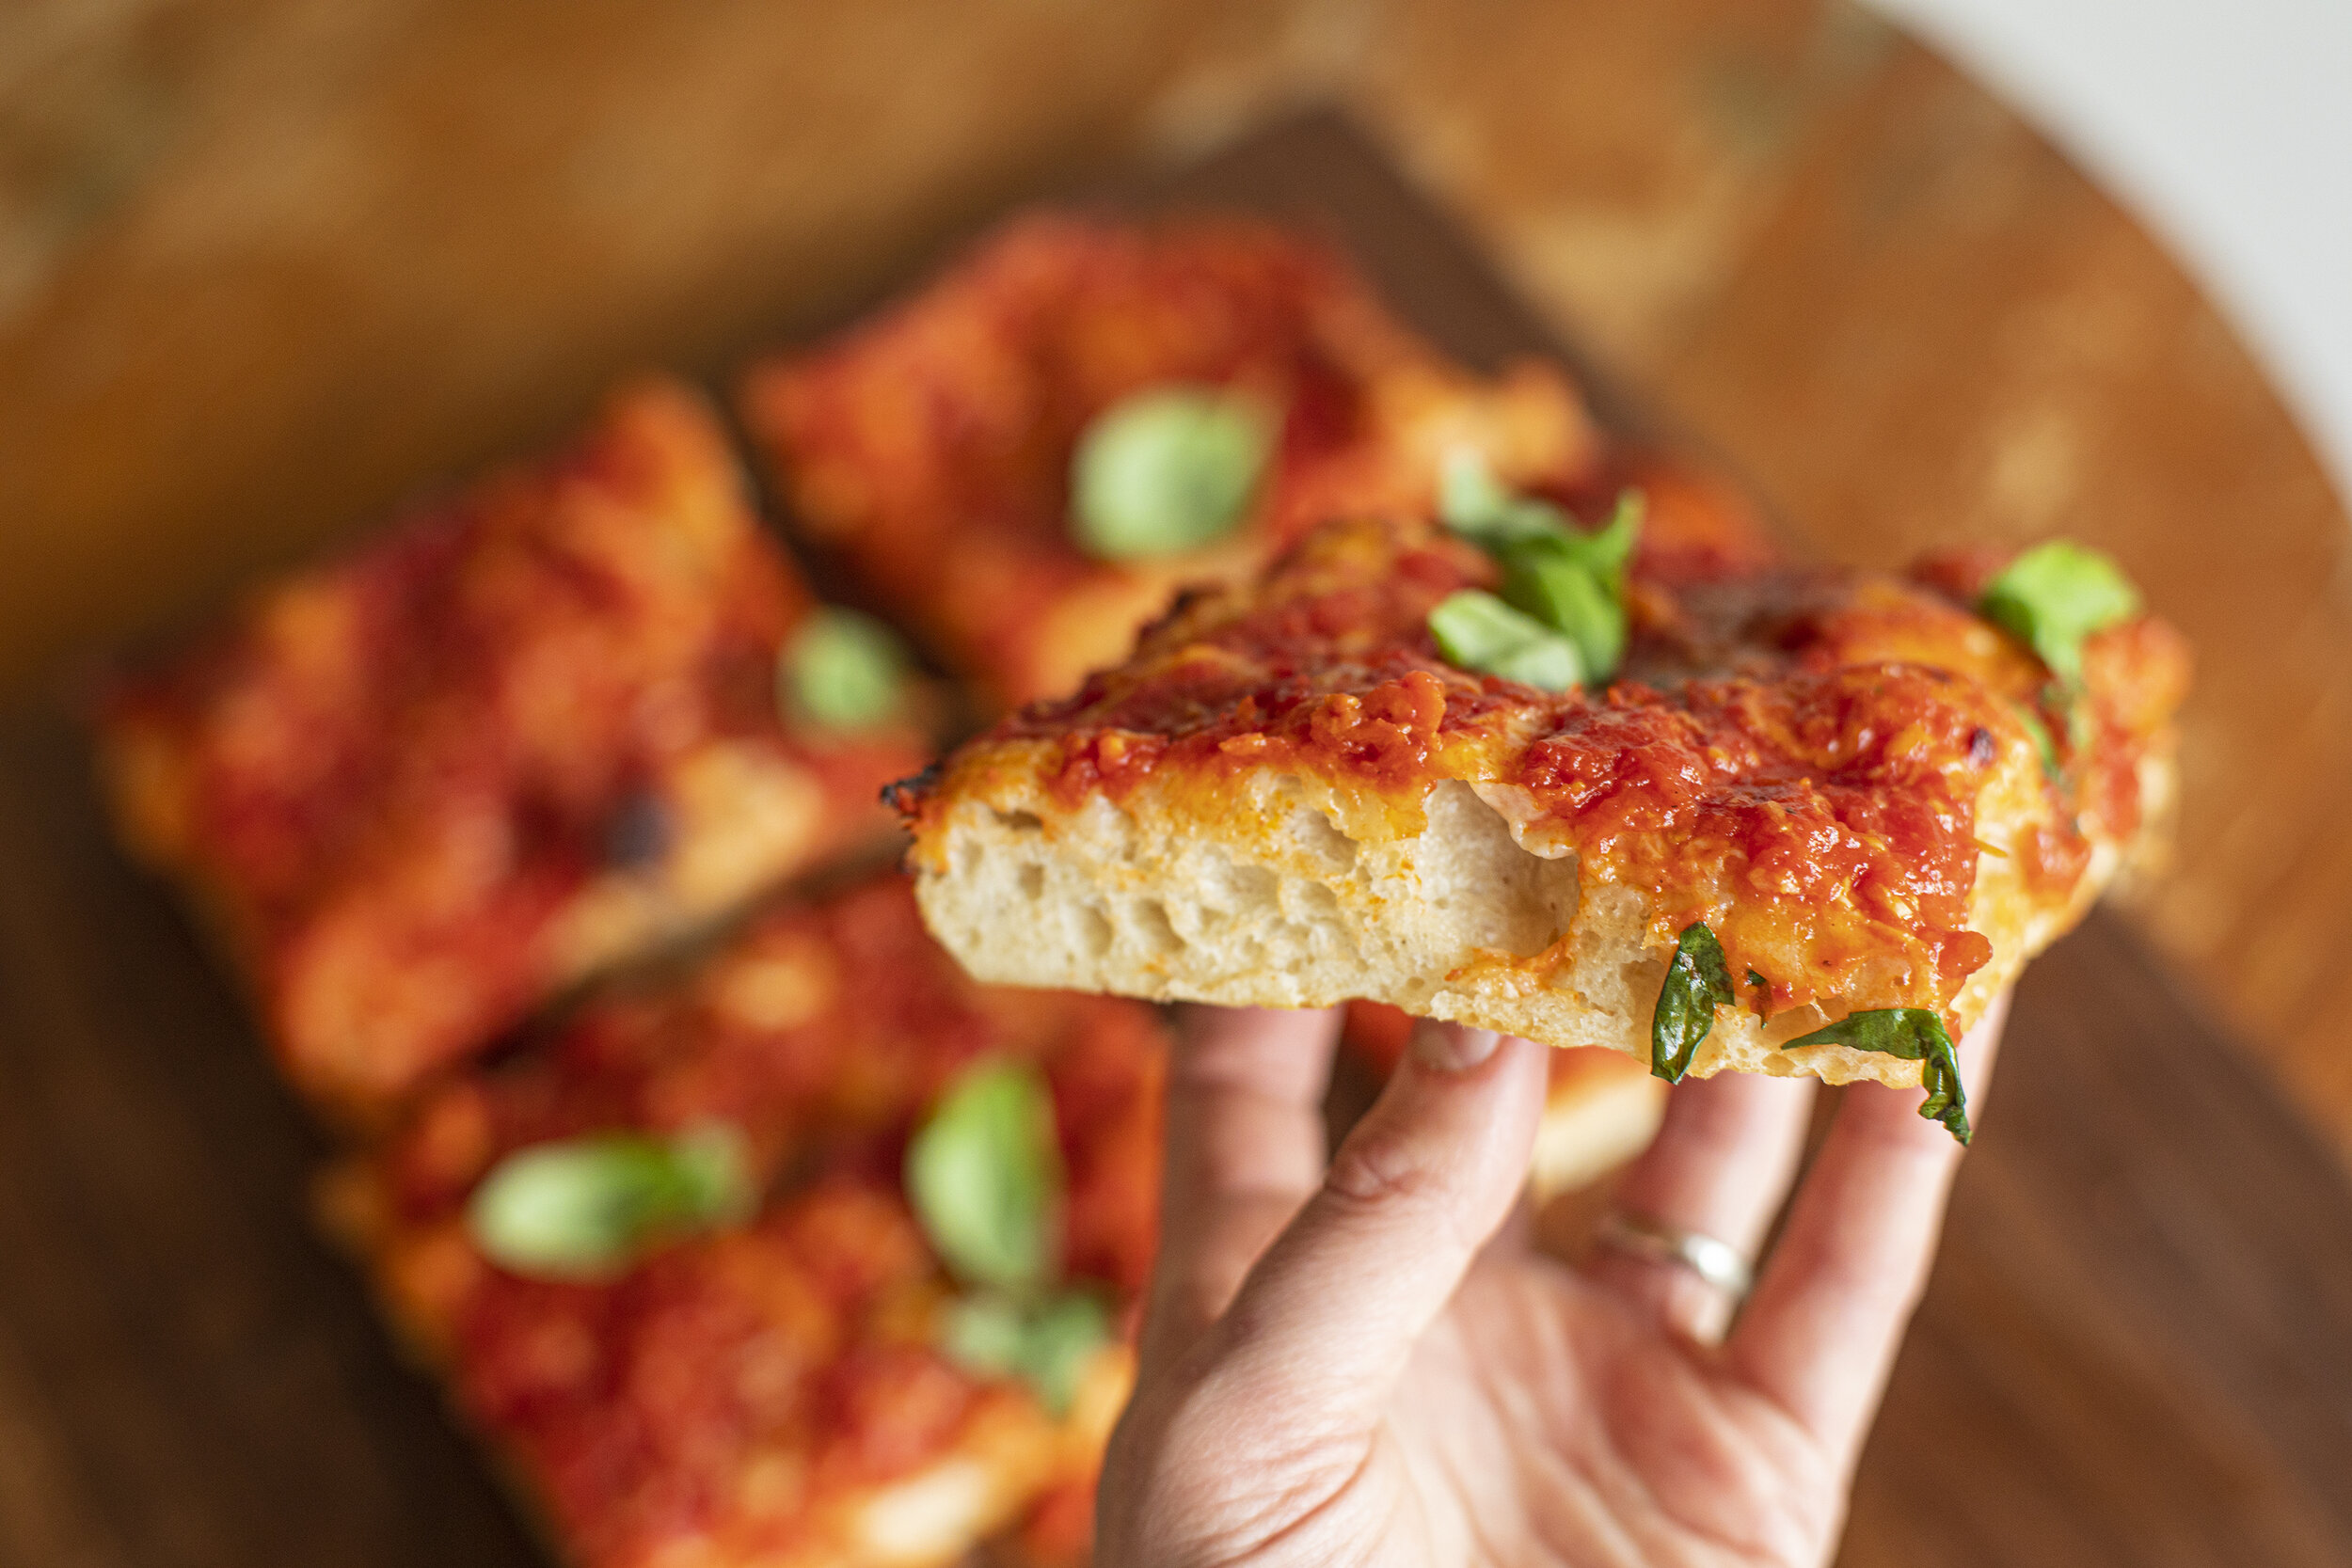
slice of sicilian.jpg

One of the most important parts of this pizza is the sauce. It’s simple, uses high quality ingredients, and is laden with parmesan cheese.

The Red Sauce

Ingredients

Stewed whole San Marzano tomatoes

Garlic

Yellow onion

Basil

Parmesan Rind

Salt

Pepper

Extra virgin olive oil

The key here is simplicity, and good ingredients (especially the tomatoes). Lightly puree the tomatoes in a processor or with a stick blender. Be careful not to aerate the tomatoes too much. For a chunkier sauce you can simply crush the tomatoes by hand. Set aside in a bowl. Peel and dice three to five cloves of garlic and set aside. Peel and chop the onion in half. By cooking the entire halves you will impart the flavor of the onion and the sauce won’t have chunks of onion in it. 

Heat a generous pour of EVOO in your saucepan at medium to low heat. Add your garlic and onion halves and let simmer for a few minutes. Be careful not to burn anything. Add a piece of parmesan rind into the hot oil, and let it simmer for another minute. The oils from the cheese will add depth to the sauce. Add your tomatoes to the pan, and bring to a simmer. Add salt and pepper to taste. Add some chopped basil, stir, and set on medium/low. You want your sauce to simmer for about 30 minutes. Stir frequently to make sure it's not sticking to the bottom.

The Dough

Ingredients

Bread Flour

Active Starter

Salt

Water

This is my go-to recipe for focaccia, sfincione, and Sicilian style pizza. Keep in mind that you may need to adjust the quantity depending on your size of pan. This is designed for approximately an 11” x 14” pan.

  1. Mix together 410 g of water and 530 g of bread flour and set to autolyse for up to six hours.  Add 15 g of salt and 90 g of active sourdough starter and start working into the dough with your hands or with a rubber spatula until more or less homogenous. Let rest for 45 minutes.

  2. You’ll want to fold the dough two more times (with your hands) over the course of the next 1 - 2 hours to develop the gluten. By the end the dough should be very smooth and should not stick to your hands while folding. Cover and rest overnight at room temperature.

  3. In the morning transfer the dough to the refrigerator and take out one hour before you’ll be making your pizza.

putting on sauce.jpg

The Pizza

Ingredients

Olive Oil

Red Sauce

Shredded mozzarella cheese

Grated parmesan

Basil

Instructions

  1. After the dough has come to room temperature, dump it out into a well oiled pan. Spread the dough out so it has a uniform thickness. Use the tips of your fingers to press down into dough to push it into the edges of the pan. Drizzle more olive oil on top.

  2. Cover the entire surface of the dough with shredded cheese.

  3. Ladle on the tomato sauce generously so it covers all of the cheese.

  4. Sprinkle freshly grated parmesan on top.

  5. Set oven to 425F and allow the dough to proof for another 30 mins.

  6. Bake for 30 minutes and serve.

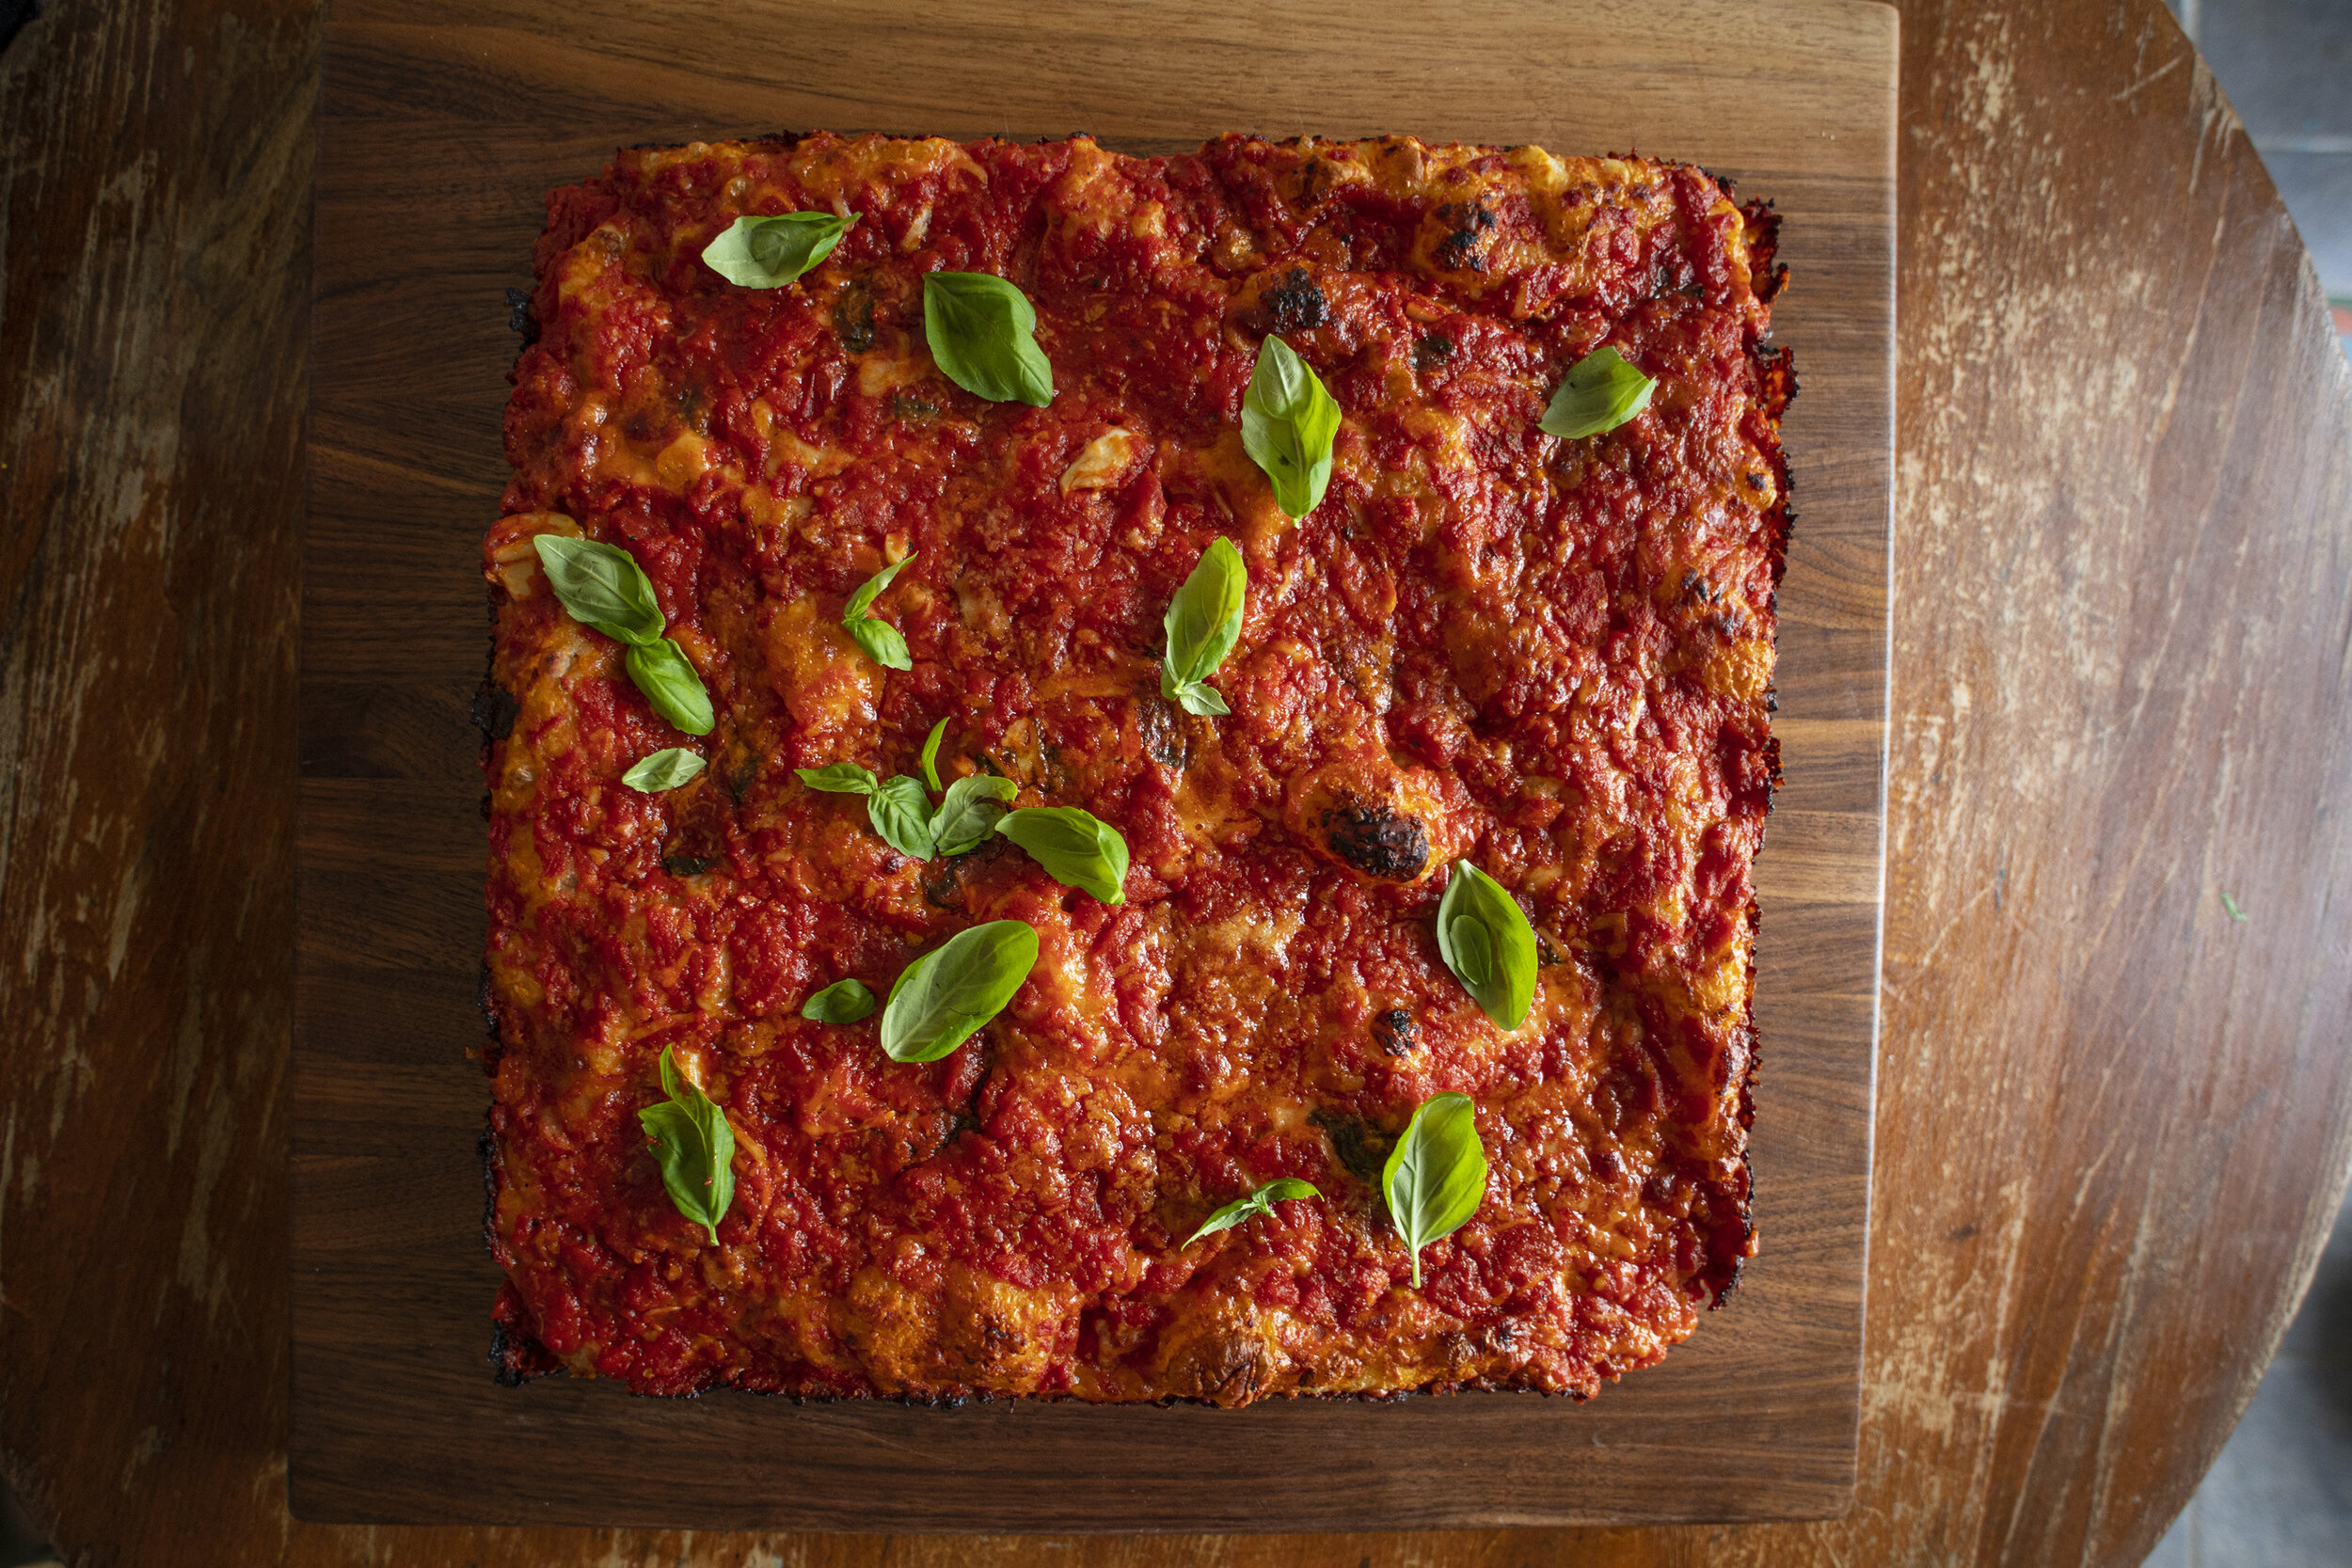
square pizza.jpg

Seasonal Spring Sea of Green Pie with Ramp Dust

I drew some inspiration from @danieleuditi at @pizzana with his use of dehydrated basil. This time of year in the northeast, ramps (allium tricoccum) are in their full glory. If you know where to look, you'll find vast hillsides of vibrant green ramps. I wanted to make a seasonal pie that pays tribute to this incredible woodland ingredient. I harvested just the tender leaves of the plant, leaving the bulbs in the ground, and made a dehydrated ramp dust that is central to this pie. The powder retains the most amazing deep green color so we decided to call it the Sea of Green. Fired in my @oonihq Pro. Video of the whole process below.

whole pie.jpg

Just a reminder to harvest ramps responsibly. Don't yank the bulbs or harvest more than you need! It takes seven years for ramps to reach maturity from seed.

ramps on log.jpg

Once you have your fresh ramps, I like to trim the stems off so you’re only drying the green leafy section of the plant. The stems are great as a pickled condiment, which can get eaten as is or processed into salad dressing. Any of your favorite pickling recipes will be great for the stems.

IMG_7407.jpg
ramp leaving ready to dry.jpg

Place the leaves in the dehydrator and it should take about 2 - 3 hours until the leaves are fully dry. When done, they should be brittle and break apart in your fingertips.

crumbles.jpg

In a bowl, crush the leaves with your hands to break them down to a smaller size. You can use a mortar and pestle to break down further or just skip ahead and blitz everything in a spice grinder to create a fine powder. You’ll be left with an amazing green colored dust that you can store by itself or mix it 50/50 with salt to make ramp salt. The raw ramp dust is extremely versatile and can be used to spice meat, vegetables, fused into sauces, etc.  I keep a jar of it in my spice cabinet and I store the rest in the freezer for future use. Like any spices, it will lose its potency over time.

green dust.jpg

For the pizza I have been very happy using a Ken Forkish recipe from Flour Water Salt Yeast for an overnight dough with levain. It’s one of the few recipes that I have decided not to mess with as it always yields great results.

dough balls.jpg

The foundation of the pizza is a plain pie, with a parmesan laden red sauce, shredded mozzarella cheese and a drizzle of olive oil. The pie comes to life with a generous dusting of the ramp dust all over the top of the pie, followed by fresh basil leaves. It’s subtle and delicious.

slice of sea of green.jpg

Tumminia Flour Sourdough Zeppole

I never dared mess with my Nonna’s zeppole (sfingi) recipe but after a few weeks of shelter in place all rules are out the window. If she were here to taste the result I think she’d approve. The addition of the sourdough yeast and the Sicilian tumminia flour give the sfingi a much more distinct flavor and spongy texture which I quite like. The shell also ends up being much crispier so there is an audible crunch upon taking your first bite. They behave a little differently in the hot oil and require some manual nudging of the dough as they cook - where as in the original recipe they did all the work themselves (flipping and turning over all on their own). I also added some vanilla while I was at it. And since I already committed my crime against tradition I made a simple chocolate sauce instead of the confectioner’s sugar. These were incredible and I look forward to making them again and again. 

The process is a bit more complicated and time consuming but it’s still a relatively approachable recipe.

sourdough zeppole 1.jpg

Ingredients

80 g tumminia flour (or regular whole wheat flour)

70 g 00 Flour 

50 g active starter

4 eggs

6 tbsp butter

Pinch of salt

½ tsp vanilla

1 cup of water

Zest or orange (optional)

For the sauce

½ cup of semi-sweet chocolate chunks

1 tbsp brown sugar

2 tbsp butter


Instructions

1. Bring water to a boil. Add butter, and a little bit of salt. Stir in the flour and mix thoroughly, and quickly. Remove from heat and let cool at room temperature. 

2. Add the starter yeast and mix together well. Cover and set in the refrigerator overnight. 

3. In the morning, take out the dough and allow to get back to room temperature so the dough begins to soften again. 

4. Add eggs one at a time, mixing very well until there are no clumps of flour. Add in lemon or orange zest. Add the vanilla. The consistency should be smooth, thicker than pancake batter, but thinner than a bread dough. Let rest for a few more minutes. 

5. Bring canola or peanut oil in a dutch oven or deep fryer to 350 F. 

6. Using a spoon, drop globs of batter into the hot oil. This recipe will require a little extra attention than the traditional non-sourdough recipe. You’ll need to manually flip them once they are fully cooked on one side. Once fully browned and crispy, remove the zeppole with a slotted spoon and let rest in on a baking rack or in a bowl with paper towels to absorb the excess oil. 

7. In a small saucepan, melt together the chocolate, butter, and sugar and simmer for a few minutes - stirring well. 

5. Once the zeppole have cooled a bit, drizzle the chocolate sauce all over the top of the zeppole and enjoy.

sourdough zeppole 2.jpg

Venison Reuben on Poppy Seed Rye

On the surface, this is just a sandwich. But a lot of labor and love went into the making of it. Months spent scouting the woods trying to find the perfect position. Cumulatively, there were probably dozens of miles walked. Early mornings watching the sun rise and light up the ice encrusted tree canopy as my feet felt like they were going to freeze. Then there was the harvest and the subsequent months of planning how to do justice to every pound of meat. Six more weeks for the sauerkraut and the fine tuning of the sourdough poppy seed rye. Six days for the cure on the pastrami. Three hours in the smoker. And just a few minutes to devour it. Was it worth it? I don’t regret any minute of it. 

Video of the process below.

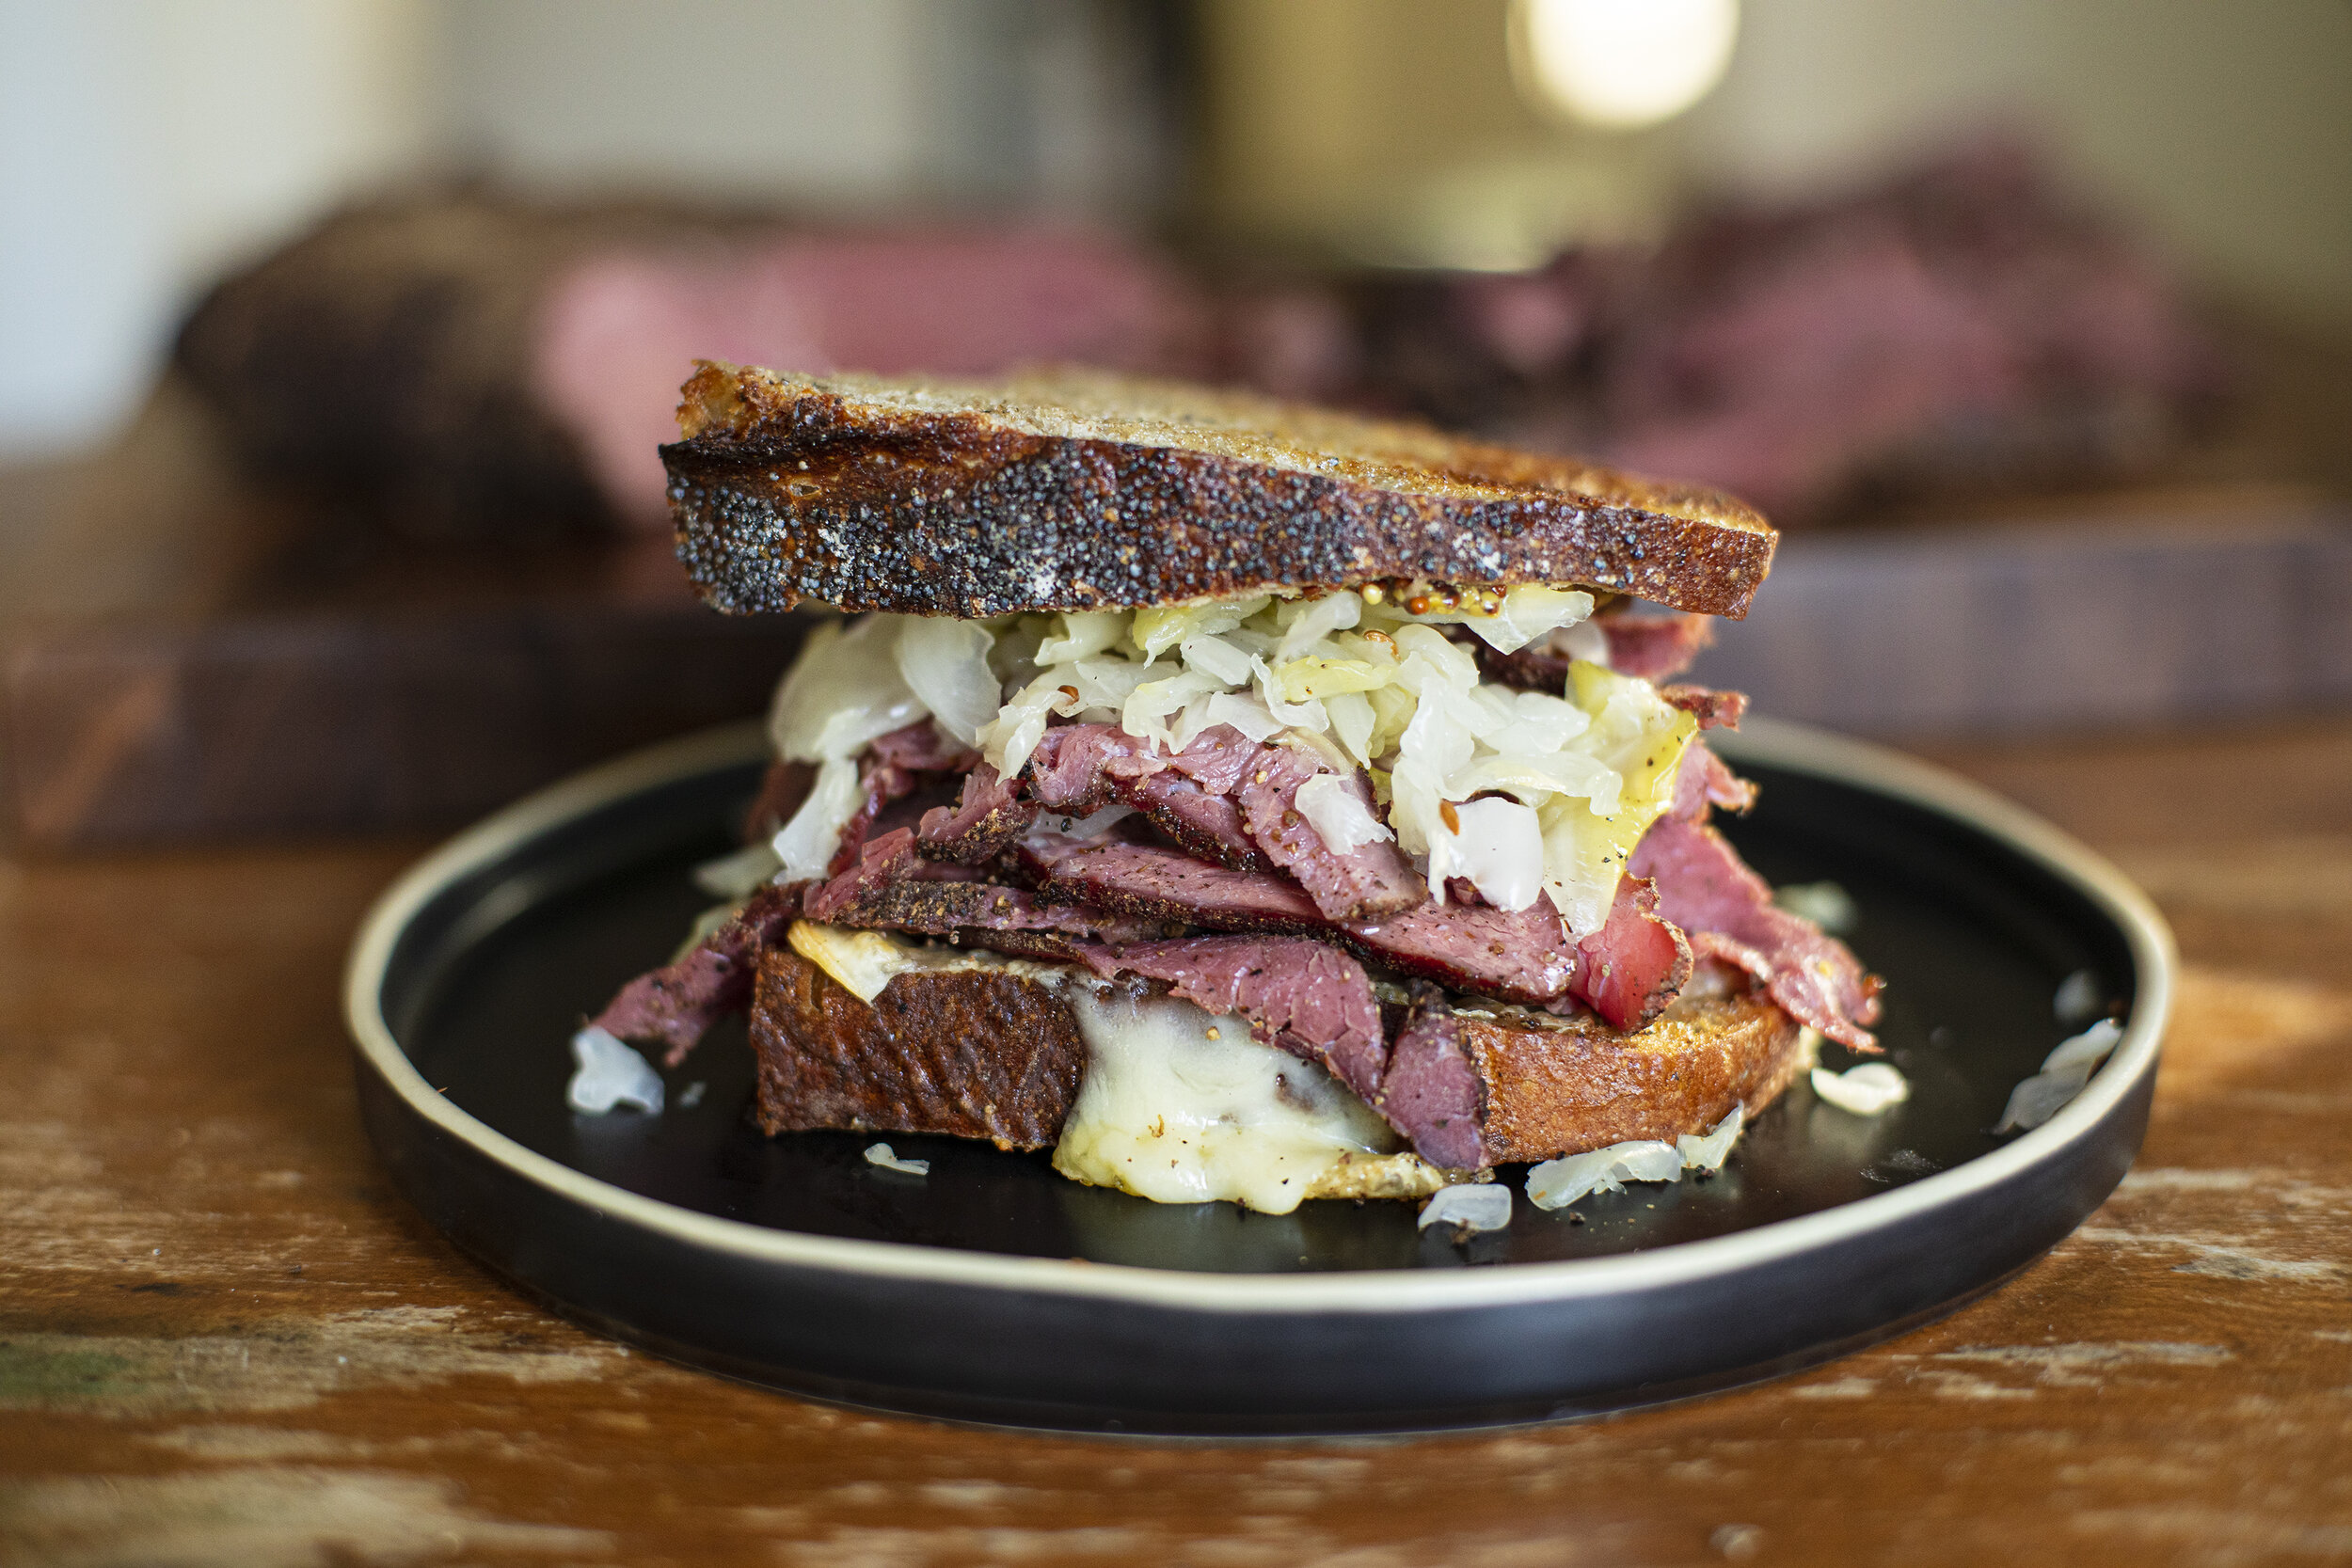
pastrami sandwich.jpg

The Pastrami

First off I want to credit Hank Shaw for the basis of this recipe. For the most part I followed the fundamentals of his recipe but just tweaked a few ingredients and temperature/timing in the smoker. The cut I used for this recipe was the bottom round, cleaned and trimmed. 

Ingredients

The Cure

A 2 - 4 pound piece of venison (single muscle works best)

Kosher salt (2% of the weight of the meat)

Instacure No. 1 (0.25% of the weight of the meat)

1/4 teaspoon celery seed

1/4 teaspoon caraway seed

1 teaspoon sugar

1/4 teaspoon crushed juniper berries

The Dry Rub

3 tablespoons ground black pepper (1 tbsp per pound)

3 tablespoons coarsely ground coriander (1 tbsp per pound)

1/4 cup dry sherry

packing spices.jpg

Instructions

  1. Weigh your piece of meat. In a spice grinder, mix together all of the ingredients for the cure. Measure your salt and curing salt carefully based on the percentages listed above. 

  2. Using your hands, pack all of the spices and salt onto the meat, massaging it into ass nooks and crevices of the meat. Make sure all sides are equally coated. Transfer into a large ziplock bag, airtight container, or vacuum seal. The meat will now cure in the refrigerator for 4 - 6 days. Hank’s general rule is 2 days per pound of meat. 

  3. Remove the meat and rinse it off in a bowl of cold water to remove the bulk of the cure. Pat the meat dry and place back into the refrigerator uncovered for another 30 mins up to a day. 

  4. Using the spice grinder again, blend together the peppercorns and coriander spinkly it across the bottom of a baking tray, reserving some more to sprinkle on top.  

  5. Place the meat in a bowl and pour the dry sherry all over it and massage it into the meat. 

  6. Transfer the meat, coated in sherry, to the tray of spices and carefully work it around the dry rub so it is coated on all sides. Pack more of the dry rub on top with your hands until every part of the surface is covered. 

  7. Set your smoker temperature to 250F and smoke the meat for 2 - 3 hrs until the internal temperature reaches 145F. Allow the meat to cool and slice very thinly.
sliced pastrami.jpg
rye bread.jpg
saurkraut.jpg

The Sauerkraut

This is a pretty ubiquitous recipe that makes for a simple but delicious kraut. 

Ingredients

1 head of green (or red) cabbage

2% of the weight of cabbage in kosher salt

Caraway Seeds

Instructions

  1. Peel the outer leaves from the cabbage. Wash thoroughly. 

  2. Thinly slice cabbage and weigh it on a scale.

  3. Measure exactly 2% the weight of the cabbage in salt.

  4. In a large bowl using your hands mix together the salt of the cabbage. Massage it. Crush it with your hands until all the liquid from the cabbage starts to be extracted. Continue massaging for 5 - 10 minutes.

  5. Add in a sprinkling of caraway seeds. Mix together again.

  6. Pack all the cabbage and it’s juices into your fermentation vessel of choice. Use the outer leaves as a protective layer on top of the kraut and weigh it down with a glass weight or similar. 

  7. Allow to ferment for 4 - 6 weeks in a cool and dark area of your house. After 4 weeks you can transfer it to the refrigerator. 

  8. That’s it.

New England Style Clam Pizza

When the world seems like it's on its head, I can always find comfort in the things that taste good. And as the weather warms up, I'm feeling a bit more motivated to fire up some pizzas. I haven't had much of a chance this winter to test out the new Ooni Karu - but this past weekend was the perfect opportunity to give it another go. This is my spin on the iconic New England style clam pizza from Frank Pepe's with the addition of broccoli rabe and saffron. This one really hit on all cylinders and will be replicated again. Short video of the entire process below.

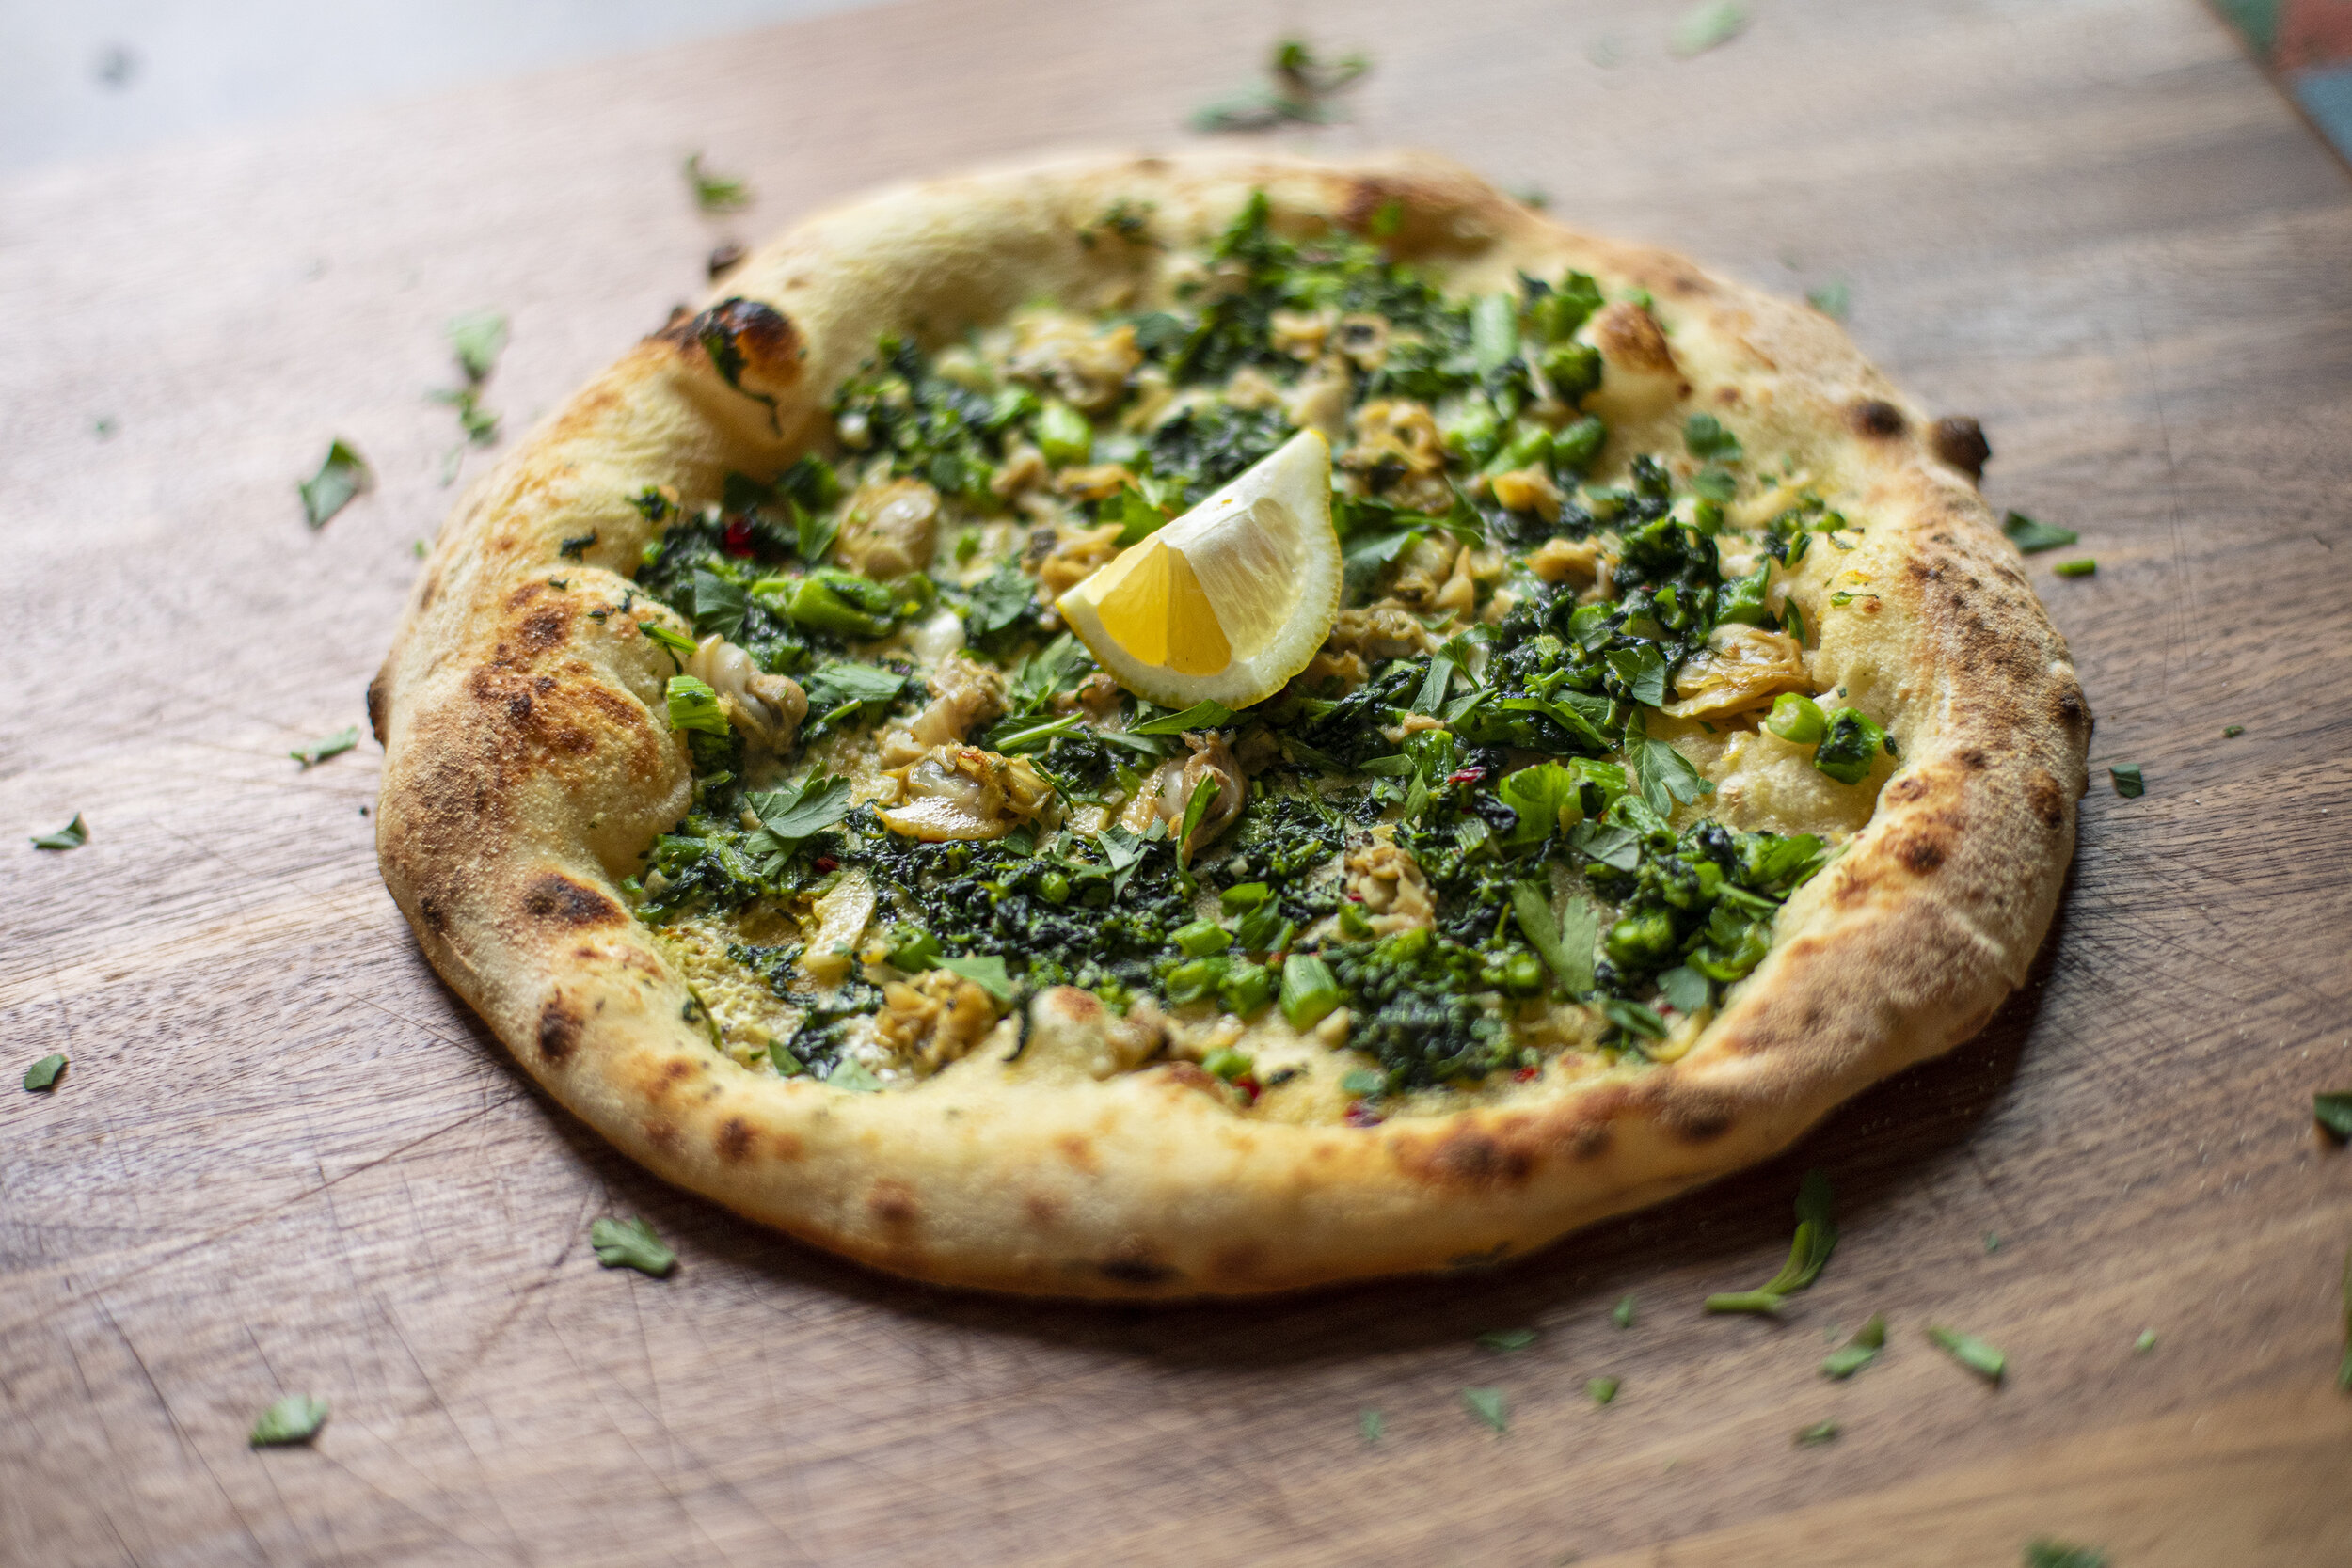
clam pie.jpg

Broccoli Rabe

Olive Oil

Dried chili peppers

Garlic

Clams (2 dozen)

Shallots (2 -3)

Thyme

Parsely

Saffron

White Wine

Heavy Cream

Salt

Pepper

The Broccoli Rabe

Blanch broccoli rabe in a pot of boiling water for about 3 minutes. Remove, rinse with cold water and chop into small pieces. Heat oil in a skillet and saute garlic and chili flakes for a minute or so and then add the broccoli rabe to saute for another few minutes. Season with salt and pepper. Set aside.

clams in pan.jpg

The Clams

Finely dice shallots, 2 cloves of garlic, thyme, and parsley. Bring a heat resistant pan up to temperature in the wood burning oven (or stovetop) and add the olive oil. Saute the aromatics for a minute or so until softened and fragrant. Add the saffron and stir. Add in about a half a cup of white wine and return to the heat for another minute. And the clams (as many as will fit in your skillet), mix together, and place back into the heat. Stir occasionally until the clams begin to open. Discard any clams that fail to open up. Remove the clams and allow the liquid to cool down a little. Remove the clam meat from the shells and chop roughly on a cutting board.

removing meat.jpg

The Sauce

In a medium sized bowl, whisk together the heavy cream until frothy and thickened. Slowly pour in the liquid from the clams and continue whisking vigorously until well incorporated. 

Assembly

Stretch your dough. Spoon on the cream sauce leaving an edge around the entire dough. Layer on the chopped broccoli rabe and clams and slide onto your pizza peel. Fire in the oven for 60 - 90 seconds (or until fully cooked through with leoparding around the crust).

Finishing

Finish the pizza with freshly chopped parsley and a big squeeze of lemon juice. 

The Dough

I have been using the overnight levain recipe from Ken Forkish’s Flour Water Salt Yeast and I really haven’t found a good reason to deviate from the recipe.

Poppy Seed Rye Sourdough

Mix together 410 g of water, 360 g of bread flour, 85 g of whole wheat flour, 85 g of rye flour and set to autolyse for up to six hours. Add 15 g of salt, 7 g of cracked caraway seeds, 7 g of poppy seeds and 90 g of active sourdough starter and start working into the dough with your hands or with a rubber spatula until more or less homogenous. Let rest for 45 minutes. You’ll want to stretch and fold the dough two more times (with your hands) over the course of the next 1 - 2 hours to develop the gluten. By the end the dough should be very smooth and should not stick to your hands while folding. Cover and rest overnight at room temperature.

poppy seed rye.jpg

In the morning transfer the dough to a clean working surface lightly dusted with flour. Fold the dough one final time and shape while being careful not to degas. Gently roll the dough into another bowl of poppy seeds. Transfer into banneton, cover and let rise for 2 - 3 hours.

poppyseed rye crumb.jpg

Set oven to 475F with dutch oven inside to heat up. Transfer the dough to a peel with parchment paper and slip it into the heated dutch oven. Using a bread laim, score the top of the dough. Bake for 25 minutes with the lid on and 20 more minutes with the lid off. Remove from the oven and allow to cool before slicing.

Sourdough Brioche Ravazzata with Venison Ragu

I was recently turned on to Ravazzata, a traditional street food found in Palermo. The experience is like what would happen if an arancino and a sloppy joe had a baby. There are both fried and baked versions but I opted to go with a baked version for my first attempt using a sourdough brioche recipe inspired by Artisan Bryan. The ragu is mostly traditional, with the exception of swapping out beef for ground venison.

open ravazzata.jpg

The filling

1 lb ground beef (or venison)

Half of a yellow onion, finely diced

3 cloves of garlic, finely minced

6 oz tomato paste

1 cup of frozen peas

Salt and pepper to taste

Cubed provolone, caciocavallo, or your cheese of choice

Saute the onions and garlic in some olive oil for a few minutes until soft. Spoon in the tomato paste and work into the mixture. Add just a little more olive oil if you find it hard to work with but it is important that the ragu stays on the drier side to make filling the ravazzata easier. After sauteing a few more minutes add in the ground meat and keep turning until it browns evenly. Add in the peas and cook for a few more minutes, turning frequently. Add salt and pepper to taste. Set aside to cool and put it into the refrigerator to firm it up before filling.

ragu.jpg

The dough

250g Bread flour

250g All purpose flour

250g active levain

115g cold water

170g unsalted butter

175g eggs (approximately 3-4 eggs)

150g sugar

15g salt

I based the recipe off of a sourdough brioche recipe from Artisan Bryan and made a few modifications to make it more savory and less aromatic. I think it will take a few more iterations to get it perfect, but I was pleased with how it turned out for a first attempt.

dough.jpg

2pm Day 1

Cube the butter. Mix all of you dry and wet ingredients into a mixer/kitchenaid. Start off on the slowest setting and gradually increase the speed. The dough is going to be really wet and sticky but try to avoid adding more flour. Mix for about 10-15 minutes to properly develop the dough. 

Transfer to a lightly oiled bowl or container and allow to rise at room temperature for about 6 hours. Transfer to the refrigerator and cold ferment overnight for about 10 hours. 

7am Day 2

Remove dough from the refrigerator and allow to soften a little for about 20 - 30 mins so it’s easier to work with. Gently flour your work surface and remove the dough from the bowl. Gently dust the top of the dough. Now divide the dough into individual bun size balls (approx 130g each). These will proof with the filling for another 4 hrs.

filling.jpg

Assembly

Using your fingertips gently press each ball down to form something that looks like a large pancake. The edges should be slightly thinner than the middle as they will be folded up over onto each other after filling. Fill each dough round with a few spoonfuls of ragu and top each with the cubed cheese. Gently bring up the edges of the dough, around the ragu, and use your fingers to seal it together. Flip the whole thing over so that the smoother bottom now becomes the top, and transfer to a parchment lined baking tray gently dusted with semolina. 

Brush each bun with an egg wash and sprinkle a generous amount of sesame seeds all over the top surface. Set aside and proof for another 4 hours at room temperature.

finished buns.jpg

Baking

Set your oven to 400F. Bake for 30-35 minutes until light to medium brown depending on your preference. Best enjoyed while still hot.

Sourdough Ciabatta

My first attempt at ciabatta was a total disaster. I decided to start from scratch and completely rethink the recipe. Second time around I think I nailed it. Beautiful open crumb and wonderful flavor.

holding up crumb.jpg

450 g water

53 g whole wheat flour

477 g bread flour

90 g active starter

15 g salt

18 g olive oil

*yields two medium size loaves at 85% hydration

Step 1 Autolyse - 2pm Day 1

Mix together 400 g of water and 530 g of the combined flour. Make sure there are no clumps, cover and set to autolyse for up to six hours. Note that you are reserving 50 g of the total water for the next step.

Step 2 Bassinage Technique - 7pm Day 1 

Because of the high hydration, a stand mixer makes this process quite a bit easier. You can mix by hand but it doubles the amount of time it takes to develop the gluten. 

Combine the autolyse mixture, 15 g of salt, 90 g of active sourdough starter, and 18 g of olive oil into your mixing bowl. Lower the hook attachment into the bowl and start it at the lowest setting for a few minutes. Very slowly add in the remaining 50 g of water. At this point you may begin to question whether or not it’s going to work but stay the course and the dough will start forming structure. Increase the mixer speed and continue to add water slowly. Increase the speed again. Total mixing time will take about 10-15 minutes. You’ll notice that with patience, the dough begins to form a ball and will start slapping against the sides of the bowl. Transfer the dough into a large mixing bowl or container.

Step 3 Additional Folding - 7:15pm - 9:00pm Day 1

You’ll want to fold the dough three times (with your hands) over the course of the next 1.5 hours to develop the gluten. By the end the dough should be very smooth and should not stick to your hands while folding. It will remain very wet but it should pass the windowpane test. Cover and rest overnight at room temperature. 

in couche.jpg

Step 4 Proofing - 7am Day 2

Uncover the dough and generously flour the surface. Gently pull the edges of the dough back from the sides of the container allowing flour to rolls down along the edges. Turn the container over onto a floured surface and divide the dough into two halves. The key now is to touch the dough as little as possible. Gently shape each half into rectangles and transfer them onto a well floured couche. Any clean kitchen linens will work if you don’t own a baker’s couche. You’ll want to make sure there is a barrier between the two doughs as they proof. Give another dusting of flour to the top of the dough and cover with another couche or kitchen linens. Allow to proof for another 2 - 3 hours.

Step 5 Baking - 10am Day 2 

Your oven should be set to 450F with a heatproof bowl of water on the rack to create steam. The next part can be a little tricky and you may need to improvise depending on the type of tools you’re working with. Now it’s time to get your proofed dough off of the couche, onto a peel or board, and into the oven. As long as you have floured the couche and dough liberally you shouldn’t have any issues with the dough sticking. Because of the high hydration you’ll need to work somewhat quickly and confidently. Now you’ll flip each dough off of the couche and onto your launching tool in one clean motion so that the bottom now becomes the top. I like to use parchment paper for this stage as well. For this recipe, both doughs should fit on a medium sized pizza peel and will bake directly on a stone in a medium sized conventional oven. Bake for 20 minutes with the steam and lower the temperature to 425F. Remove the bowl of water and baker for another 20-25 mins until golden brown and well risen. Remove from oven and allow to cool before slicing. 

ciabatta on counter.jpg
crumb close.jpg

Sourdough English Muffin Breakfast Sandwich

egg porn shot.jpg

This might look like an ordinary breakfast sandwich, but this thing has a lot going on. Sweet and spicy venison + pork sausage patty, melted cheddar cheese, and a fried egg on top of a homemade sourdough English muffin. This is my version of Thomas’ English Muffin where I tried to replicate the textural experience with a naturally leavened dough. They’re super easy to make once you have an active starter and dare I say better than the original. Video of the process below.

The Sourdough English Muffins

Day 1 Evening

Make your sponge with 110 g active starter, 260 g bread flour, 276 g whole milk and set out to rest overnight at room temperature for approximately 8 hours.

hand in dough.jpg
punch outs.jpg
in skillet.jpg
crumb shot.jpg

Day 2 Morning

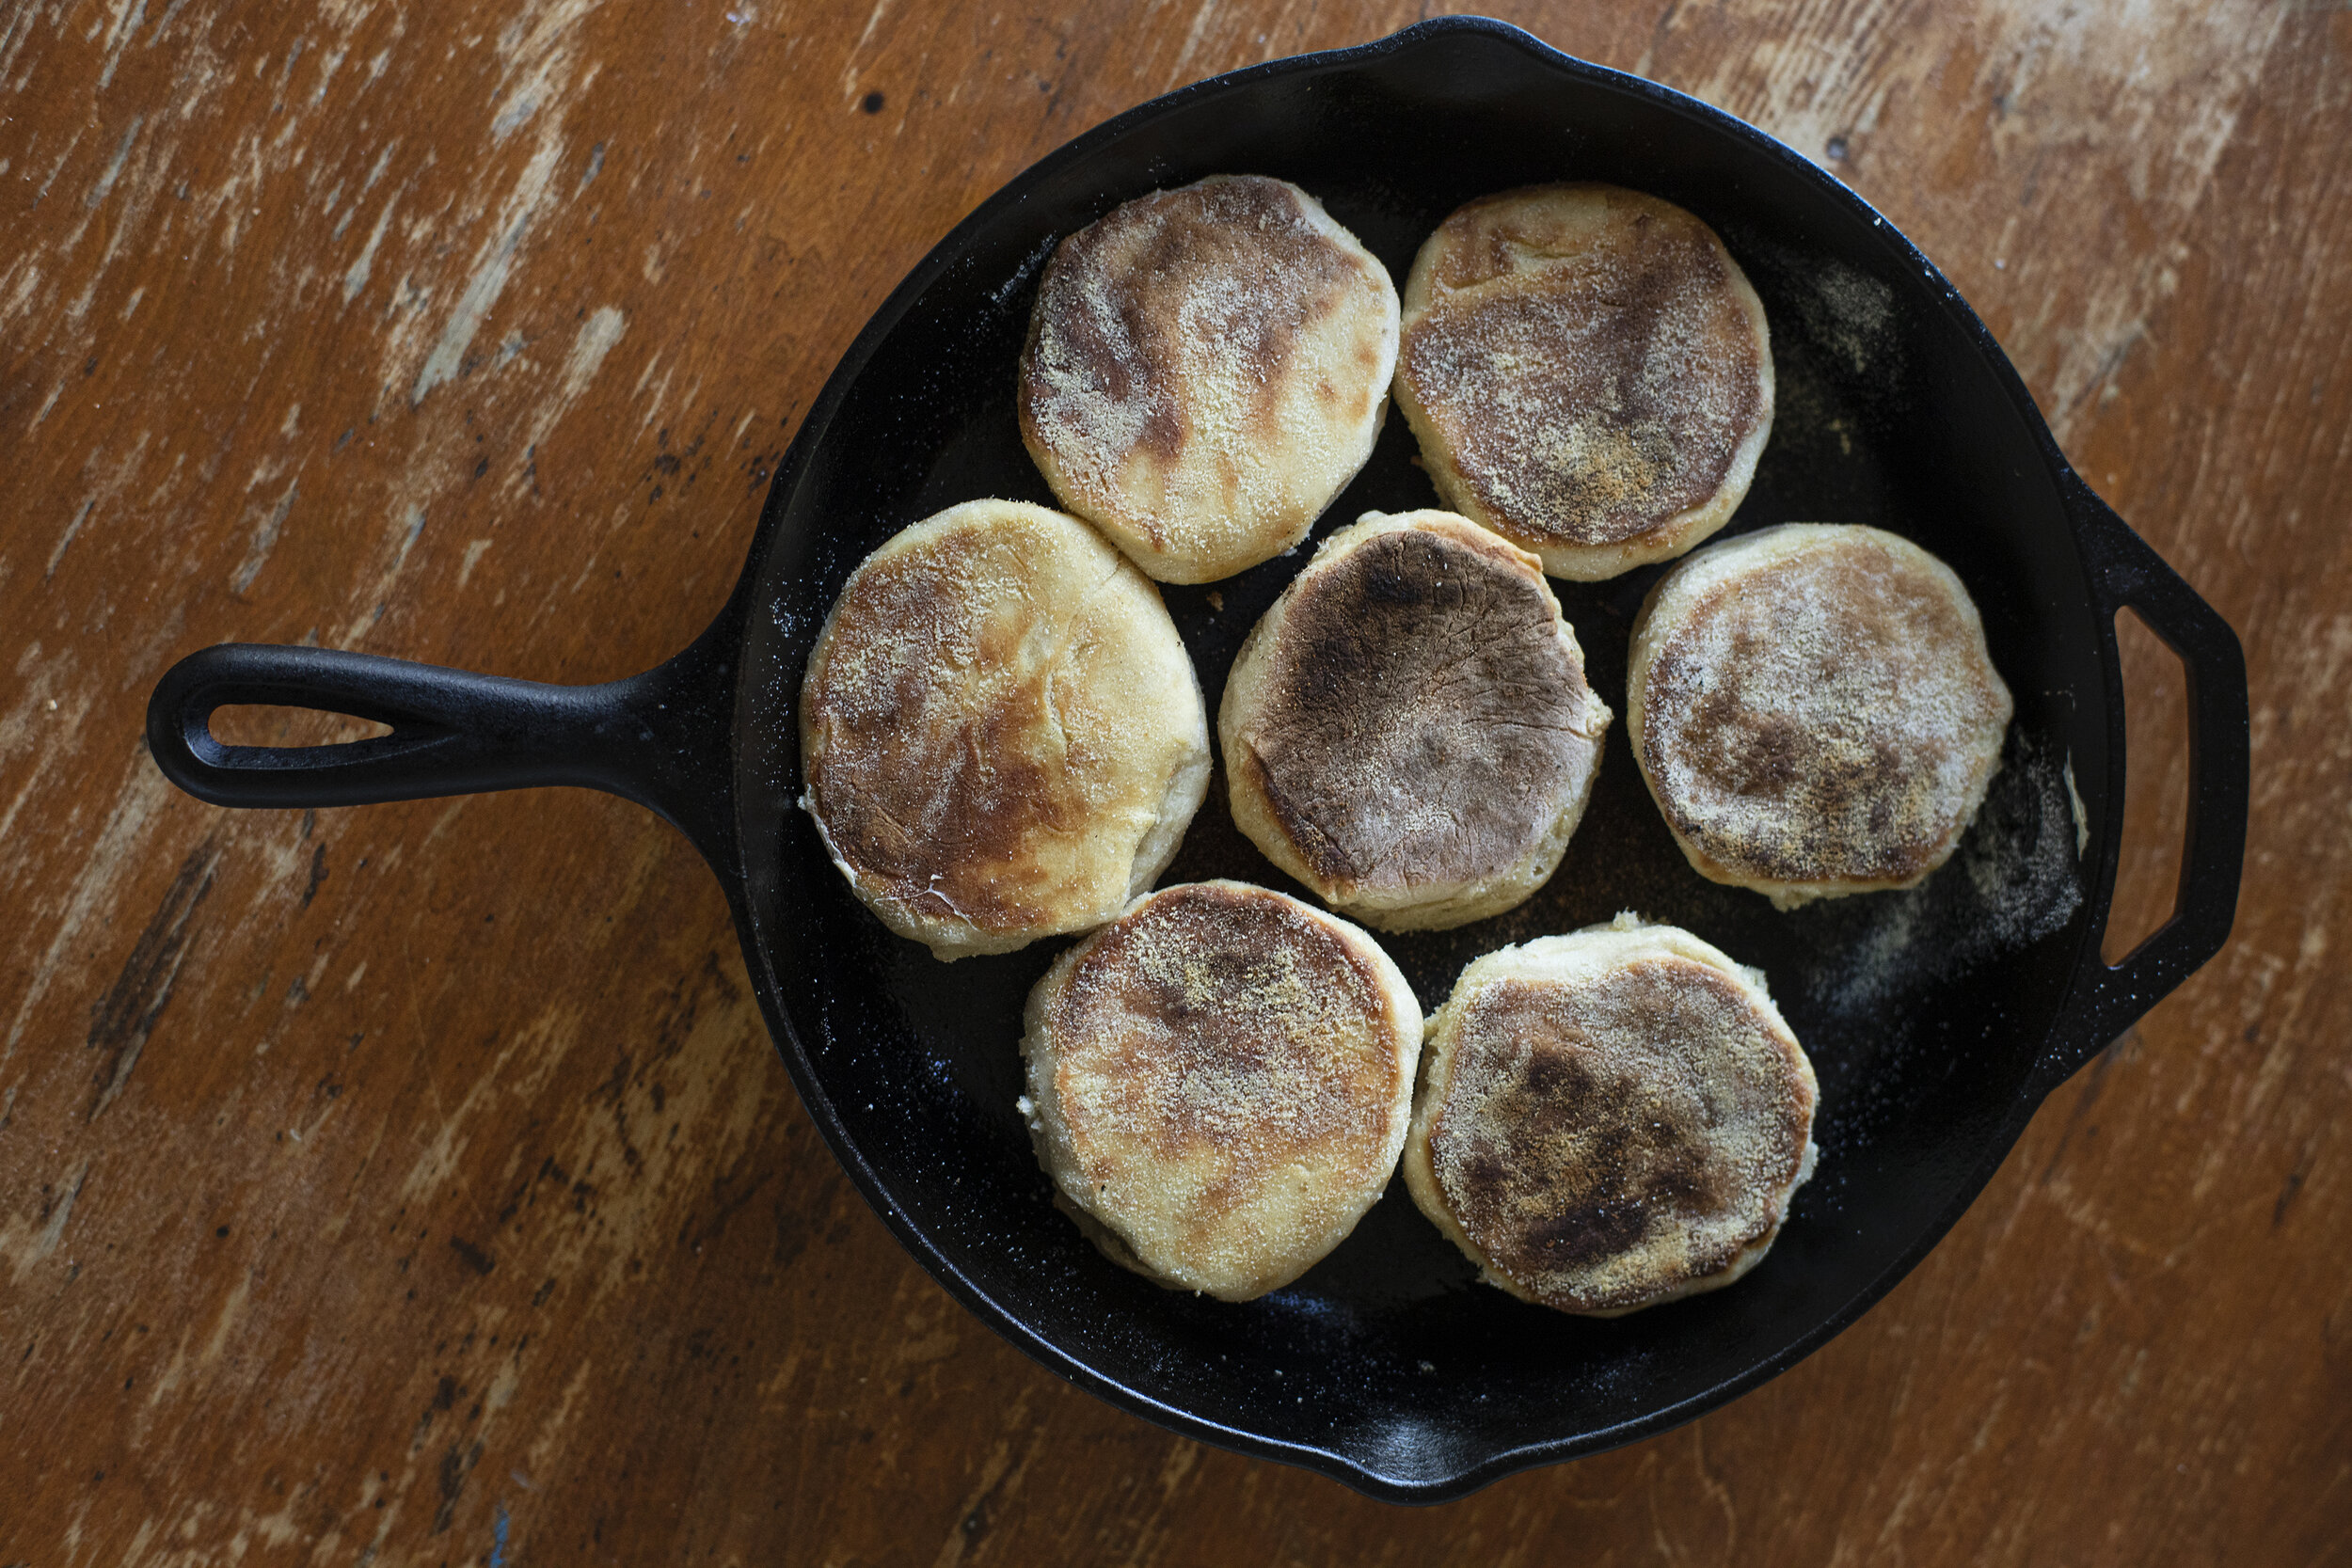
Add another 75 g bread flour, 1 tsp of salt, 1 tsp of baking soda, 1.5 tsp of honey, and 1.5 tsp of melted butter. Knead for about ten minutes until all the ingredients are well incorporated. Flour your working surface and roll the dough out to about half an inch thick. Using a circular form, punch out circles of the dough and dust them with a light coat of semolina. Set aside and let proof for about 45 to 60 minutes. 

Lightly oil a cast iron skillet and set to medium/low heat. Cook muffins directly in the pan for about 7 minutes on each side until golden/toasted brown. Cool on a wire rack and split open with a fork.

sausage ingredients.jpg

The Sausage Patties

   1 tablespoon finely chopped fresh sage

    1 tablespoon finely chopped fresh thyme

    2 teaspoons light brown sugar

    1½ teaspoons kosher salt

    1 teaspoon crushed fennel seeds

    ½ teaspoon crushed red pepper flakes

    ¼ teaspoon freshly ground black pepper

    ¼ teaspoon garlic powder

    ¼ teaspoon sweet paprika

    .5 pound ground pork 

    .5 pound ground venison

patties.jpg

Mix sage, thyme, brown sugar, salt, fennel seeds, red pepper flakes, black pepper, garlic powder, and paprika in a medium bowl. Add pork and venison and work spice mixture into meat with your hands until it's very well blended.

Using your hands, form approximately 3 - 4 inch patties about ¼ inch thick. Griddle sausage over medium-high heat until browned on one side, about 2 minutes. Flip and cook 2 minutes more. Use a grill press to ensure a thin and crispy patty.

open sandwich.jpg

The Sandwich

Lay your split English muffin open on a cast iron skillet and top with good quality cheddar cheese. Set into a broiler until the cheese melts. Meanwhile fry your egg in another pan with a generous amount of butter. Set the sausage patty on top of the melted cheese followed by the fried egg gently placed on top so it doesn’t break. Season with salt and pepper and the top half of the muffin. The sausage is already a little spicy but add hot sauce to your liking.