Black Trumpet Cappellacci dei briganti
Cappellacci dei Briganti, a pasta shape which imitates the hats worn by 19th century guerrilla fighters known as brigands. These self-declared soldiers formed rebel militias and roamed the hills of Southern Italy at the time of the Risorgimento or the unification of Italy. This style of pasta originated in Molise and is typically served with a lamb ragu. When brainstorming pasta dishes that feature foraged wild mushrooms I couldn't help make the connection between the shape of the pasta with black trumpets. I've been wanting to make these since last summer and finally got myself sorted out to make it happen. The pasta dough incorporates a small percentage of dried black trumpet powder to give them their distinct color. The final flavor of the mushrooms is rather subtle as it competes with the hearty lamb ragu but it adds a nice earthy subtext to the dish. It was perfect for a cold winter night with a good glass of red wine in hand and the kids shipped off to Nonna's house. Video of the process below. It’s a lot easier than it looks.

Black Trumpet Cappellacci dei briganti
Ingredients
430 g 00 Flour
20 g dehydrated wild mushroom powder
250 g eggs (beaten before mixing)
*Portioned for 5 - 6 people
Tools:
Circular cookie cutter, conical metal pastry tip (see photos/video for sizing)
Directions
Using a spice grinder (or similar) blitz your dried mushrooms into a very fine powder. Here I’m using black trumpets but you could easily substitute with any other edible wild mushroom.
Mix together the mushroom powder and flour into a bowl, and dump out onto your clean work surface.
Use your hand to form a well (like a volcano) in the center of the flour.
Carefully pour your eggs into the center and begin slowly mixing together with a fork. Gradually, carefully, work your way all around to incorporate the eggs with the flour, without breaking the outer wall.
After about 5 - 10 minutes it will start coming together into a shaggy mass. Begin using your hands to knead the dough together. Work diligently for another 5 minutes until it is no longer shaggy.
Use the edges of your hands, knuckles, to work the dough until it starts to form a smooth ball. Roll it, applying pressure, into the work surface. Fold it. Roll it again. After about ten minutes it should be a smooth, and ready to rest.
Cut the dough into two and wrap each in plastic wrap. Set into the fridge for at least 30 minutes.
The following step revolve around using a pasta attachment on a Kitchenaid - but you could also do this by hand with a rolling pin. Remove one of the dough balls, unwrap, and cut off a portion of the dough. Lightly flour and cover the rest back with plastic. Press gently and form a rectangle.
Pass the dough through the sheet pasta attachment at it’s widest setting. If it feels sticky, add a little more flour. Gradually tighten the settings of the pasta attachment, one click at a time, and pass the pasta sheet through until it is light and delicate. I normally go to the 6th setting.
Allow the sheet of dough (sfoglia) to dry for 2-3 minutes. Use the circle cookie cutter and punch out as many circles as you can on each sheet of pasta dough. Save the scraps for maltagliati.
The next steps become much easier with a visual reference. I have provided a diagram below and the video helps to show the process. Again, it’s easier than you think. Using your metal pastry tip cone, place the large side in the center of one of the pasta circles. The dough should NOT be sticky. You don’t want it to stick to cone.
Fold the sides of the circle over the cone, and gently press them together with your thumb.
Using your other hand, carefully fold down the top of the cone to form what we’ll call the brim of the hat. The metal cone should be concealed inside the shape of the pasta.
Carefully slide the cone out, continuing to press gently at the seem. Flip upside down and allow to air dry for about 15 - 20 minutes before covering and setting into the refrigerator until you’re ready to cook. Repeat the process until you have no dough left. It moves quickly once you find your rhythm.
Cook right away of store in the fridge covered with a towel for up to a day.


Lamb Ragu
Ingredients:
1 lamb shoulder (broken down, trimmed, cut into 1 inch cubes)
1 onion (finely diced)
4 cloves garlic (minced)
½ cup celery (finely diced)
½ cup carrots (finely diced)
8 oz tomato paste
32 oz canned tomatoes (crushed)
1 cup red wine
2 cups hot broth
2 tbsp fresh sage (finely minced)
2 tbsp fresh thyme (finely minced)
3-4 bay leaves

Directions:
Break down the rabbit into 6 pieces. Hind legs, forelegs, and split the body into two. Season with salt and pepper.
Brown the meat on all sides in a deep pot. The less oil the better for getting a nice brown crust. Set aside.
Add the garlic, onions, celery, carrots and herbs and cook on medium/low for a few minutes until softened.
Add the tomato paste, a little olive oil, and mix together until well incorporated.
Pour in your red wine and simmer down for another few minutes. Use a wood spoon to scrape up any bits stuck to the bottom of the pot.
Add tomatoes and bring up to a low simmer. Add about a half a cup of broth and stir.
Add the lamb back into the pot, partially cover, and simmer for 1.5 hours - turning the meat every 15 minutes and stirring the sauce so it doesn’t stick to the bottom of the pan. If the sauce feels like it’s getting too thick add a little more hot broth to thin it out.
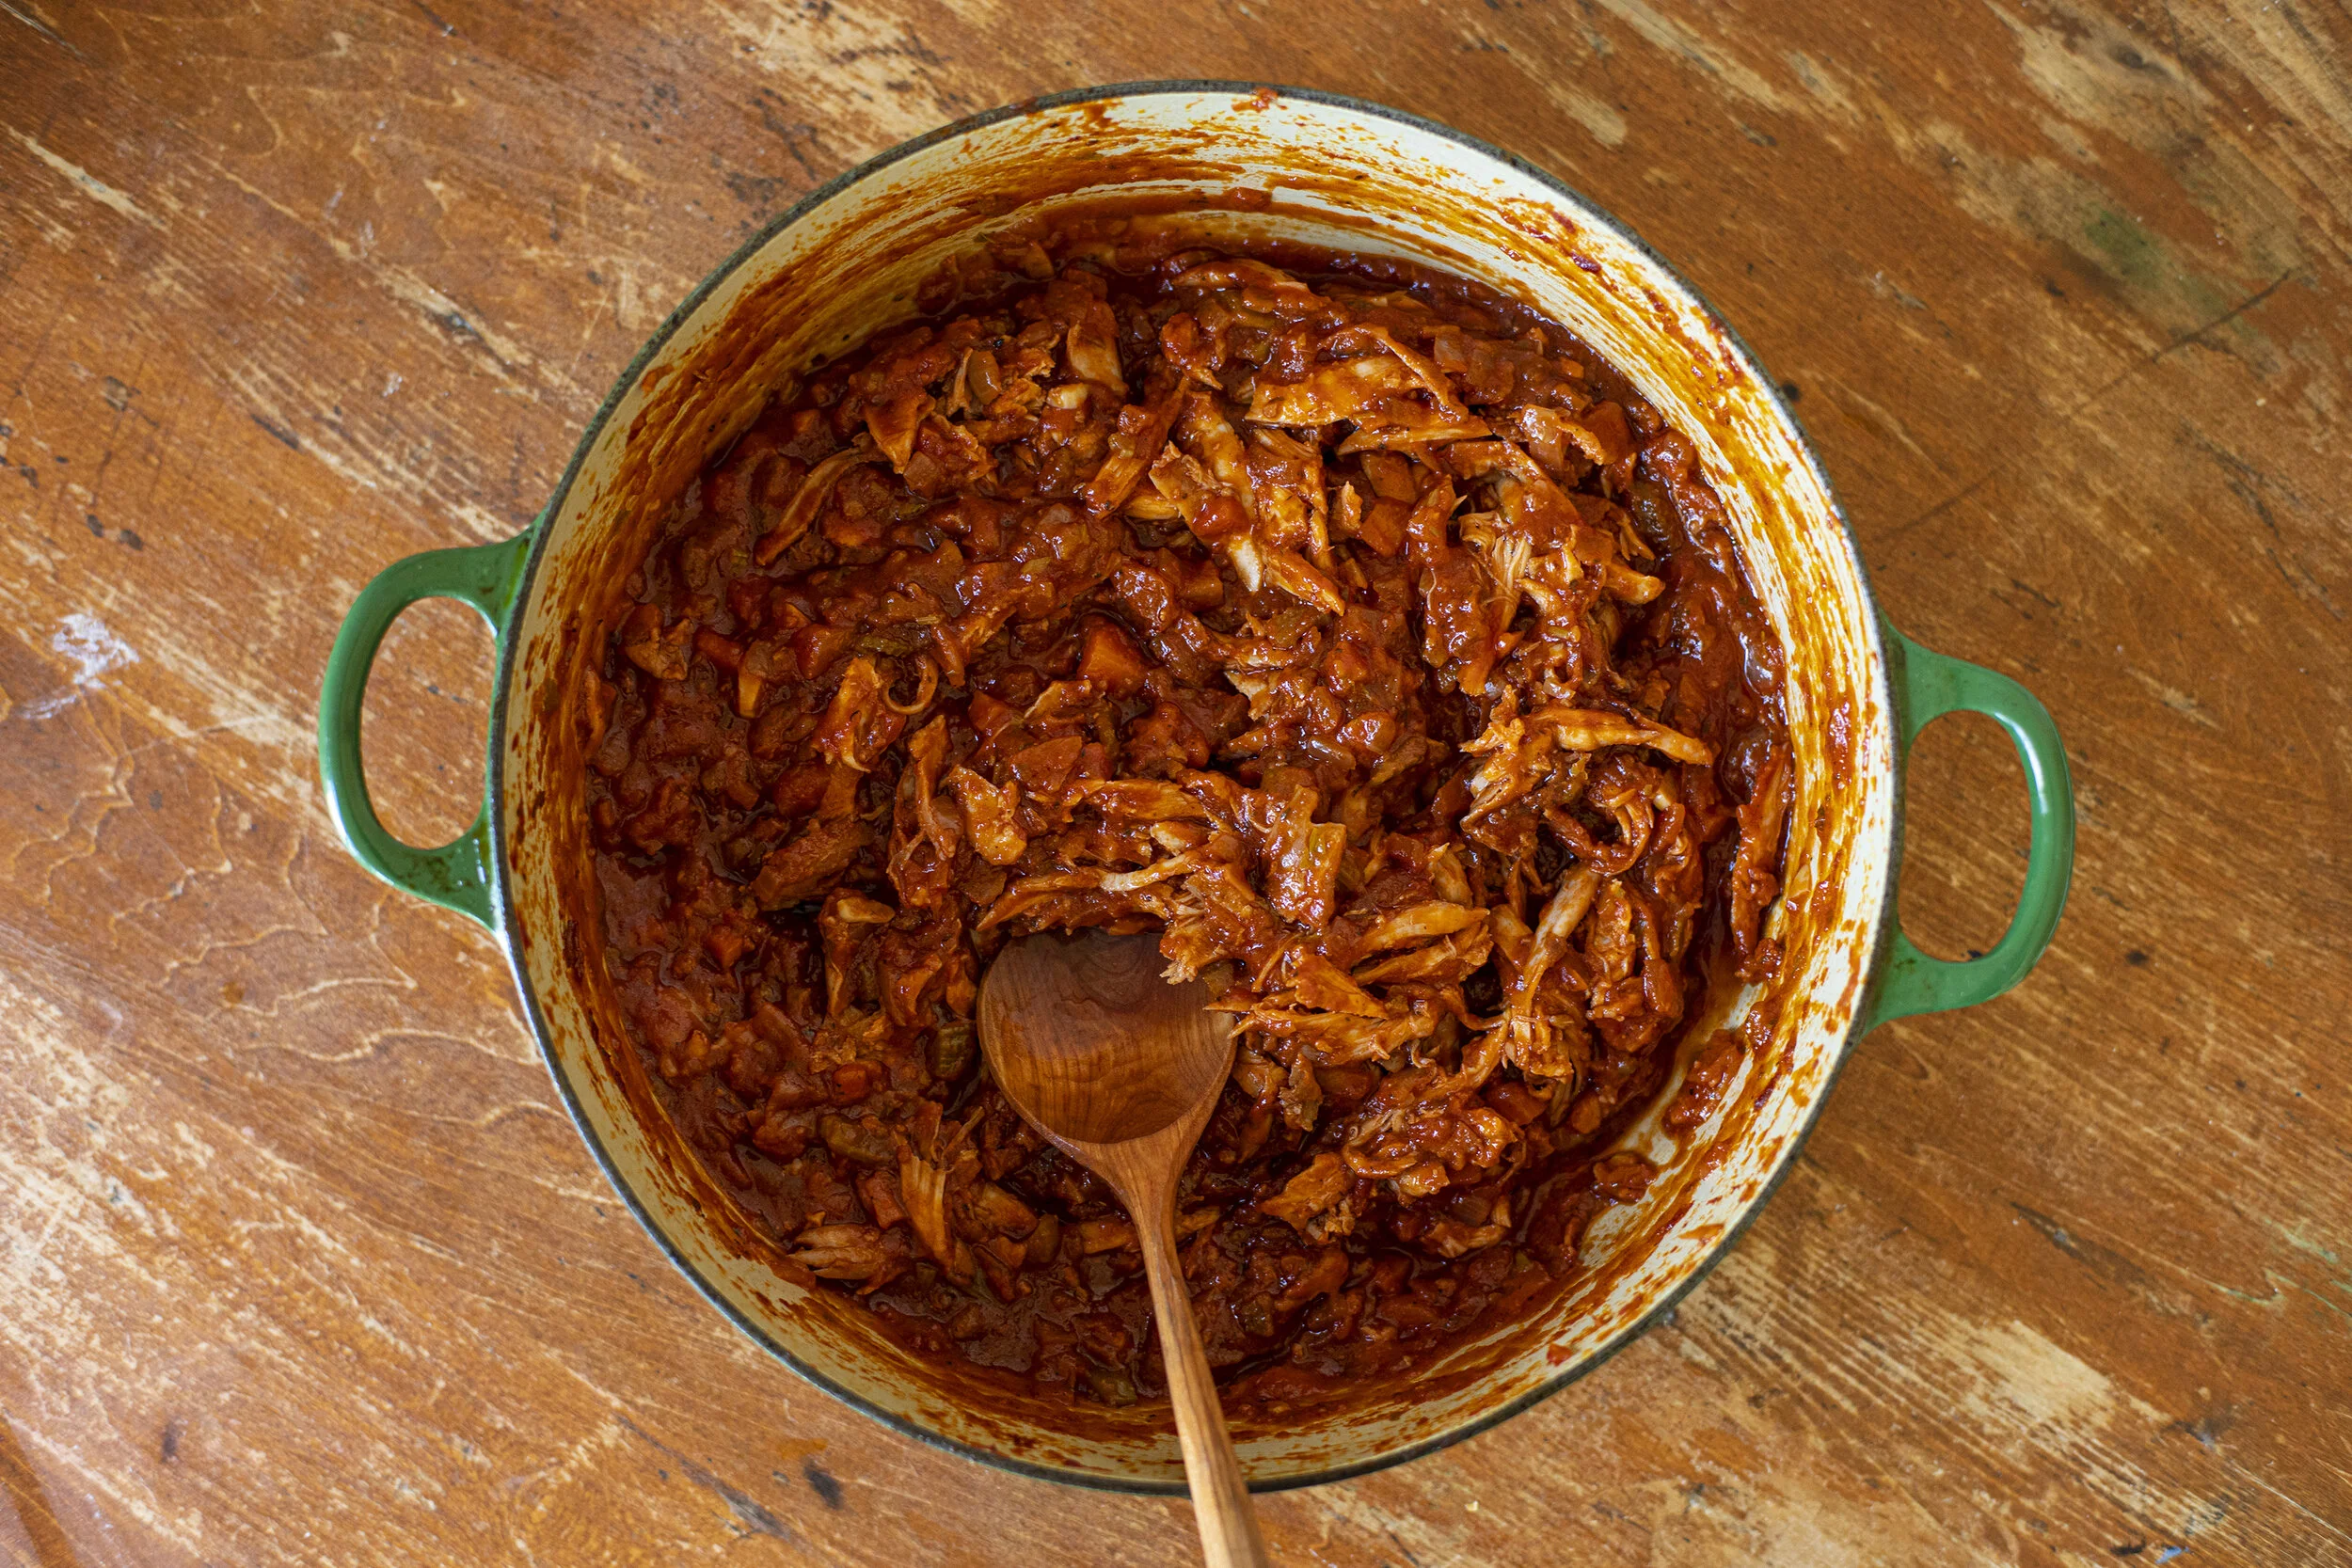
It normally takes me about 5 hours until the meat starts to shred and fall apart. This is how you want the ragu, without any big chunks of meat.
Shred the meat from the bones and pull apart into small pieces. Add the shredded meat back into the ragu and stir together.
Transfer a few ladles full into another pan and set on low heat. After your pasta is cooked, toss it with the pan ragu. Plate your pasta, add some more ragu on top.
Top each plate with a generous amount of freshly grated parmesan cheese or pecorino, and some fresh basil.