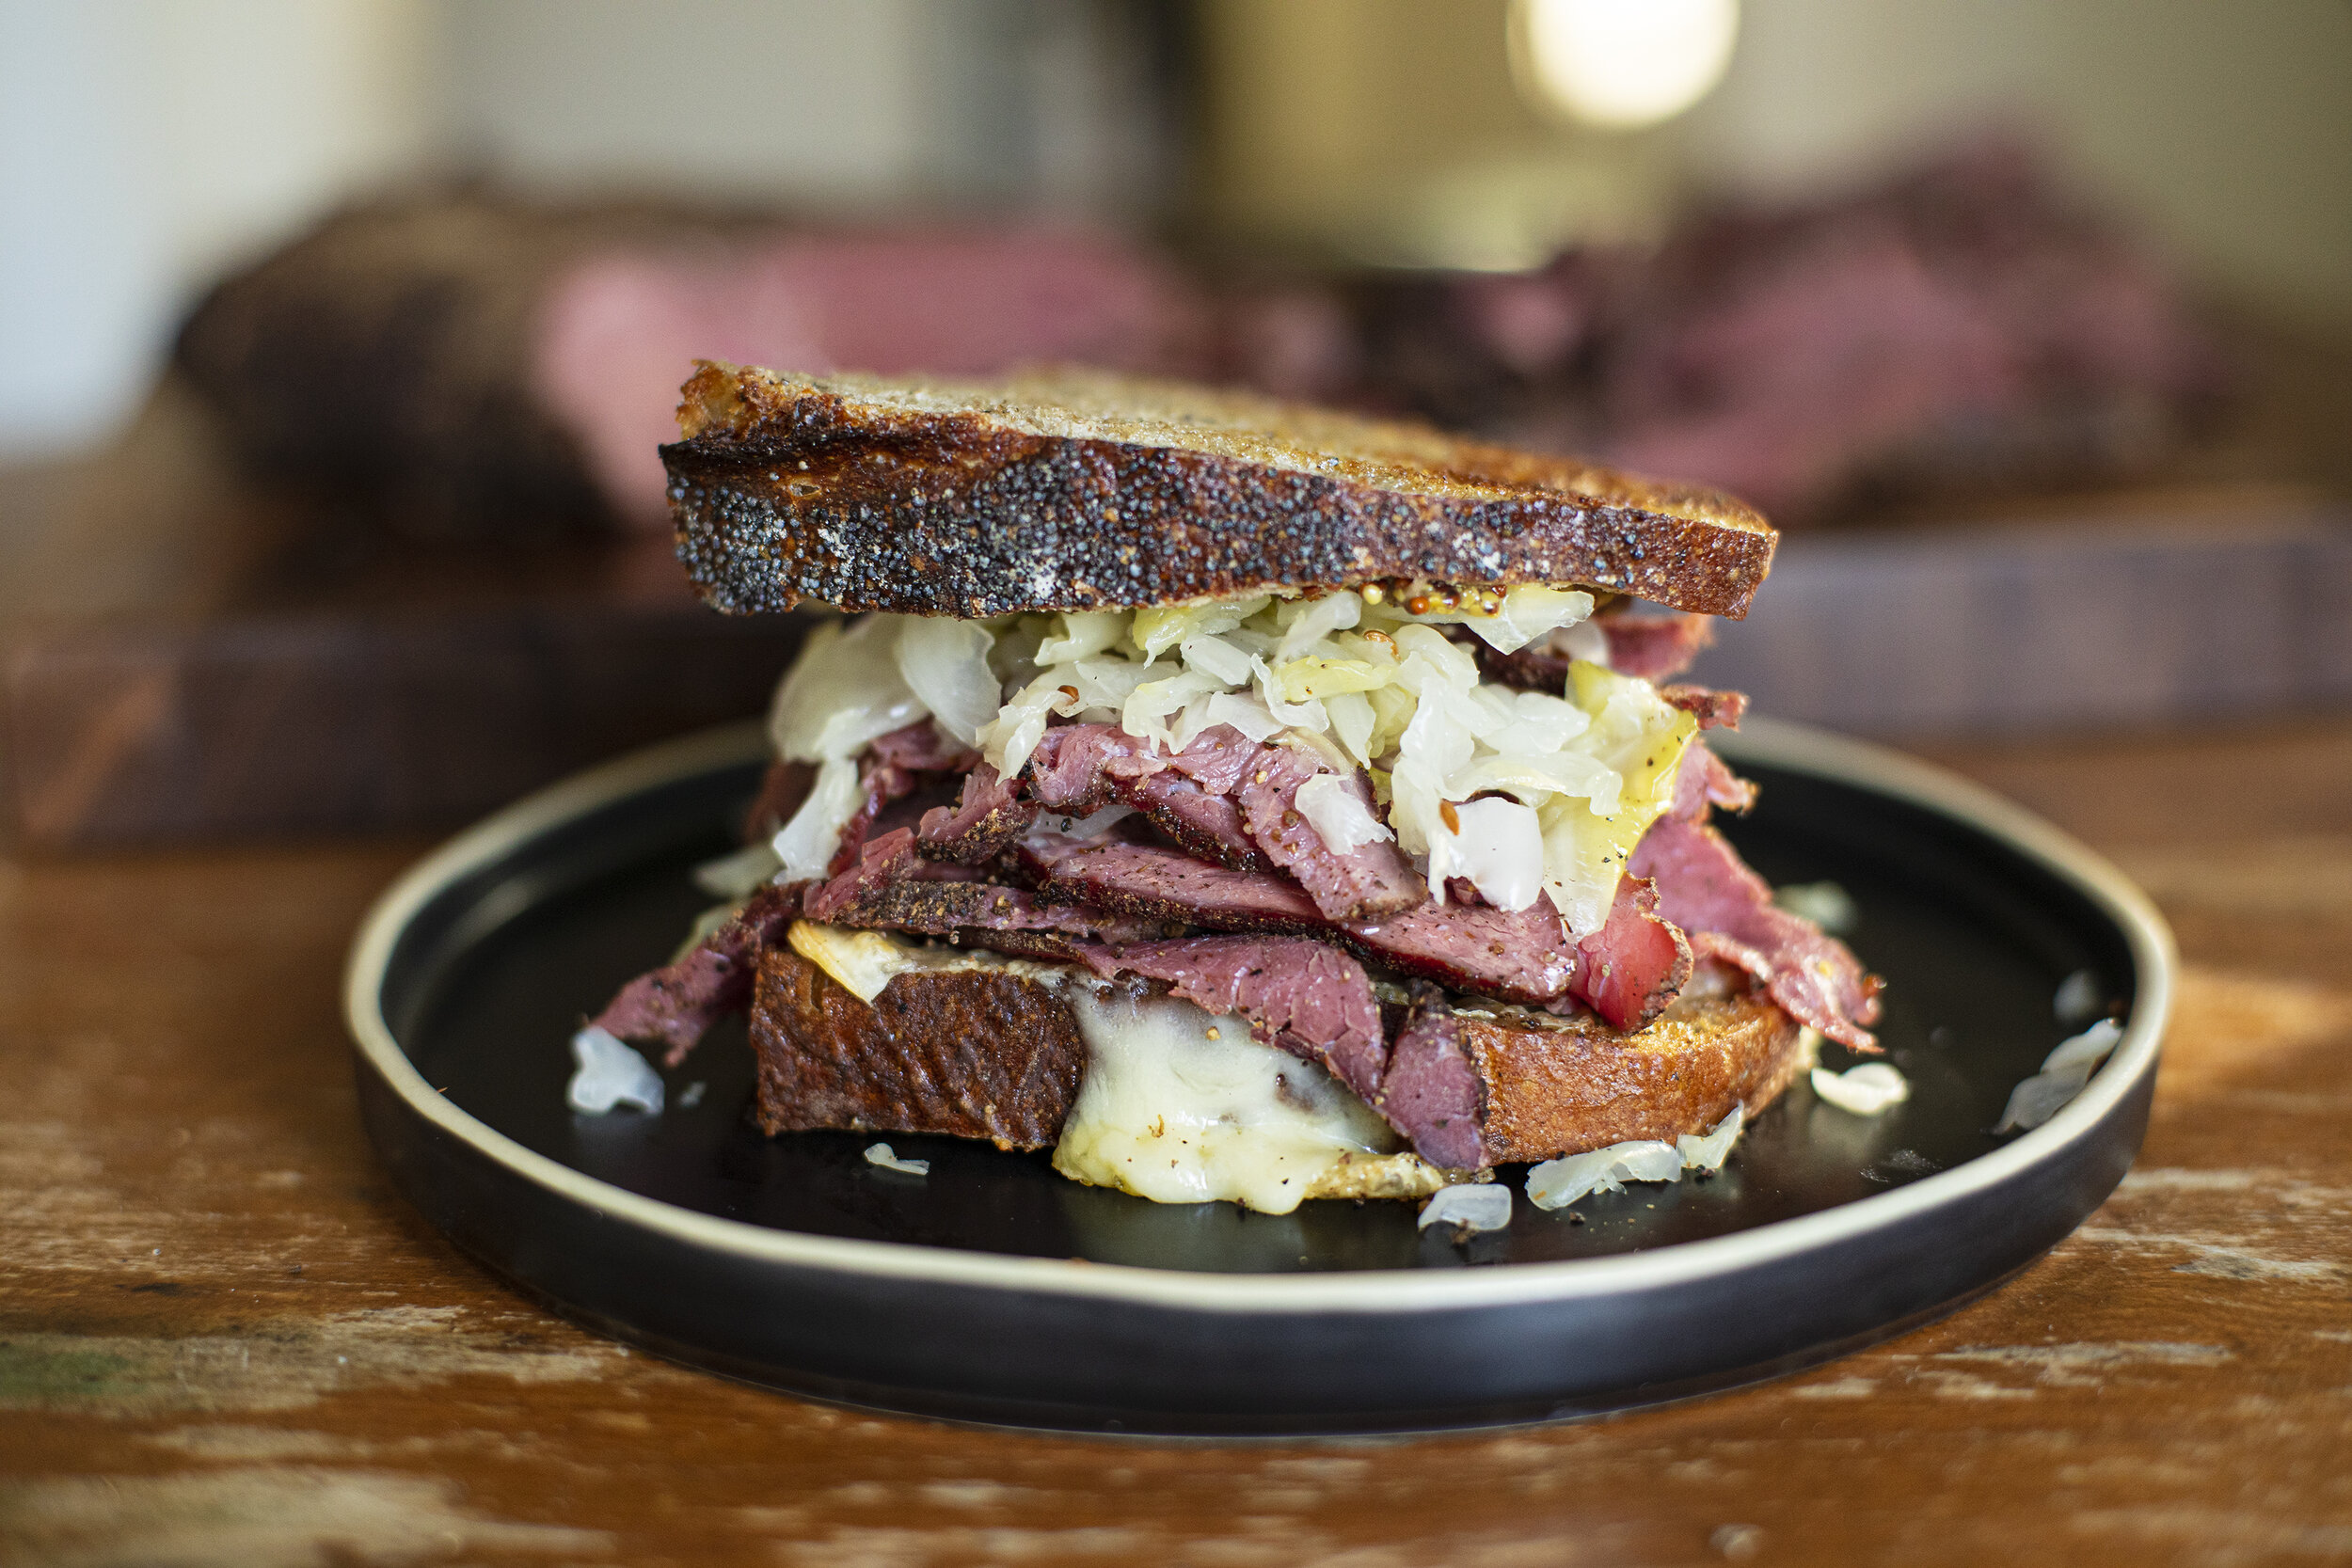
Venison Reuben on Poppy Seed Rye
On the surface, this is just a sandwich. But a lot of labor and love went into the making of it. Months spent scouting the woods trying to find the perfect position. Cumulatively, there were probably dozens of miles walked. Early mornings watching the sun rise and light up the ice encrusted tree canopy as my feet felt like they were going to freeze. Then there was the harvest and the subsequent months of planning how to do justice to every pound of meat. Six more weeks for the sauerkraut and the fine tuning of the sourdough poppy seed rye. Six days for the cure on the pastrami. Three hours in the smoker. And just a few minutes to devour it. Was it worth it? I don’t regret any minute of it.
Video of the process below.
The Pastrami
First off I want to credit Hank Shaw for the basis of this recipe. For the most part I followed the fundamentals of his recipe but just tweaked a few ingredients and temperature/timing in the smoker. The cut I used for this recipe was the bottom round, cleaned and trimmed.
Ingredients
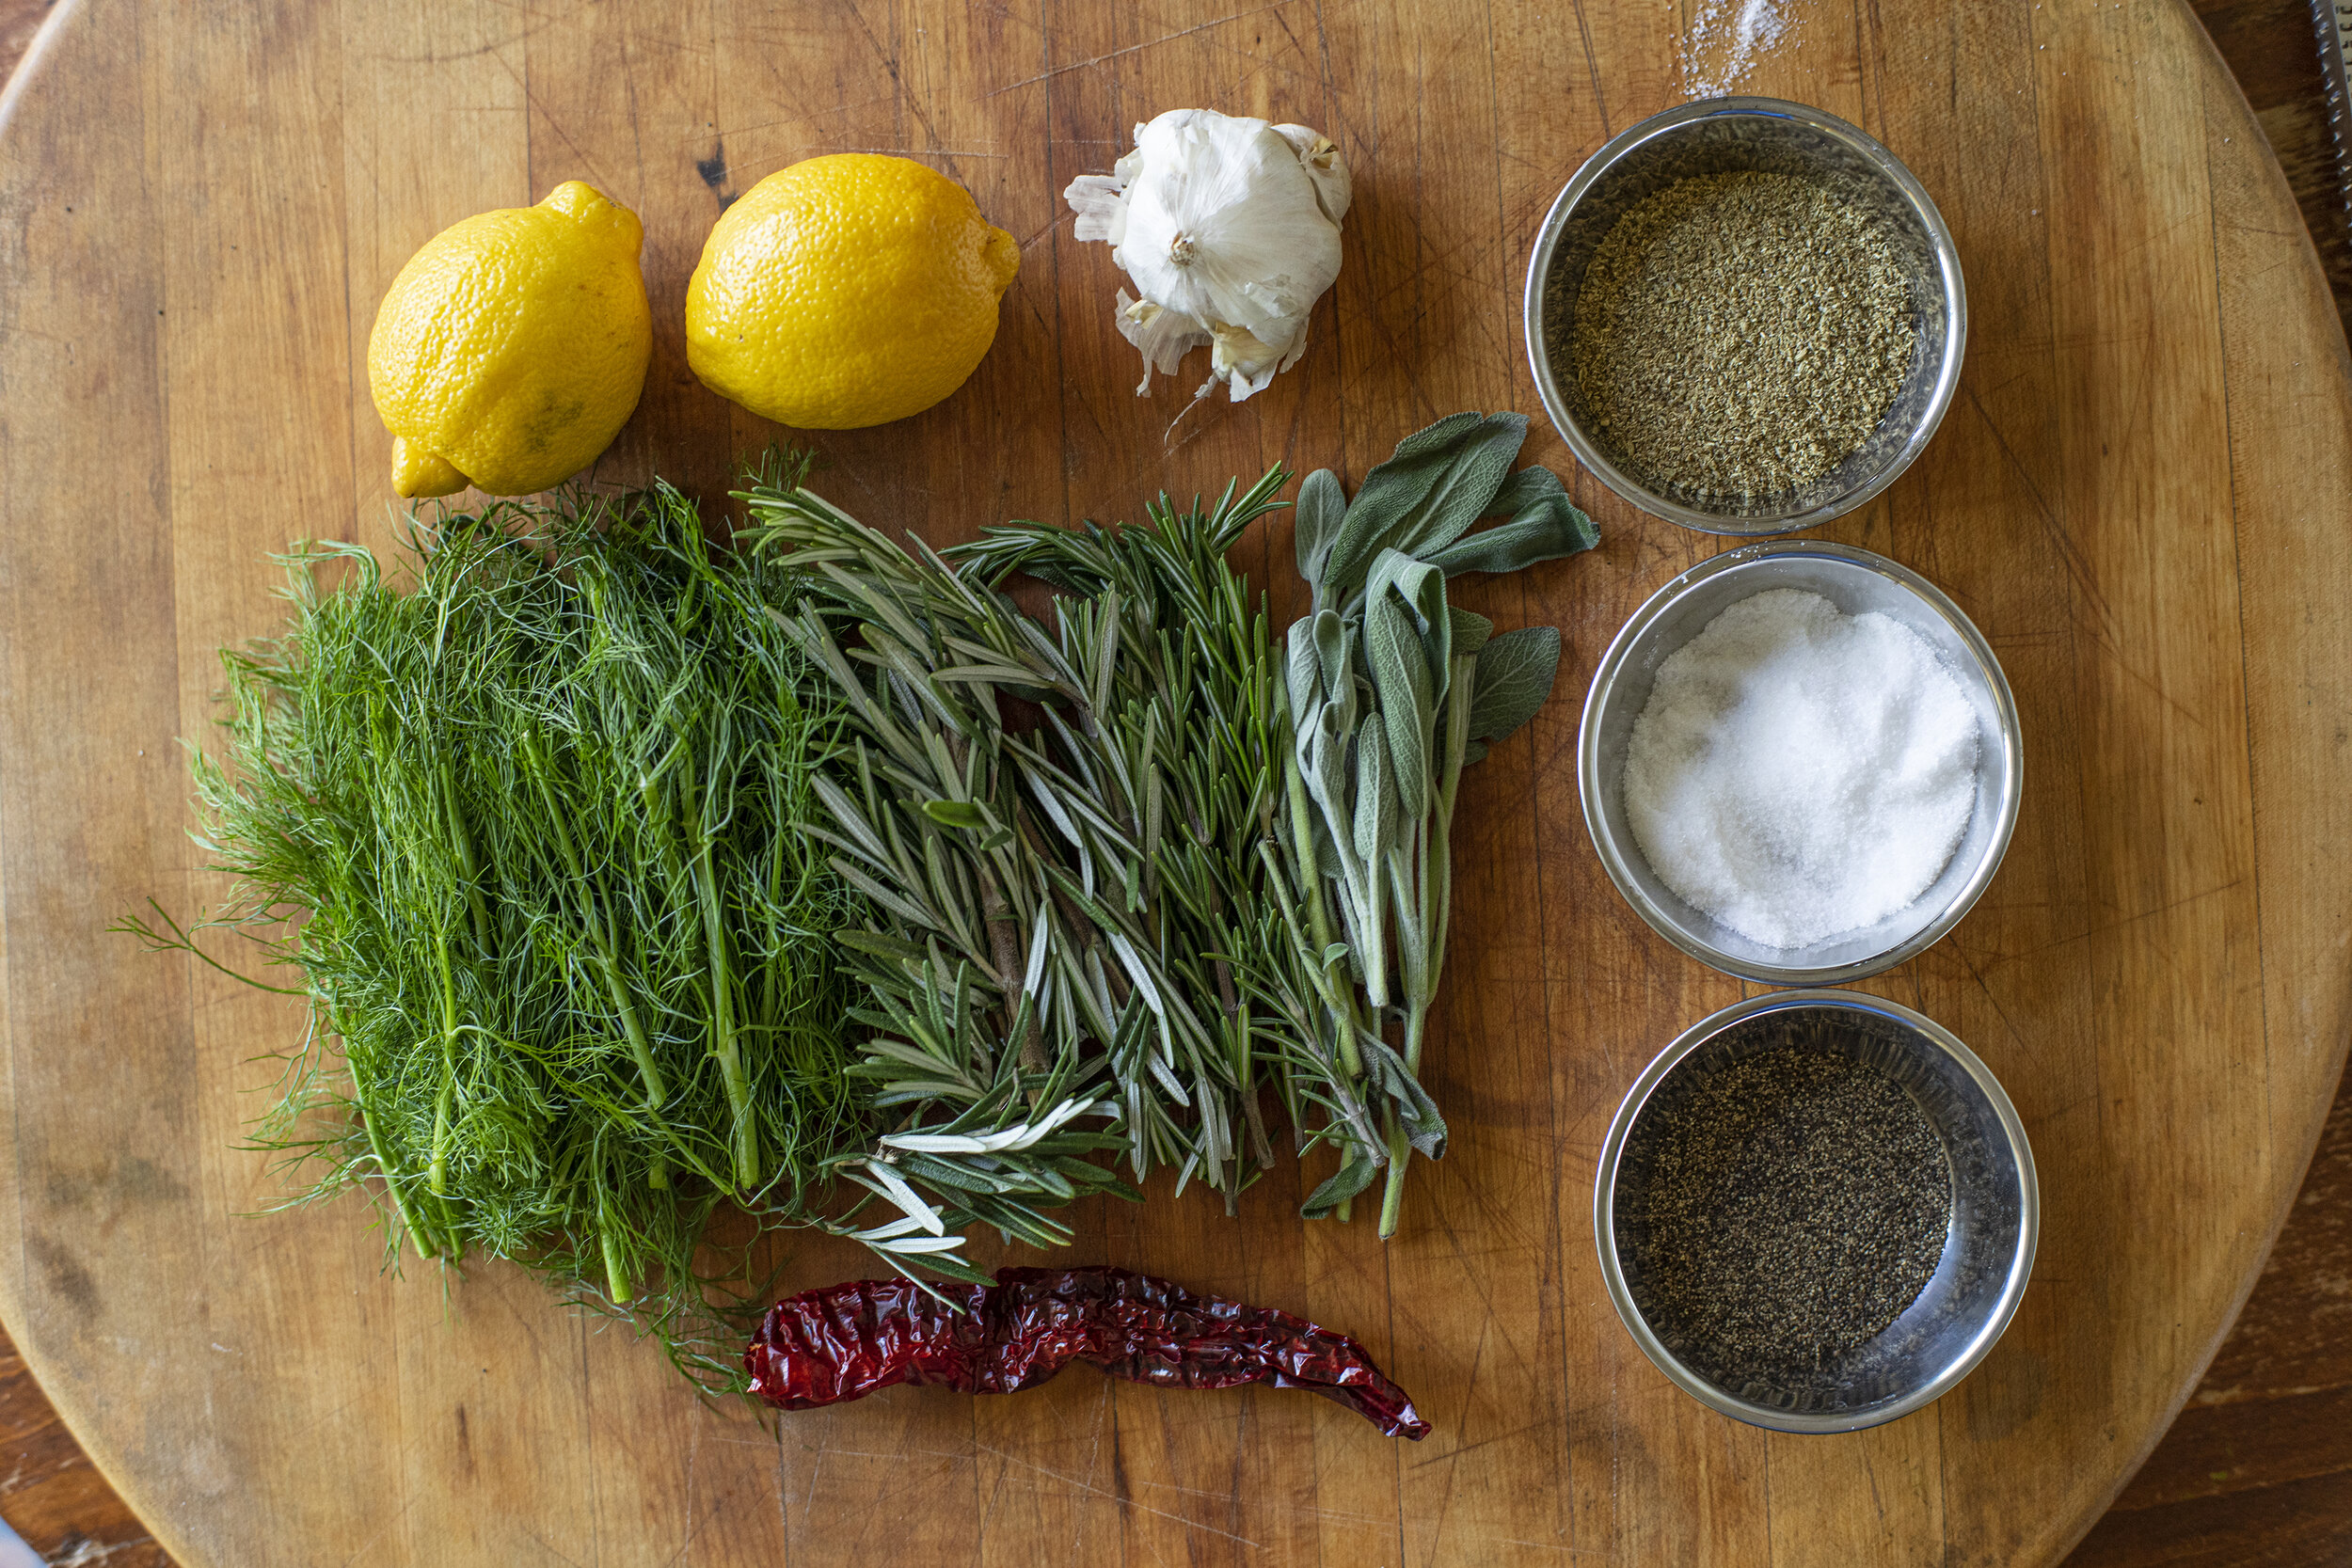
The Cure
A 2 - 4 pound piece of venison (single muscle works best)
Kosher salt (2% of the weight of the meat)
Instacure No. 1 (0.25% of the weight of the meat)
1/4 teaspoon celery seed
1/4 teaspoon caraway seed
1 teaspoon sugar
1/4 teaspoon crushed juniper berries
The Dry Rub
3 tablespoons ground black pepper (1 tbsp per pound)
3 tablespoons coarsely ground coriander (1 tbsp per pound)
1/4 cup dry sherry

Instructions
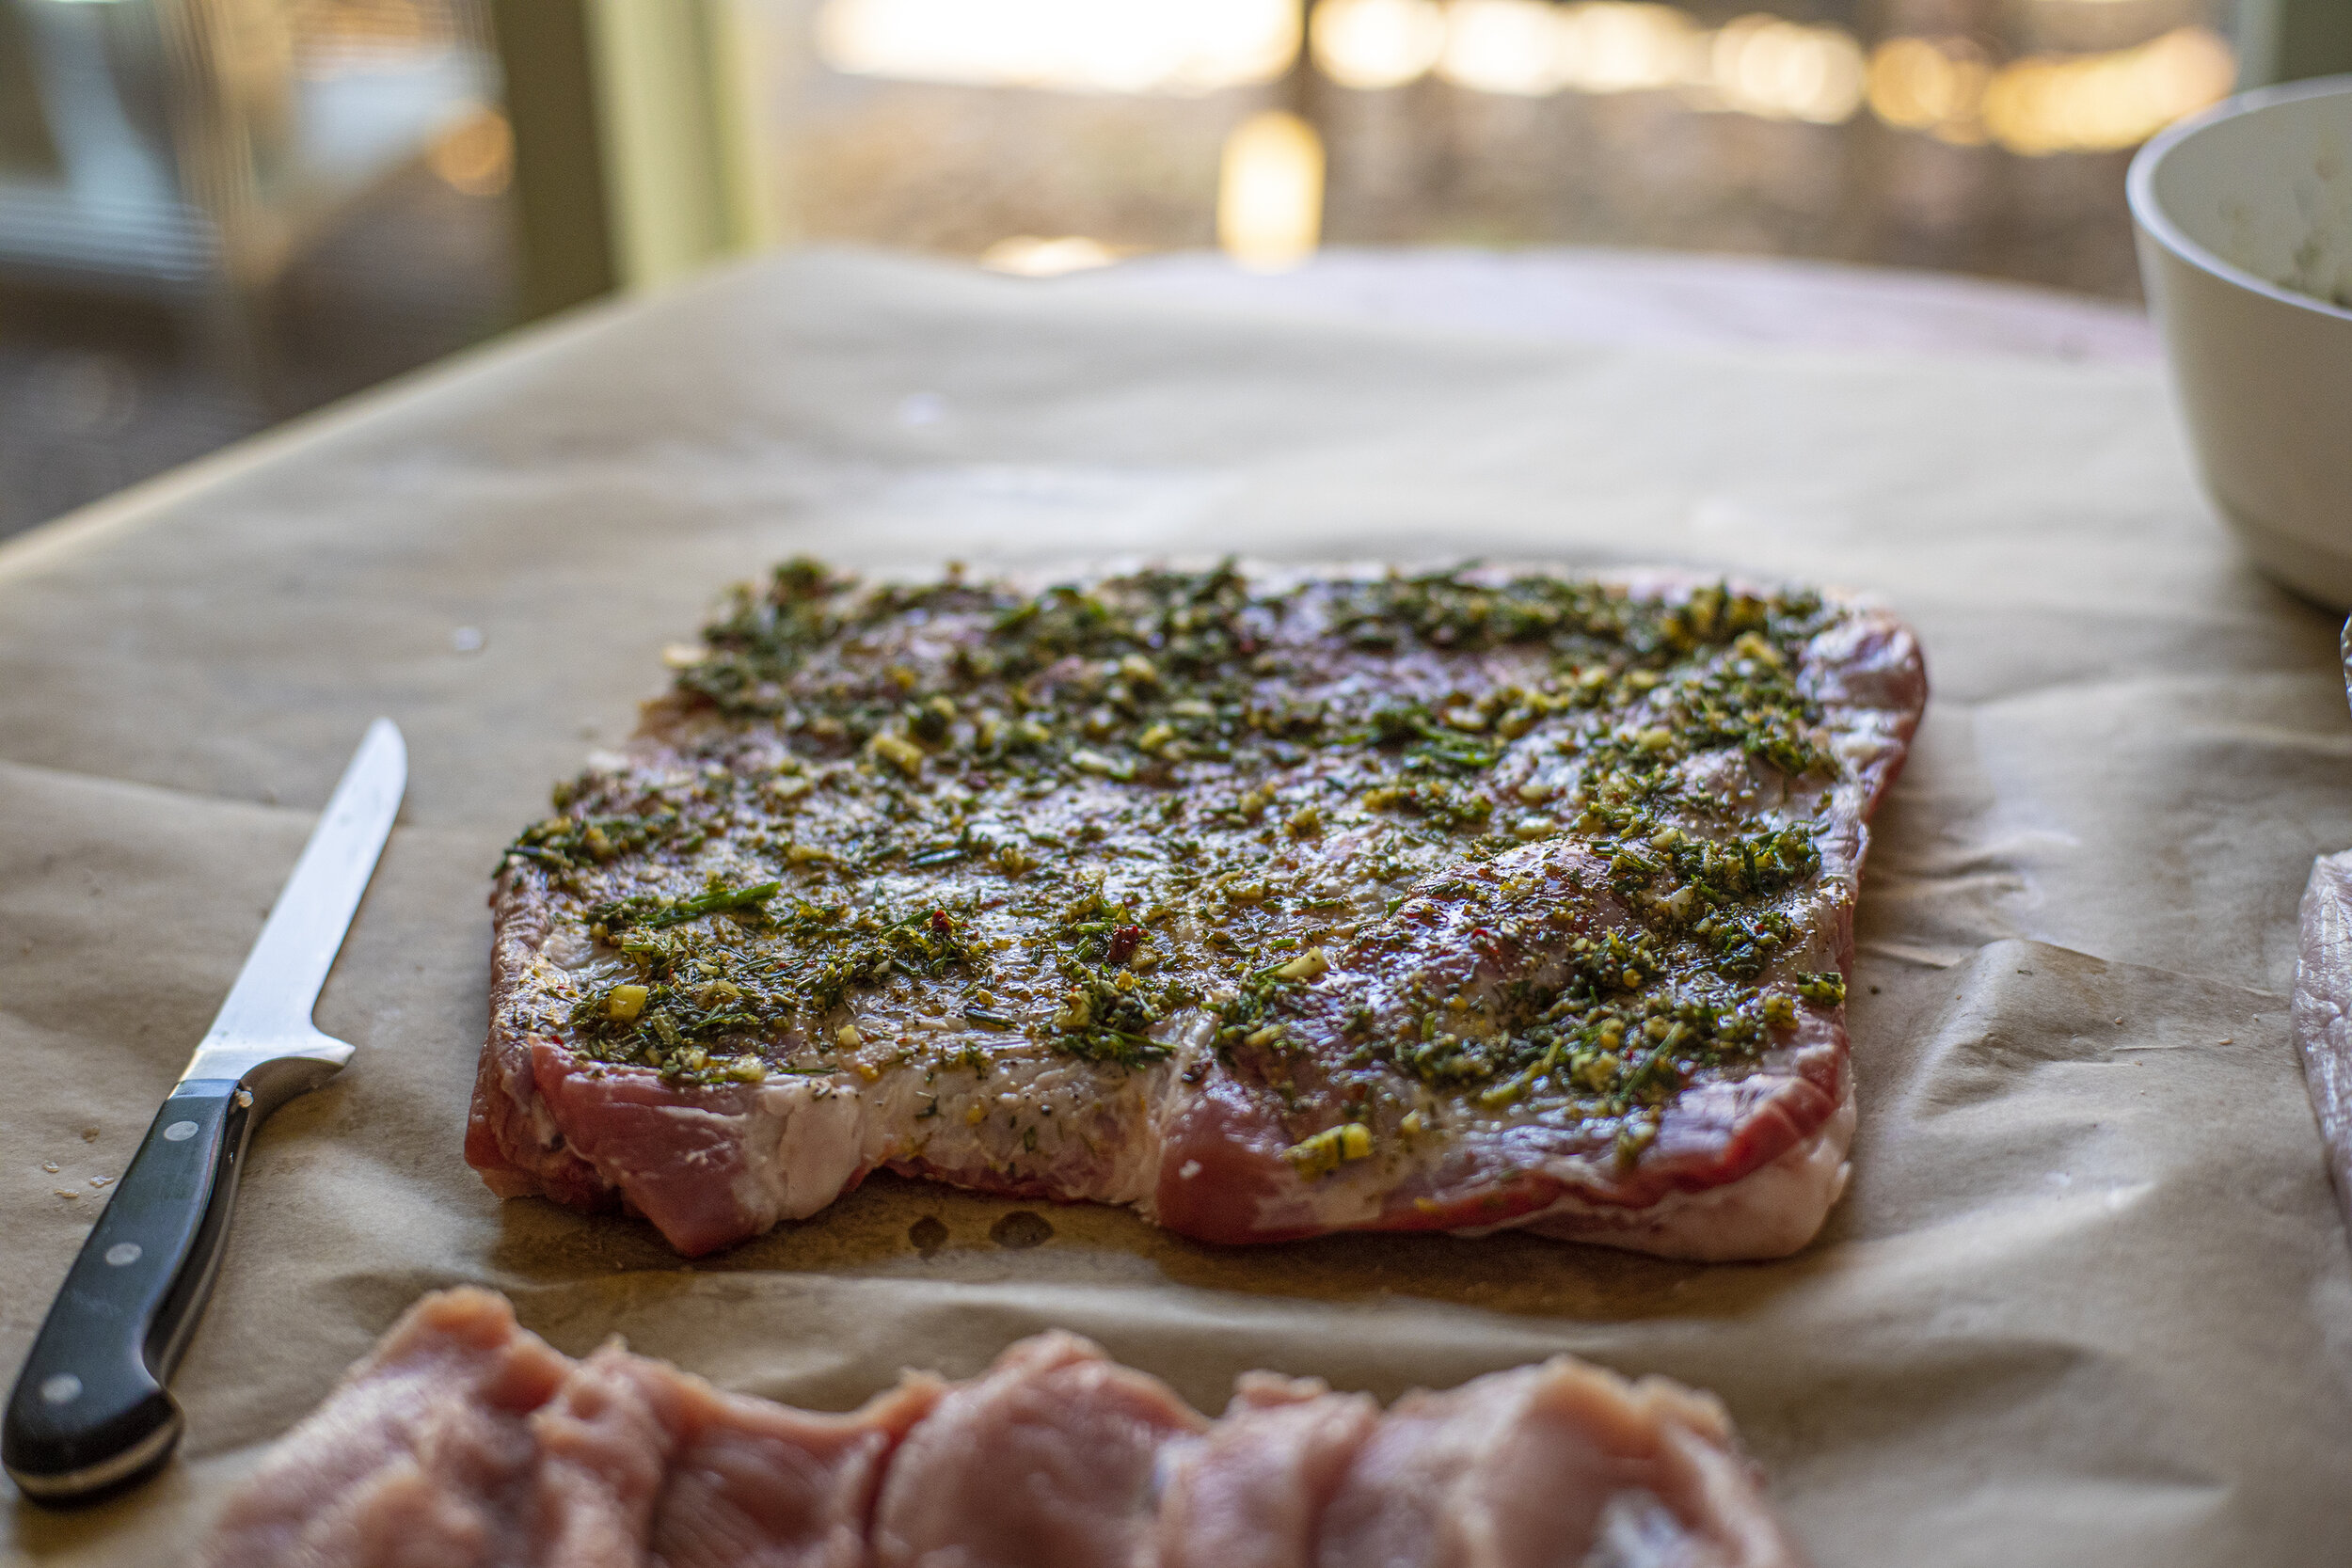
Weigh your piece of meat. In a spice grinder, mix together all of the ingredients for the cure. Measure your salt and curing salt carefully based on the percentages listed above.
Using your hands, pack all of the spices and salt onto the meat, massaging it into ass nooks and crevices of the meat. Make sure all sides are equally coated. Transfer into a large ziplock bag, airtight container, or vacuum seal. The meat will now cure in the refrigerator for 4 - 6 days. Hank’s general rule is 2 days per pound of meat.
Remove the meat and rinse it off in a bowl of cold water to remove the bulk of the cure. Pat the meat dry and place back into the refrigerator uncovered for another 30 mins up to a day.
Using the spice grinder again, blend together the peppercorns and coriander spinkly it across the bottom of a baking tray, reserving some more to sprinkle on top.
Place the meat in a bowl and pour the dry sherry all over it and massage it into the meat.
Transfer the meat, coated in sherry, to the tray of spices and carefully work it around the dry rub so it is coated on all sides. Pack more of the dry rub on top with your hands until every part of the surface is covered.
Set your smoker temperature to 250F and smoke the meat for 2 - 3 hrs until the internal temperature reaches 145F. Allow the meat to cool and slice very thinly.


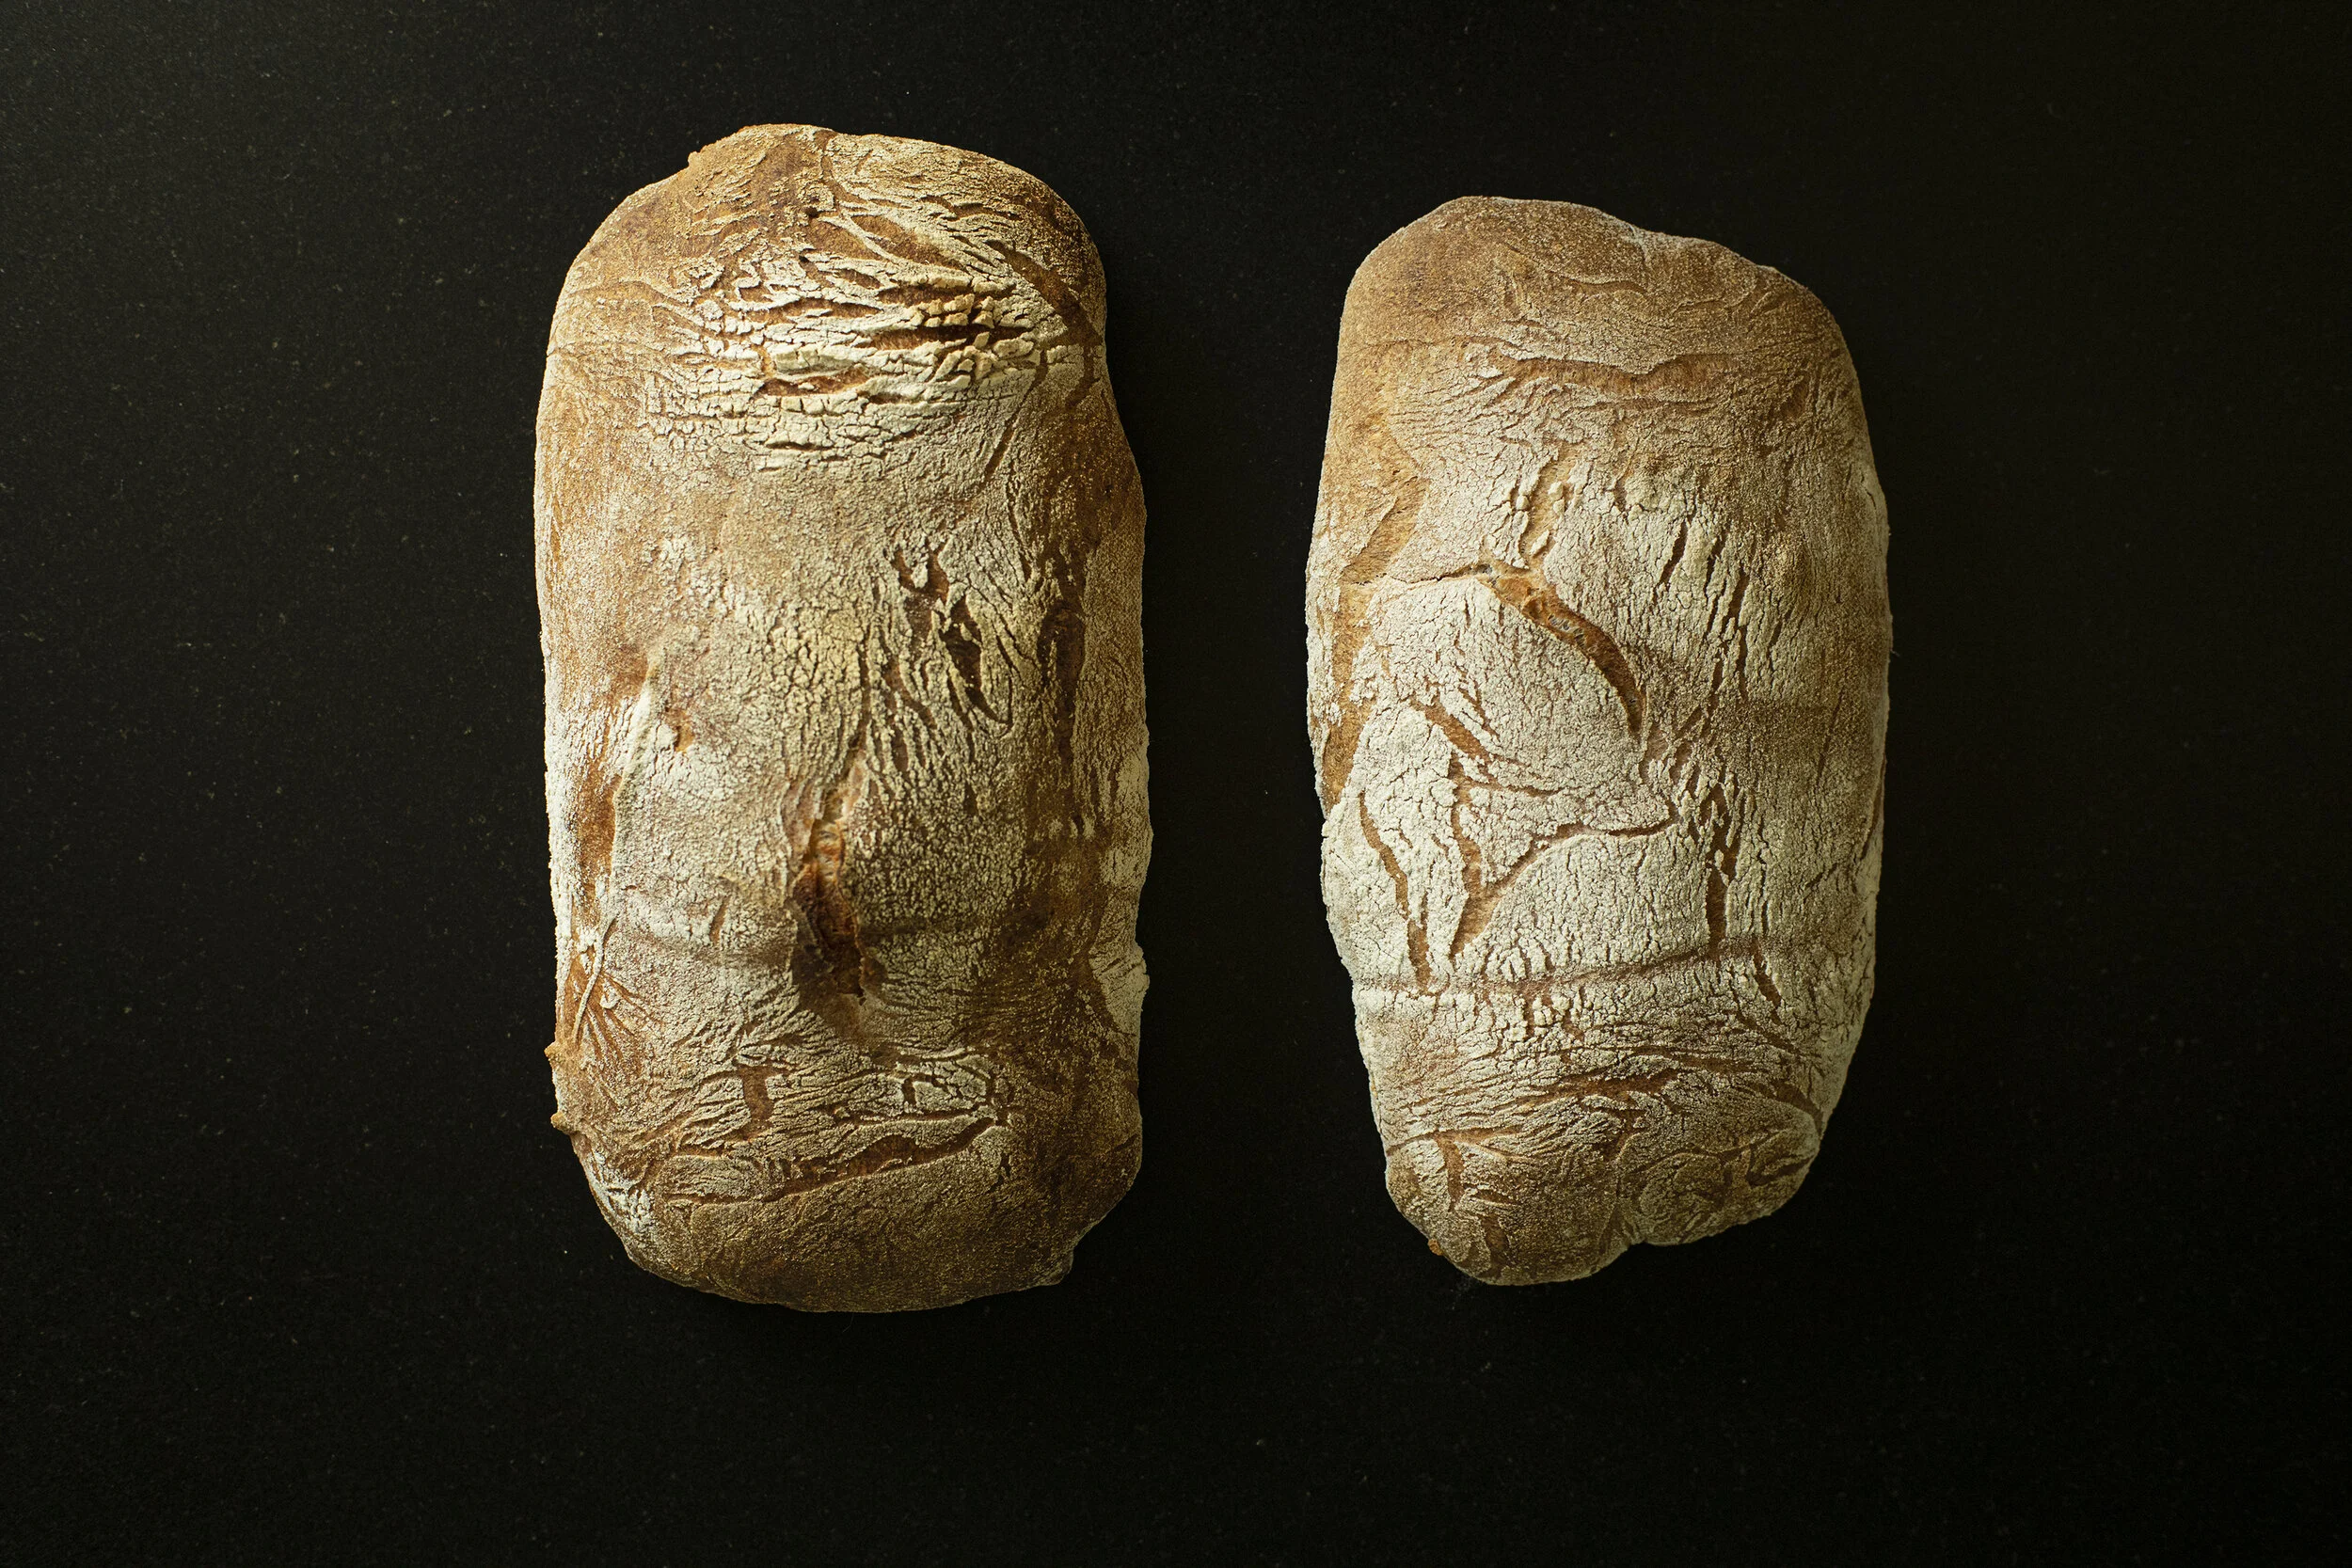
The Poppy Seed Rye
For the full rye bread recipe click here to view previous post.

The Sauerkraut
This is a pretty ubiquitous recipe that makes for a simple but delicious kraut.
Ingredients
1 head of green (or red) cabbage
2% of the weight of cabbage in kosher salt
Caraway Seeds
Instructions
Peel the outer leaves from the cabbage. Wash thoroughly.
Thinly slice cabbage and weigh it on a scale.
Measure exactly 2% the weight of the cabbage in salt.
In a large bowl using your hands mix together the salt of the cabbage. Massage it. Crush it with your hands until all the liquid from the cabbage starts to be extracted. Continue massaging for 5 - 10 minutes.
Add in a sprinkling of caraway seeds. Mix together again.
Pack all the cabbage and it’s juices into your fermentation vessel of choice. Use the outer leaves as a protective layer on top of the kraut and weigh it down with a glass weight or similar.
Allow to ferment for 4 - 6 weeks in a cool and dark area of your house. After 4 weeks you can transfer it to the refrigerator.
That’s it.