
Wild Mushroom Arancini
Here's a spin on a classic Arancini where I've stripped it down to the basics and built it back together using seasonal foraged ingredients. I used an arborio rice and prepared as you would a traditional risotto, layering in a stock fortified with wild mushrooms, parmesan cheese, butter and a ramp puree. Any wild mushroom can be used in this recipe but since it's spring I'm using morels and chicken of the woods mushrooms (separately). Along with the wild mushrooms they're packed with hunks of caciocavallo from Jersey Girl Cheese. I'm still on the fence about Chicken of the Woods, but I found the method described below renders them in a way where they almost resemble bacon or pancetta. Of course you can't really go wrong with morels. These are relatively easy to make, and a great way to incorporate wild seasonal ingredients into classic recipes. Video of the whole process available below.

Ingredients
Arborio rice (2 cups)
Stock (8 cups chicken or veggie)
Wild mushrooms (1 cup cooked and diced)
Ramp puree (ramp leaves and olive oil)
Caciocavallo cheese (1.5 cups cubed into small pieces)
Parmesan cheese (3/4 cup freshly grated)
Butter (1 stick)
Salt and Pepper
All purpose flour
Plain bread crumbs
Canola Oil

Risotto Instructions
Heat your stock in a separate pan and bring to a low simmer. For this recipe I’m using a chicken stock fortified with wild mushrooms to add more depth.
Melt butter in a large pan and add in the rice. Stir well so all the rice is lubricated with the melted butter. Saute for 1 to 2 minutes.
Slowly pour in a cup of hot broth and stir into the rice. For the next half hour, you’ll want to continue adding in one cup at a time so the rice doesn’t stick to the bottom of the pan. Start to finish it will take about 30 minutes, and you’ll want to be constantly stirring.
After about 15 minutes of cooking the rice, gradually adding in more stock as you stir, add in about 1 cup of ramp puree. Since I’m making this a little later in the season, I’m using a batch that watch frozen. It’s a simple puree of ramp leaves and olive oil. If ramps are not available you could substitute this with a nice garlicky pesto.
Add in more broth and continue stirring. The risotto will now be a beautiful green color. Add in the grated Parmesan and continue stirring. Add more broth as necessary. The rice should never be completely covered with broth, but there should always be enough to make sure it’s not sticking to the pan.
Season with salt and pepper to taste and allow the risotto to come to room temperature.

Arancini Instructions
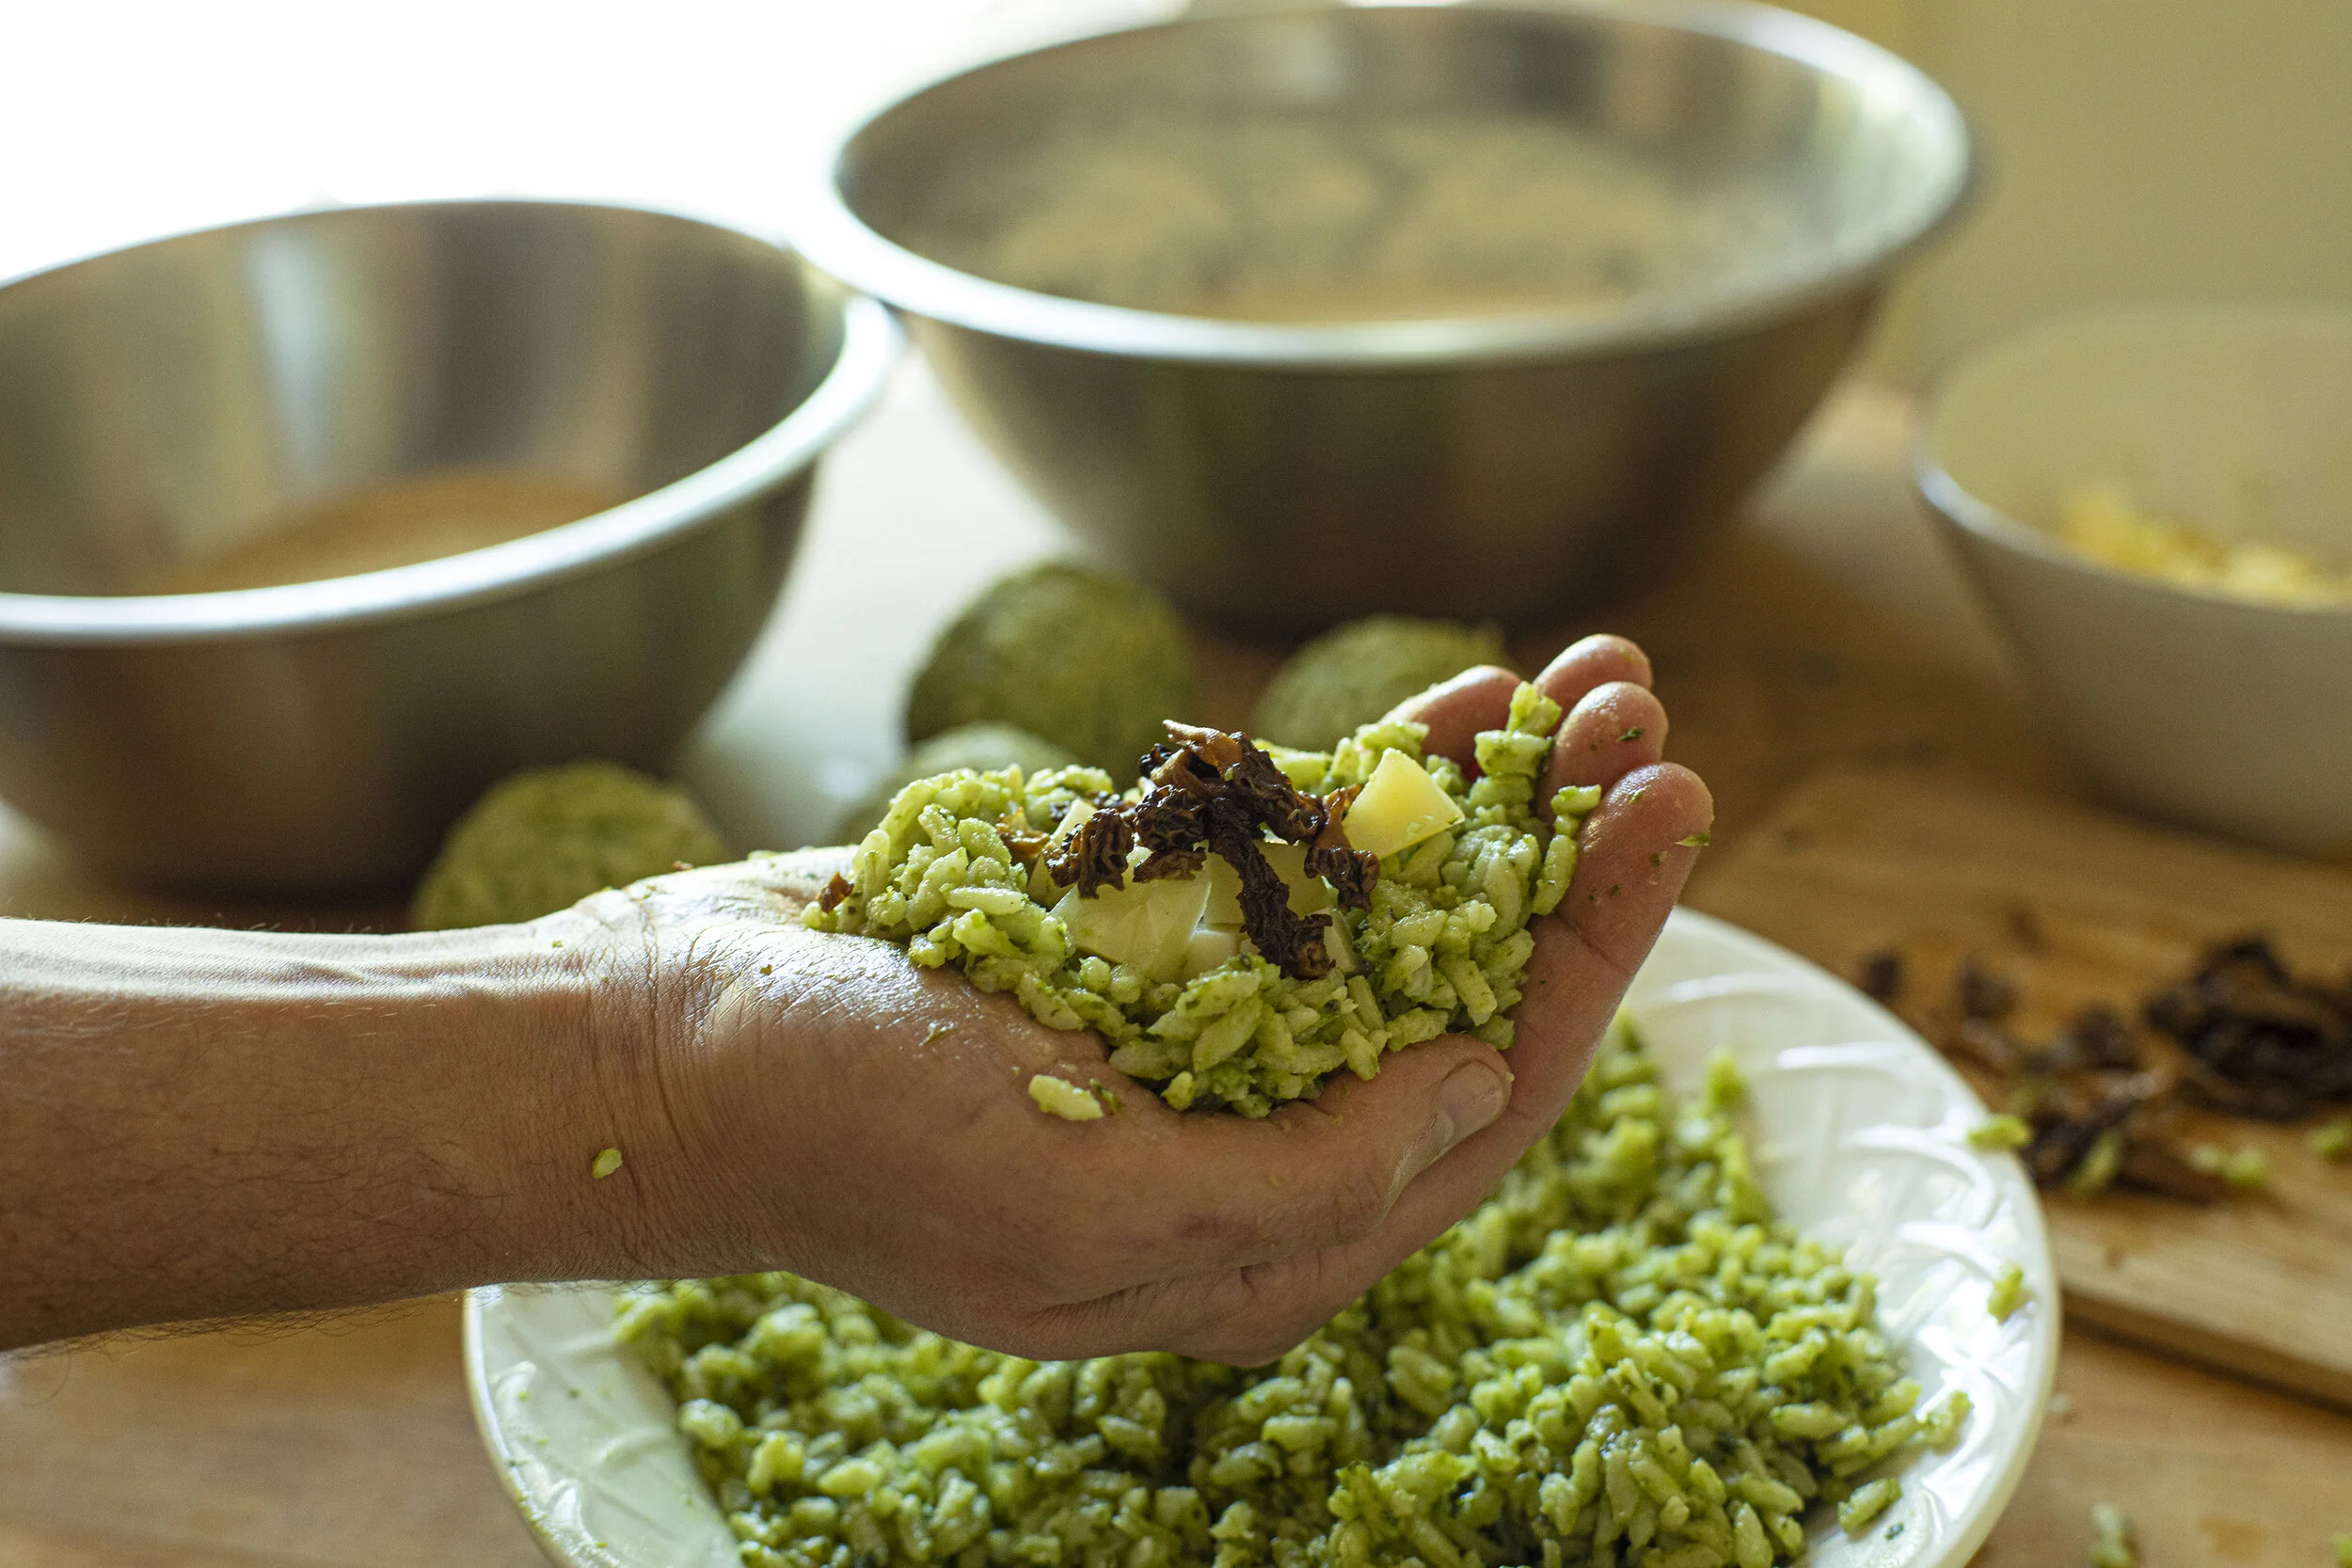
Take a scoop of the risotto in your hands and form a cup in the palm of your hand. Gently pack the rice down so it doesn’t feel loose.
In the middle of the rice, add a few chunks of caciocavallo cheese and the cooked mushrooms.
Take another scoop of rice with your free hand and gently pack it on top. Carefully form the ball together, pressuring it evenly all around, being mindful to patch any weak spots with more rice. It should be roughly the size of a baseball, and hold together well after shaping. Set them aside until you’ve shaped all of your balls.
In medium size bowl, whisk together about a cup of flour to a cup of water to make a paste. It should have the consistency as pancake batter. Put about 2 cups of breadcrumbs into another bowl.
One by one, evenly coat each rice ball in the flour paste. Use your hands to ensure the entire surface is coated. Transfer each ball into the bowl of bread crumbs and roll them around until they have an even coating. Try to avoid large clumps of flour and breadcrumbs. You’ll likely want to wash your hands a few times periodically. Set all of the rice balls into a large tray.
Bring a heavy duty pot of canola oil (or deep fryer) up to 350 F. Make sure it’s deep enough to fully submerge the balls. Fry each rice ball for about 4 -5 minutes each until golden brown, turning periodically so they get an ever color.
Transfer the balls to absorbent paper, paper towels, to soak up some of the excess oil.
Arancini’s are most commonly enjoyed room temperature, but they’re also quite nice when still a little hot. They hold their shape a bit better once they’d cooled down.
Wild Mushroom Instructions
Morels
I’m making these in late spring, so morels are already past peak. I had a good year with morels so I have a small stash of dried morels. I simply soaked them in warm water for 15 minutes, drained, and cooked them just as you would with fresh morels. If using this method, make sure to save the water after soaking, and add it into your stock.
Chicken of the Woods
Full disclosure, COTW is not one of my favorite edibles. They are beautiful to look at, and I’ve been trying to find a way to cook them where I’d be excited about it. I did however enjoy how these turned out, albeit they were more a subtle part of the dish. I braised only the most tender pieces in a chicken stock for about ten minutes. Then sliced the outer most edges super thin into ribbons and sauteed them in some olive oil until they get nice and crispy. Season with a little salt and pepper. The color and texture out of the pan is almost bacon-like.


