Pici & Crab Sauce

Pici has been on my to-do list for a while. This style of pasta originates in the Tuscan region in Italy. It’s a thicker - rustic noodle that stands up well to ragus and heavier sauces. They're also one of the easier style pastas to make that require minimal tools or technical finessing. I opted for an eggless dough to keep it true to its roots. Flour & water- in this case a mix of 00 @mulinocaputo , tumminia flour from @molini_del_ponte_drago , and semolina. For the sauce I went pretty untraditional - a red sauce using @biancodinapolitomatoes tomatoes, white wine, chili flakes, butter, evoo, bay leaf, loads of garlic and a whole mess of blue crabs. Non traditional yes, but super decadent and well worth the effort. Video of the process is below.

pici plate 2.jpg

The Pasta

Ingredients:

156 g semolina

168 g 00 flour

68 g tumminia flour or similar (whole wheat)

190 g water

1 tbsp olive oil

*serves 4 - 5 people

pici flours.jpg

Directions:

1. Mix together the dry ingredients and form a mound in the center of your work surface. Use your fingertips to create a well in the center, like a volcano.

2. Slowly begin to pour water, little by little, into the center of the well.

3. Using a fork and bench knife, slowly begin working the flour into water, working methodically, from the center outwards, gradually incorporating more flour as you go.

4. Once the dough becomes shaggy, you can now use your hands to begin working it together with more pressure. If it feels too dry, add a little room temperature water. And if it feels too wet, add a little flour. Knead/work the dough for about ten minutes, which will result in a nice smooth, elastic ball of dough. Wrap the ball in plastic wrap (or cover with a wet towel).

5. Rest in the refrigerator for at least 30 minutes.

6. Unwrap the dough and cut off about 1/4. Wrap the portion that is on standby.

7. Lightly dust the work surface and press down to flatter the cut piece of dough.

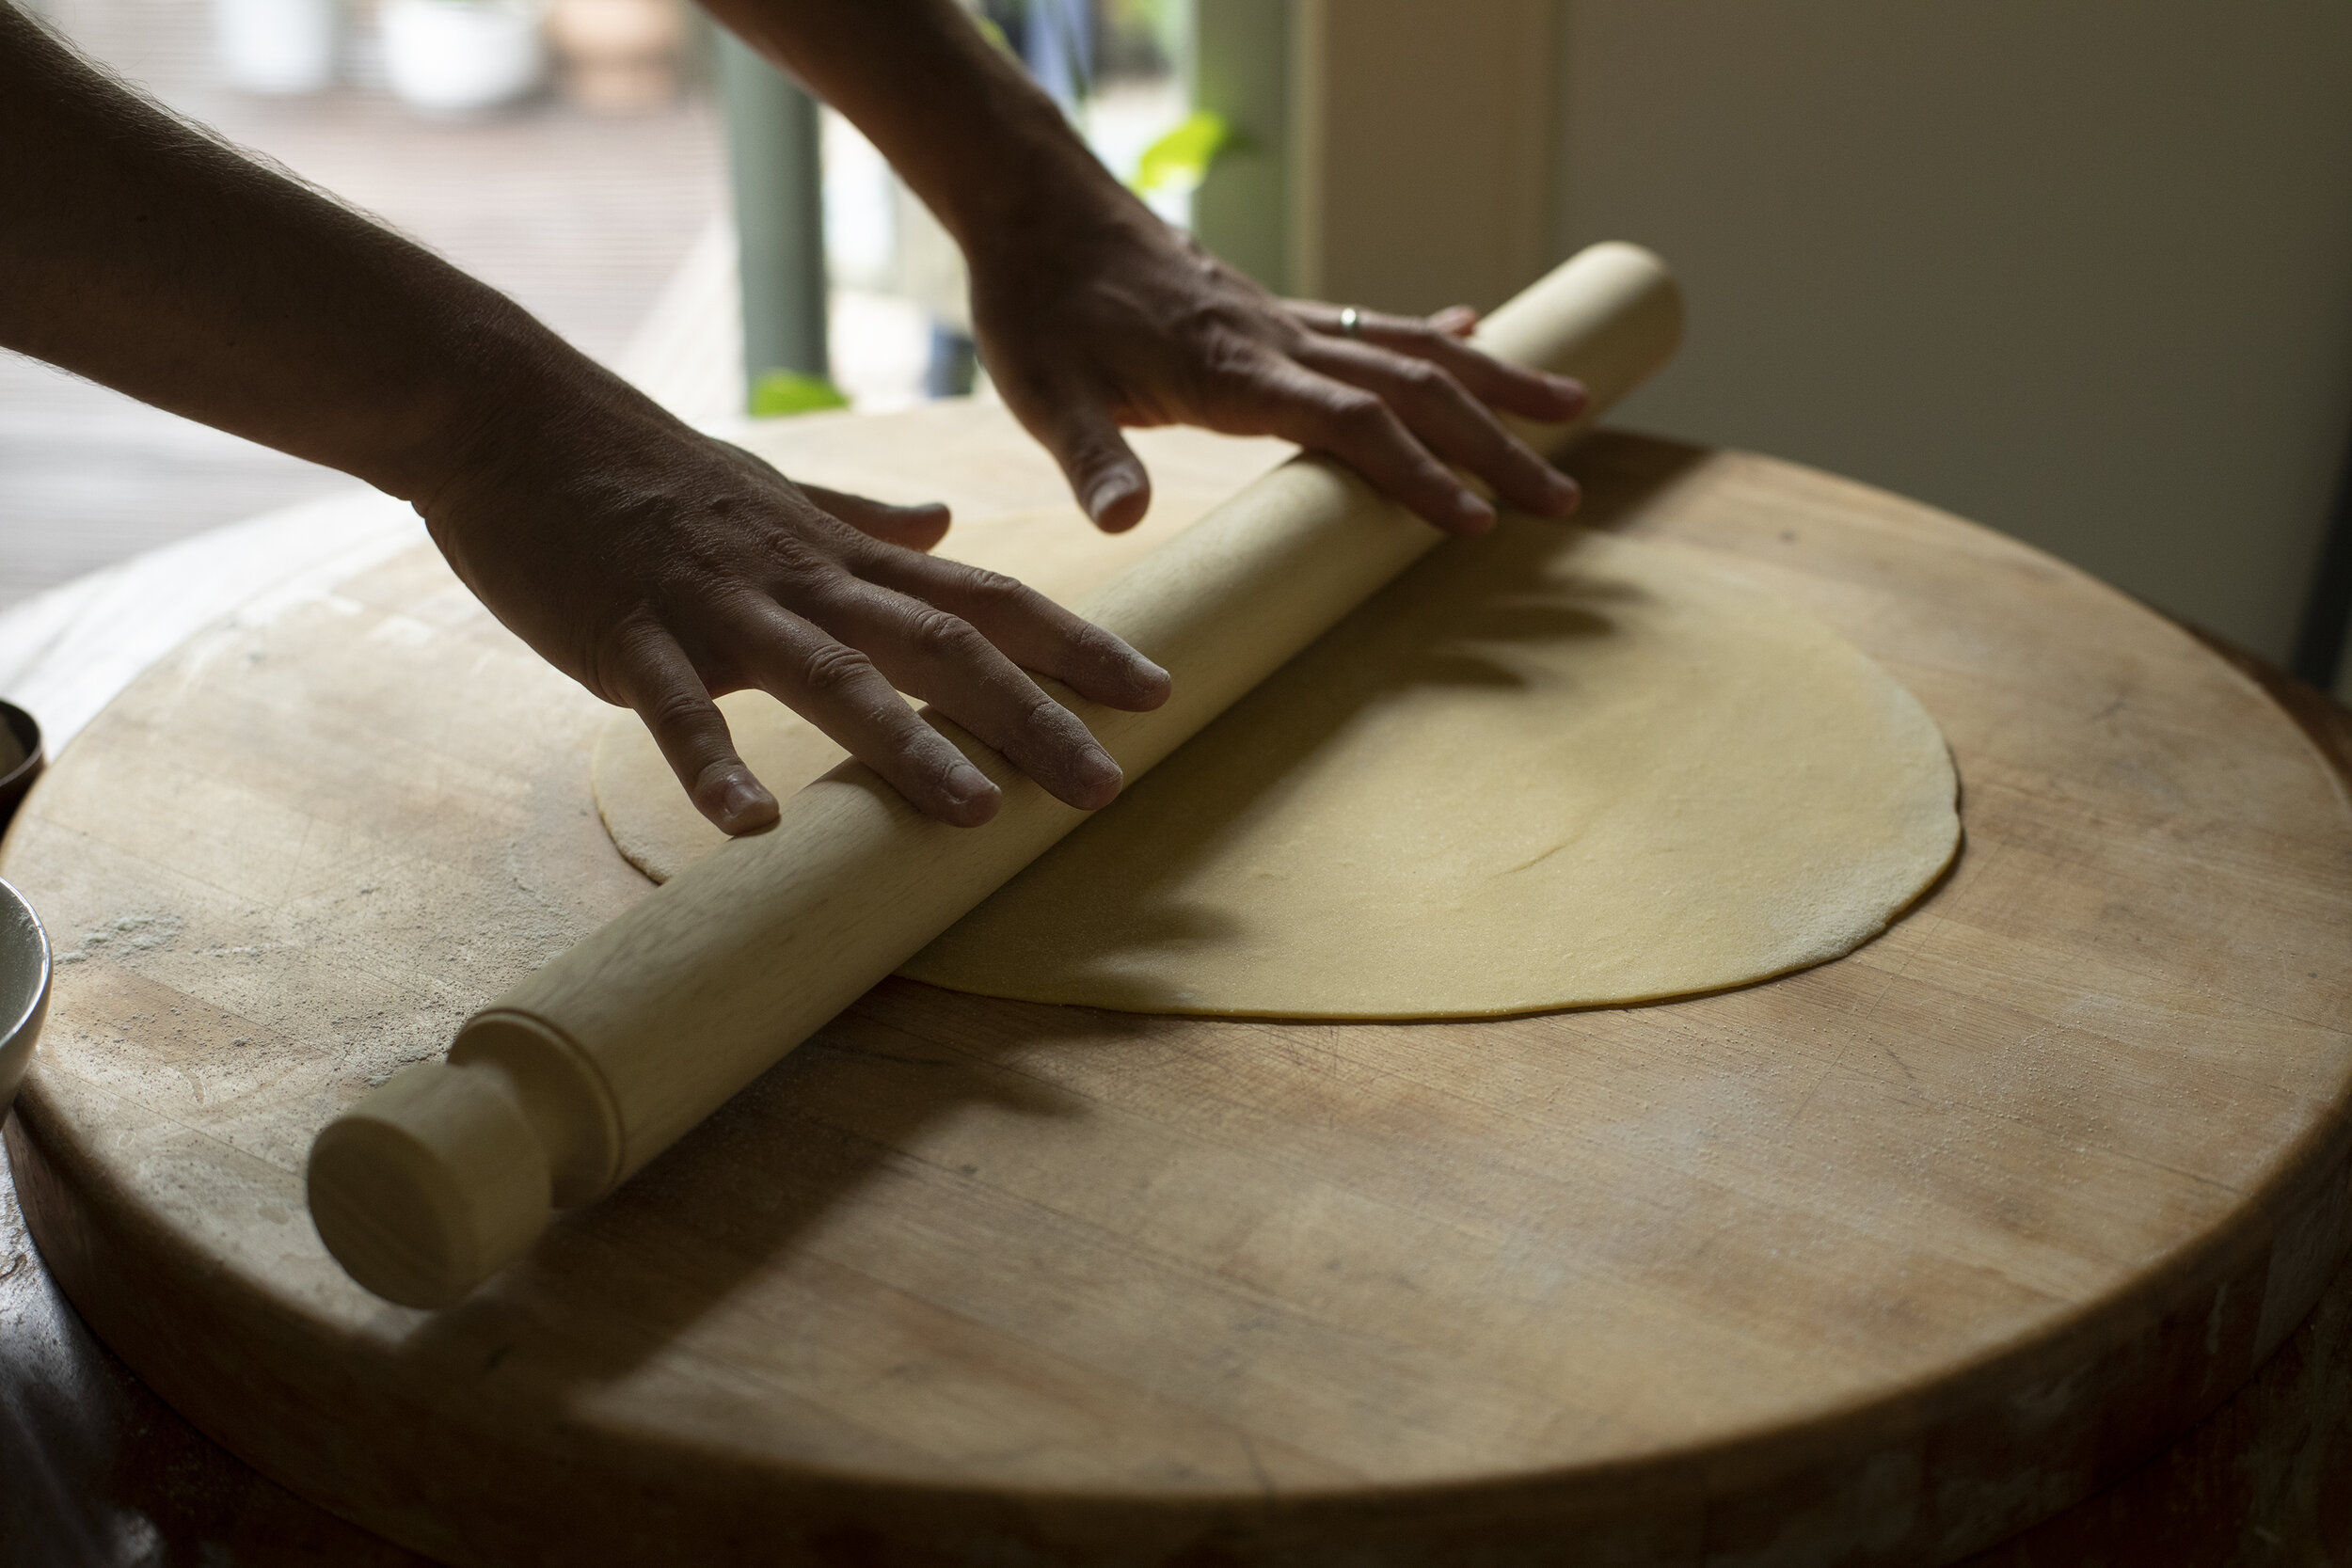
8. Begin rolling out the dough with a rolling pin (mattarello). If you prefer to use a pasta roller for this, that will work also. Work methodically, going from the center outwards to the edges, creating a rectangular sheet (sfoglia) about the length of your hand. Sprinkle with more flour if the dough seems to be sticking to any surface. Roll it out to about a few millimeters thickness, flipping the pasta sheet over a few times to work from both sides.

9. Using a knife, working from the edge, slice ribbons of the dough about a centimeter wide.

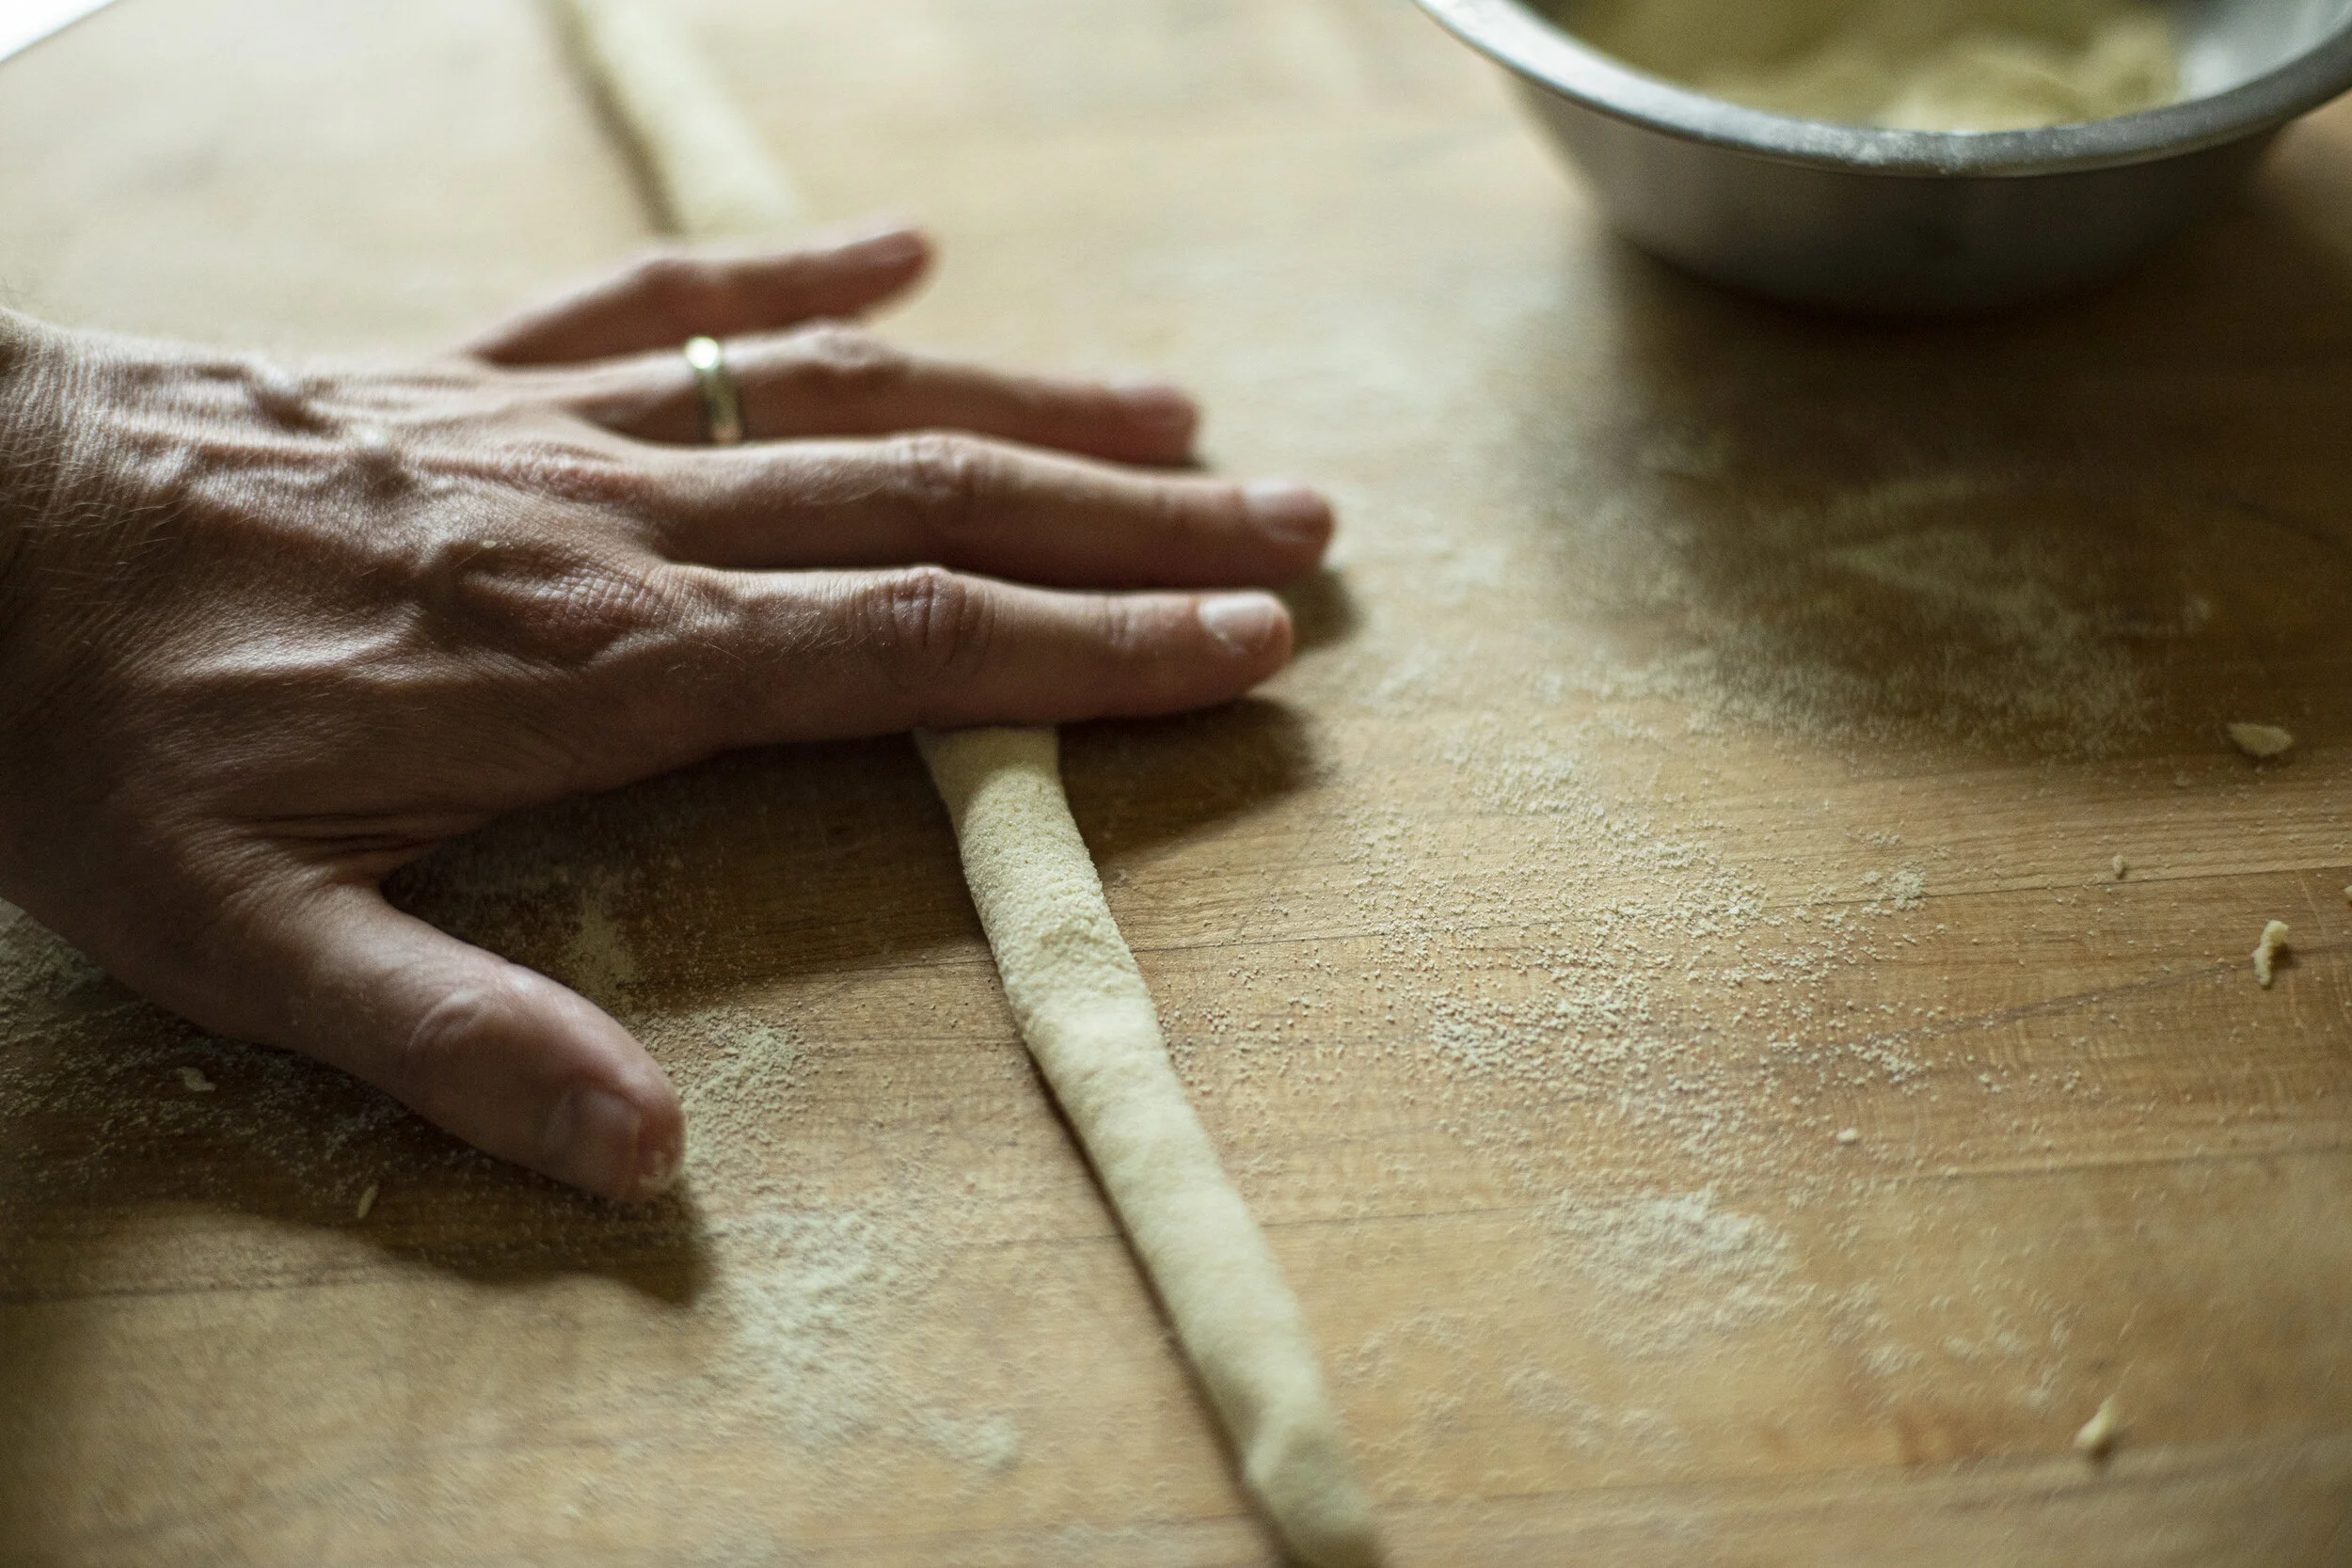
10. One by one, take each cut piece, and gently begin rolling it in your fingertips. Start in the center, and with a rocking motion back and forth, roll the piece down into the palm of your hands, working outwards. The video below will help visualize the process.

rolling pici.jpg

11. Each piece of pici should be about a few millimeters in diameter - keep it mind it will swell when cooked.

12. Repeat the process with all the remaining dough, setting aside the finished pici into little nests. The nests of noodles should be sprinkled with some semolina as they air dry to prevent them from sticking. These can stay in the refrigerator for up to 24 hrs or cooked right away.

pici in hand.jpg
hand crushing tomatoes.jpg

The Sauce

The preparation of the crabs is by far the most labor intensive part of this recipe. If you want to save some steps, you could use lump crab meat added to the red sauce - but you will miss out on some of the flavor you get from the simmering crabs.

Ingredients:

12 live blue crabs

3 x 28oz cans of high quality whole peeled tomatoes crushed by hand (Bianco DiNapoli, Gusto Rosso, Cento)

1 yellow onion (peeled, cut in half)

4 cloves of garlic (minced)

1/2 cup white wine

1/2 tbsp red chili flakes

1/4 cup tomato paste

2 bay leaves

Extra virgin olive oil

Few tbsp butter

Salt and pepper to taste

crabs on counter.jpg

Directions:

  1. Cleaning the crabs (which is a two step process) is your biggest task. There are many Youtube tutorials that demonstrate exactly how to do it so I won’t go too deep on that here. I stunned them in ice until they were in torpor before I remove the top shell, split them in half, and removed the guts. There are also strong opinions from folks who think it’s a crime to take the guts out, but for this recipe I wanted to keep the sauce a bit “cleaner.” After they are scrubbed, gutted, and split - set them aside on a bed of ice while you move on to the next steps.

  2. Bring a large pot up to medium heat and pour in a few tbsp of olive oil.

  3. Add the split onion halves and simmer for a few minutes before adding the bay leaf, red chili flakes, and garlic. Stir continuously to prevent burning. Add the tomato paste and continue stirring for another minute or so. Season with salt and pepper to taste.

  4. Add the white wine and cook down for a few more minutes before adding the crabs - layering them on top of each other until they fill the pot. Stir together so they get coated in the juices on the bottom of the pan. Cover and allow to steam for about 5 minutes.

  5. Uncover and add the tomatoes so they cover all of the crabs. Stir carefully and bring back to a simmer. Simmer for about another 20 minutes until the crabs have turned bright red.

  6. Remove from the heat, and transfer the crabs to a large bowl to allow to cool so you can handle them. Add the butter to the remaining sauce and stir to incorporate. Set a large pot of water to boil.

  7. Once the crabs have cooled you’ll begin breaking the shells apart to separate the meat. You’ll need one small bowl for the meat and another for the empty shells. The back fin joints provide the most choice meat, but work as diligently as you can to collect as much as you can. I like to leave a few pieces in their shells to garnish each plate.

  8. Once you have a small bowl full of meat, you can fold it back into the sauce and stir to incorporate. Bring back to a low simmer as you cook the pasta.

  9. The fresh pasta will take 2-3 minutes to cook.

  10. Drain the pasta, and transfer it directly into a bowl with the hot crab sauce. Stir to coat every noodle.

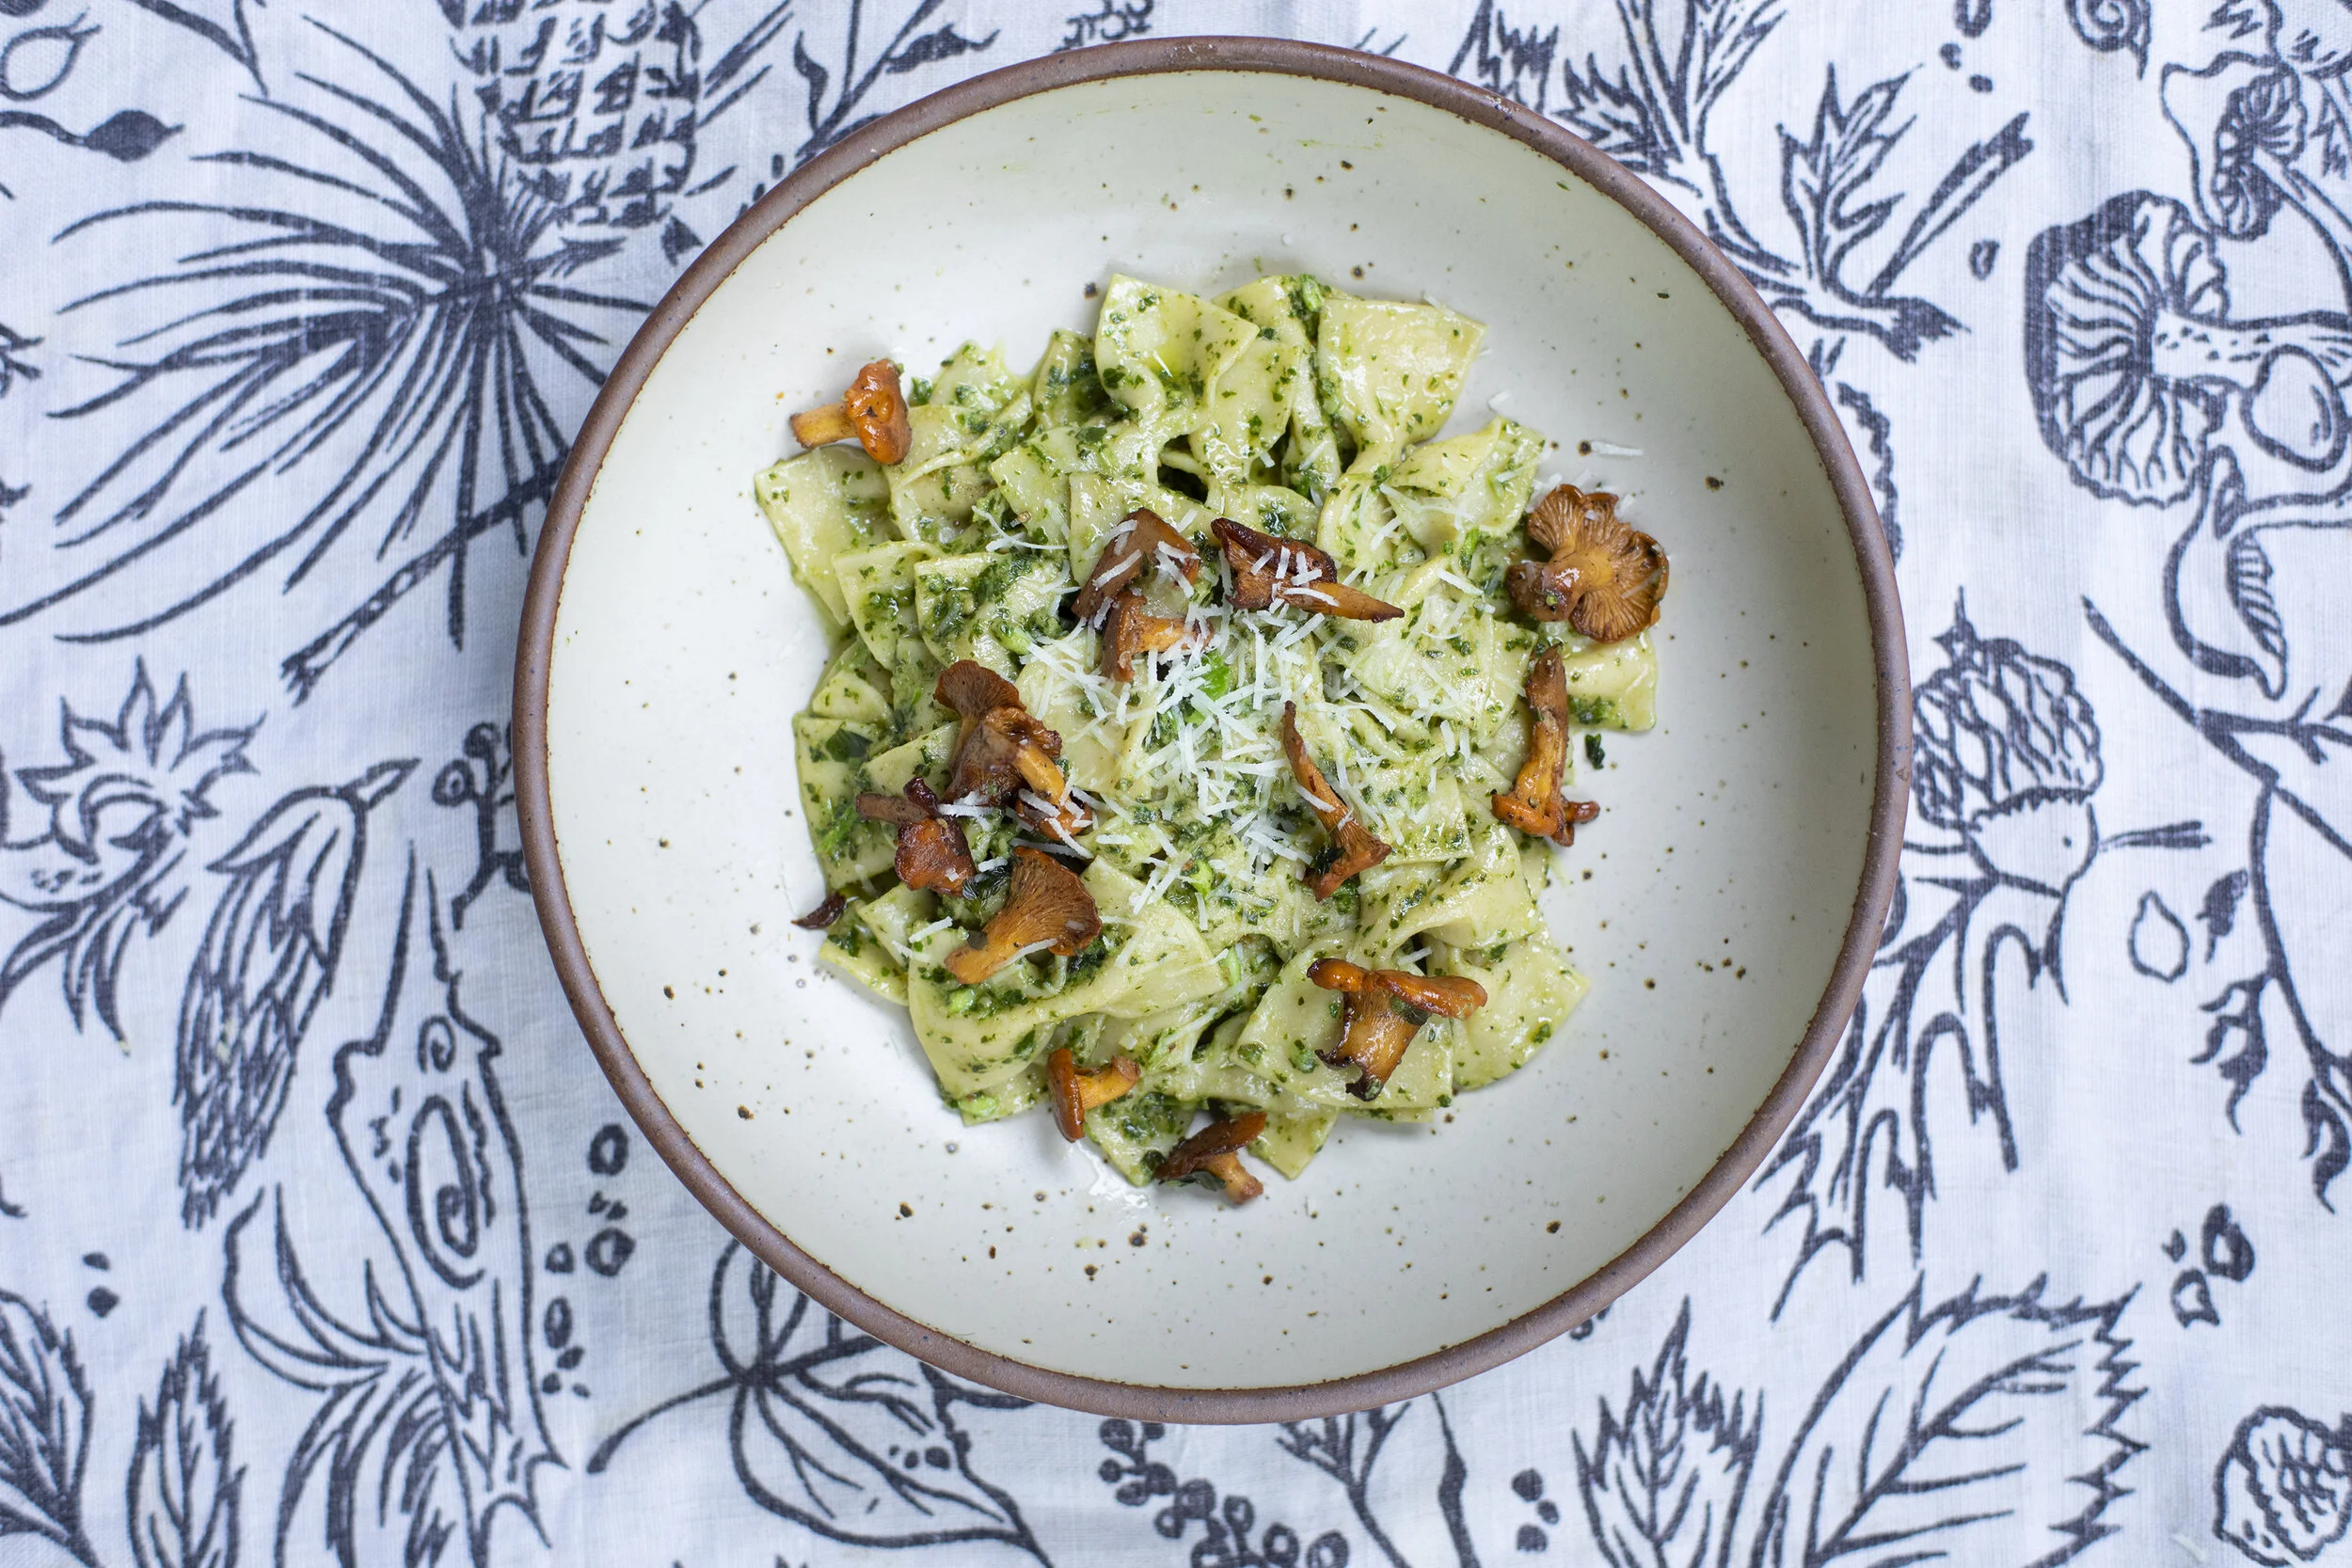
  11. Plate each dish and top with a generous spoonful of more crab sauce and a few pieces of crab claws.

  12. Enjoy!

simmering crabs.jpg

Farfalle with Scape + Basil Pesto with Sautéed Chanterelles

Farfalle with a creamy basil + scape + toasted pine nuts + pecorino pesto topped with sautéed chanterelles foraged earlier in the morning. Pasta dough blended 75% 0 Manitoba flour from @mulinocaputo and 25% Semola Rimancinata Cuore from @molini_del_ponte_drago @gustiamo . Pretty killer combination using the best of what’s in season right now. Recipe as follows and a short video of the process below.

farfalle pesto chanterelles 1.jpg
chants in hand 2021.jpg
chants on table.jpg
making pasta dough.jpg

The Farfalle

Ingredients

300 g 00 Flour

150 g Semola Rimancinata Cuore

250 g eggs (beaten before mixing)

*Portioned for 5 - 6 people

Directions

  1. Mix the flours and dump out the weighed amount onto a clean work surface.

  2. Use your hand to form a well (like a volcano) in the center of the flour.

  3. Carefully pour your eggs into the center and begin slowly mixing together with a fork. Gradually, carefully, work your way all around to incorporate the eggs with the flour, without breaking the outer wall. A bench scraper is a handy tool to have at this point if you have one.

  4. After about 5 - 10 minutes it will start coming together into a shaggy mass. Begin using your hands to knead the dough together. Work diligently for another 5 minutes until it is no longer shaggy.

  5. Use the edges of your hands, knuckles, to work the dough until it starts to form a smooth ball. Knead it, applying pressure, into the work surface. Fold it. Knead it again. After about ten minutes it should be smooth and ready to rest.

  6. Cut the dough into two and wrap each in plastic wrap. Set into the fridge for at least 30 minutes.

  7. The following steps revolve around using a mattarello (Italian rolling pin) - but you could also do this with a pasta machine. Remove one of the dough balls, unwrap, and place in the center of your work surface. Apply a light dusting of flour to both the surface and the top of the dough.

  8. Slowly apply downwards pressure with the rolling pin, starting from the center of the ball and moving outwards. Repeat, methodically, always working from the center outwards. The sfoglia (pasta dough) will gradually begin to flatten and create a large round sheet on your work surface. If you’re finding the dough sticky, use a tiny bit more flour. Periodically flip the dough over and work from the other side. This process requires a little elbow grease and about 10-15 minutes of your time. You’ll know you’re done when the dough stops pulling inwards on itself and the thickness is about 2-3 mm. It should be light and delicate but be able to retain it’s shape. Allow the dough to air dry for about 5 minutes. Dust with a very light sprinkling of semolina.

  9. For the next part of the process I highly recommend watching the video below. Using a pasta cutter, cut the sfoglia into rectangles about 1 inch wide by 2.5 inches long (or approximate a pinky length). Traditionally you’ll use a serrated cutter but you’ll notice in the video that I forgot in my haste so my farfalle has smooth edges. Use three fingers, one placed in the center and two on the outer central edges of the narrower side. Gently, firmly pinch from the outside in and slowly lift the center finger and press the edges together. Lift and place to the side to allow to air dry for another 30 mins to an hour. Repeat until you have finished all the rectangles and save the outer scraps for maltagliati. Take out the other dough ball and repeat the whole process.

  10. The fresh pasta will cook in about 3-4 minutes in you boiling salted water.

rolling dough.jpg
pinching butterflies.jpg
farfale on table.jpg
bowl of pesto.jpg

The Pesto

Ingredients

Large bunch of basil

3-4 garlic scapes

Half a cup of pecorino Romano

3/4 cup of good olive oil

Pinch of salt

1/2 cup of toasted pine nuts

Directions

I kept this very simple and just used a food processor - combined all the ingredients and blended in about 30 seconds. The true way to do pesto is to use a mortar and pestle if you have the time and energy. I had a full day of foraging and making pasta and decided the pesto needed to be easy. With the addition of the pecorino this pesto is super creamy and decadent.

farfalle pesto chanterelles 2.jpg

The final dish

  1. Before cooking the pasta, clean and slice your chanterelles into a manageable size. I sauteed mine in olive oil with a little fresh thyme, salt and pepper until they were well browned and significantly reduced in size - which took about 8-10 minutes. You want to make sure your mushrooms are well cooked. Set aside.

  2. After draining the cooked pasta (always reserve extra pasta water in case you need to thin out the sauce/pesto), immediately toss the pasta with the pesto and stir so they are completely coated. Mix in your wild mushrooms and toss together.

  3. Serve into individual bowls and finish with some freshly grated pecorino Romano.

  4. Enjoy.

Orecchiette with spring greens and guanciale

I got inspired by seeing all the orecchiette action over at @pastasocialclub and had my first go at it.
It's one of those pastas that might seem daunting, but is actually somewhat simple and doesn't require any fancy equipment. I prepared them with some wonderful guanciale from @fa.lu.cioli , charred spring greens (chard, and agretti), scapes, ricotta, lemon zest, and parmesan cheese. I'll definitely be making these again! Video of the whole process below.

orecchiette birds eye.jpg

The Orecchiette

Ingredients

1.5 cups Semolina ( 265 g)

.5 cups Tumminia Flour ( 85 g Sicilian whole wheat from from Molini del Ponte)

1 cup Water ( 215 g)

*Portion is good for 5-6 people.

Instructions

  1. Mix together the dry ingredients, and dump them out onto a clean work surface. Form them into a mountain shape with your hands. Using the tips of your fingers, create a well in the center.

  2. Slowly pour the water into the center and in a circular motion, begin incorporating the flour into the water, working outwards as you go. I find eggless dough is always a bit easier to work with.

  3. Once you’ve poured out all of the water the mixture should be a bit clumpy. Now you can start using your hands to begin working the dough. Scraping up all the clump, and pressing them together firmly. Do this methodically for about 5 minutes, until the mass begin to take on a smooth form. Use the palm of your hand to press down, rotating 25 degrees clockwise each time. If you have a flat bench knife/scraper, use this to scrape all any dough that has stuck to the work surface. Resist the urge to add more flour until you’ve worked it for a few minutes and still determine it feels too wet.

  4. After about 5 - 10 minutes, the dough ball should be very smooth, and it should not stick to your hands when you touch it. Wrap the ball in plastic wrap tightly, and allow to rest for 30 minutes.

  5. Unwrap the dough, and divide into about 6 pieces. Cover 5 of the pieces with the plastic wrap again as you begin working with the first smaller piece. This will prevent them from drying out as you work with the dough.

  6. Lightly dust the divided piece with semolina, and begin rolling it out with the palms of your hand into a long rope that is no more than .5 inch thick or the size of your smallest finger. Lightly dust the work surface with more semolina. It is best if your work surface is wood for this as the grain of the wood helps the dough grip the surface. This will be more difficult on a very smooth surface.

  7. Using a butter knife with a serated edge, cut off a small piece of dough and gently rolling it into a ball with your finger tips.

  8. Carefully, with two hands holding the knife, press the edge of the knife into the edge of the dough ball. Begin applying pressure and at the same time start dragging the knife towards you. The pressure and motion will cause the dough to flip back over on top of itself in your direction. It might take a few times to get a hang of it, but it’s really a rather simple movement.

  9. Very gently unfurl the curled shape with the tips of your fingers. Use your thumb or pointer finger to hold the orecchiette in place as you roll down the edges so that it creates a inverted well in the center. Watching the video (below) will help get a better visual on this part of the process.

  10. Repeat this process until you’re through with all of your dough. The finished orecchiette should be set onto a drying rack or clean surface dusted with a light coat of semolina and left to air dray for at least an hour or can be set out to dry overnight.

  11. Fresh pasta should take about 4 - 5 minutes to cook, and if drying out completely they will a few minutes longer.

making dough.jpg
rolling dough.jpg
drying pasta.jpg

The Pasta Dish

Ingredients

Orecchiette

A bunch of spring greens (I used agretti and Swiss chard but any heartier greens will work well for this)

2 finely diced scapes (or 2 cloves of garlic if scapes are not available)

Guanciale (1/2 cup)

Fresh ricotta

Lemon zest

Freshly grated parmesan

Salt and pepper

Instructions

  1. Chop and blanch your greens for 1 - 2 minutes and rinse in cold water. For more tender greens, you can skip ahead to step 6.

  2. Bring pot of water to boil.

  3. Saute the guanciale in a cast iron skillet on medium heat. This time of year I like to use an outdoor wood fired oven, but this can easily be done on the stove top. Make sure however you’re cooking it, the temperature is set to medium as you don’t want to burn the guanciale as the fat renders out. Cook for about 8 minutes, stirring frequently until the guanciale starts to get crispy.

  4. Add in the diced scapes (or garlic) and continue to saute for about another 4 minutes.

  5. At the same time, add the fresh made pasta to the boiling water and cook until tender. Fresh made pasta will typically take no more than 5 minutes. Reserve some pasta water when you drain the cooked pasta to use if you find your pasta to be too dry.

  6. Toss in your greens with the guanciale and scapes and stir together for another minute or two.

  7. Remove from the heat and add the cooked pasta directly into the same pan with the greens and guanciale. Toss together until all the noodles are evenly coated.

  8. Plate each portion and add a dollop of fresh ricotta cheese on top, freshly grated lemon zest, freshly grated parmesan, and some black pepper. Enjoy!

sauteeing guanciale.jpg
tossing pasta.jpg
agretti.jpg
chard.jpg